
The BEST Sugar Cookies: A Melt-in-Your-Mouth Recipe with Dreamy Buttercream
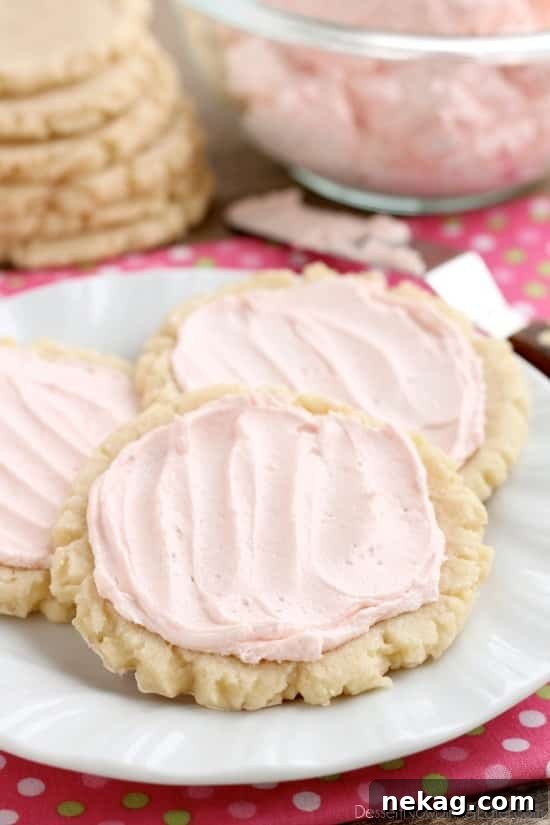
Get ready to redefine your understanding of the perfect sugar cookie! These aren’t just any cookies; they’re an experience. With a surprisingly simple scoop, press, and bake method, you’ll create rustic-looking sugar cookies that boast a soft, sweet, and genuinely melt-in-your-mouth cookie base. Crowned with an impossibly smooth and dreamy buttercream frosting, these truly are the BEST sugar cookies you will ever make at home. Prepare to be amazed by their tender texture and exquisite flavor!
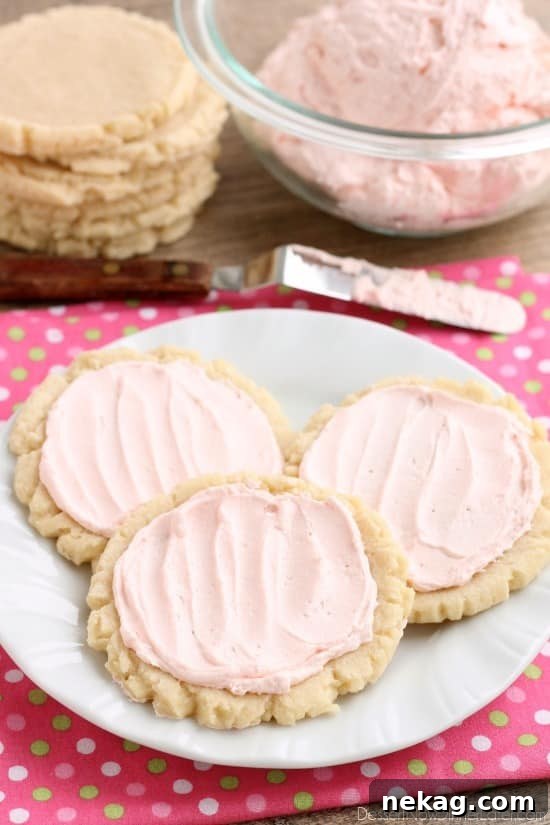
Let me be completely honest: I’ve never been a huge fan of sugar cookies. Shocking, right? My usual complaint stems from the common experience of encountering dry, flavorless cookie bases that rely too heavily on a thick layer of buttercream to compensate. But these sugar cookies? They have revolutionized my perspective entirely! The cookie base itself is wonderfully sweet, possessing a delicate, melt-in-your-mouth quality that rivals meltaway cookies, yet it’s robust enough to hold up beautifully. It’s truly a game-changer.
Why These Are Truly The BEST Sugar Cookies You’ll Bake
I admit, I’ve been a little apprehensive about sharing a sugar cookie recipe. Past experiences taught me that sugar cookie enthusiasts can be quite particular about their preferred texture and taste. However, after countless batches and receiving enthusiastic feedback, I simply couldn’t keep this treasure to myself any longer. These cookies are unequivocally the best I’ve ever tasted, homemade or otherwise. I have absolutely no doubt you’ll adore them, and if you don’t, well, you might just be missing out on something extraordinary!
What sets these rustic sugar cookies apart is a brilliant combination of ingredients and a simple technique that yields unparalleled results. They strike a perfect balance between being delightfully tender and surprisingly sturdy. This recipe proves that a sugar cookie can be both profoundly flavorful and possess an irresistible texture without being overly crumbly or tough.
The Secret Ingredients for Unbeatable Texture
The Unexpected Role of Oil in Sugar Cookies
Upon first glance at the ingredients list, you might find yourself raising an eyebrow at one particular item: oil. “Oil in cookies? What?!” you might exclaim. Rest assured, this isn’t a mistake; it’s a game-changer. The inclusion of oil is absolutely crucial for this recipe’s success. Do not be tempted to substitute it entirely with butter.
Here’s the magic behind it: oil, unlike butter, is 100% fat and remains liquid at room temperature. This property translates directly into an incredibly moist and tender crumb in your cookies. Butter, while offering fantastic flavor, can contribute to a crispier, sometimes drier texture in certain cookie recipes. The oil in this recipe acts as a barrier against dryness, ensuring each bite is soft and luscious, provided you don’t accidentally over-bake them.
The Tenderizing Duo: Powdered Sugar and Cream of Tartar
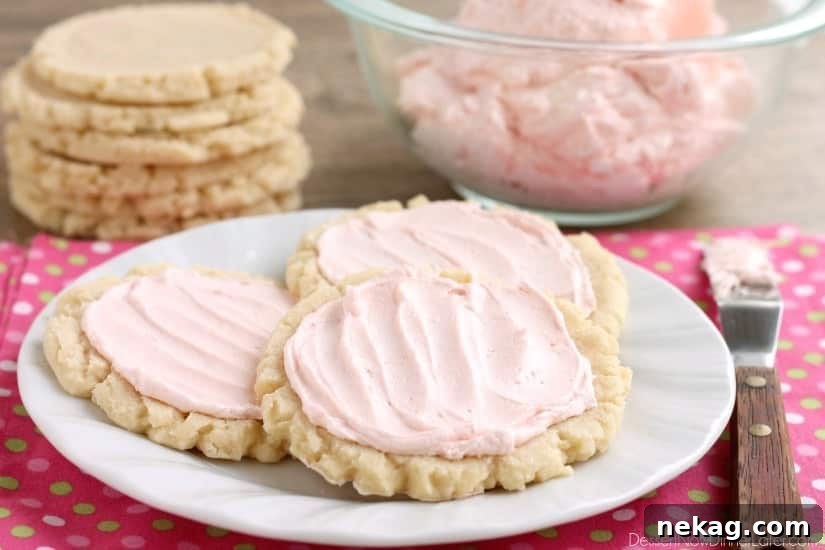
Beyond the oil, two other “secret” ingredients contribute significantly to the exquisite, melt-in-your-mouth texture of these sugar cookies: powdered sugar and cream of tartar. Powdered sugar, also known as confectioners’ sugar, is much finer than granulated sugar. Its delicate particles blend seamlessly into the dough, leading to a smoother, more tender cookie that practically dissolves on your tongue. It also helps to prevent a grainy texture.
Cream of tartar, a common baking ingredient, plays a dual role here. Firstly, it works in conjunction with baking soda to provide the perfect lift, contributing to a soft, airy texture. Secondly, and perhaps more importantly for these cookies, cream of tartar is an acidic salt that acts as a tenderizing agent. It helps to break down the gluten in the flour, resulting in an incredibly delicate crumb that truly embodies the “melt-in-your-mouth” promise. This is precisely how a sugar cookie should feel!
Mastering the Dreamy Buttercream Frosting
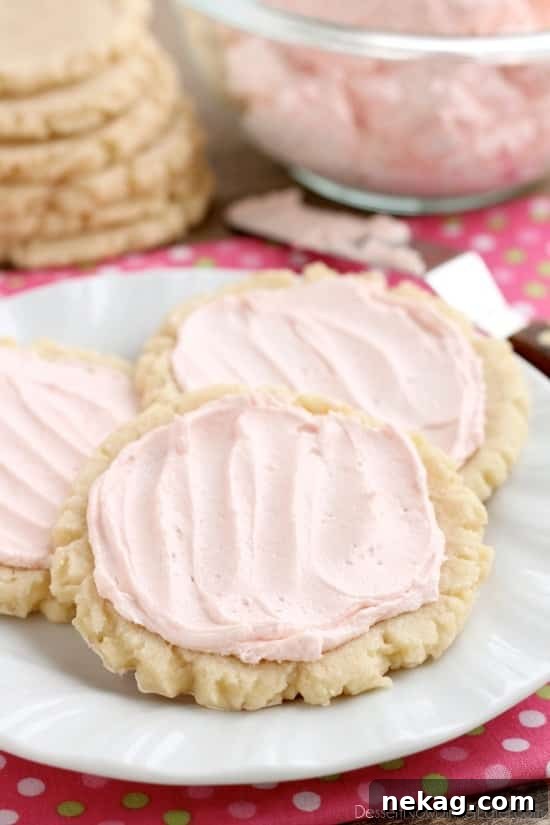
No sugar cookie is complete without its crowning glory: a luscious buttercream frosting. And for these cookies, we’re talking about a buttercream that is exceptionally smooth, creamy, and holds its shape beautifully. This frosting isn’t just an afterthought; it’s the perfect complement to the tender cookie base, adding another layer of sweetness and richness.
The Coconut Oil Advantage
My special trick for achieving this superior buttercream involves using solid coconut oil alongside butter. While pure butter buttercream is delicious, the addition of solid coconut oil (ensure it’s refined and doesn’t impart a coconut flavor or aroma, like LouAna Coconut Oil) elevates the frosting considerably. It contributes to a more stable buttercream that holds up better, especially at room temperature, making your frosted cookies less prone to melting or smudging. Beyond its structural benefits, I genuinely believe it enhances the overall taste, adding a subtle richness that’s simply divine. If coconut oil isn’t an option, shortening can be substituted, but I highly recommend experimenting with coconut oil for the best results.
Color and Creativity
I often tint my frosting pink because, let’s be honest, when you envision classic sugar cookies, a soft pink frosting often comes to mind, doesn’t it? It certainly does for me! The splash of color instantly makes them more appealing and festive. Feel free to get creative with your food coloring – choose pastels for spring, vibrant hues for celebrations, or keep it classic white for a timeless look. Sprinkles are always a welcome addition too!
Baking Tips for Perfect Sugar Cookies Every Time
Dough Consistency and Handling
The dough for these cookies is unique. It should be slightly crumbly but come together easily when pressed, and importantly, it should not be sticky. This consistency is key to their distinctive texture. While I haven’t yet tried rolling this dough out and cutting shapes, it seems like it would work! However, if you opt for this method, I suggest keeping the dough a bit thicker than you normally would, as this dough does tend to spread a little more than a typical cut-out sugar cookie dough. This extra thickness will help maintain their structure and tenderness.
The Scoop and Press Method
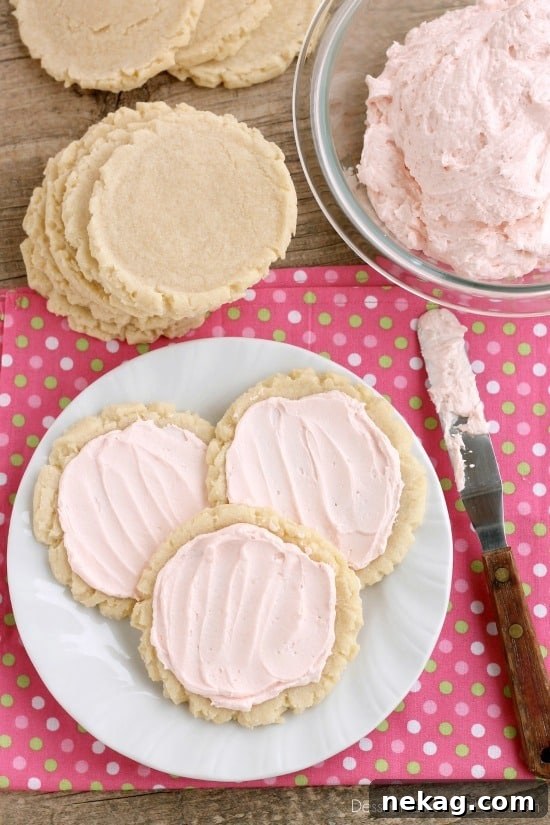
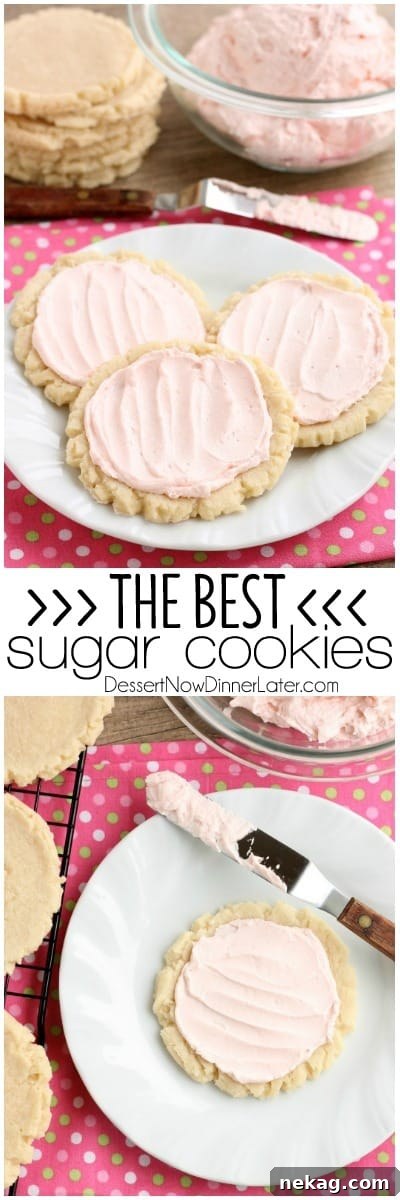
For the signature “rustic” look and consistent baking, the scoop and press method is ideal. Using a cookie scoop ensures uniform dough balls, which leads to even baking. The gentle press with a sugar-dipped glass creates a slightly flattened disc with beautifully crinkled edges, ready to hold that generous dollop of frosting.
Don’t Over-bake!
This is perhaps the most critical rule for achieving perfectly soft sugar cookies. Bake them at 350 degrees Fahrenheit for just 7 to 8 minutes. It’s vital not to over-bake them, as even an extra minute can shift their texture from wonderfully soft to undesirably firm. You’ll know they’re done when the tops appear matte rather than glossy, and the edges are just barely set. They might look slightly underdone in the very center, but they will continue to firm up as they cool on the baking sheet.
The BEST Sugar Cookies
Amber Brady
15 minutes
8 minutes
23 minutes
Pin Recipe
Rate This Recipe
Save Recipe
40
cookies
Ingredients
Cookies:
- 1 cup (226 g) butter, room temperature
- 1 ¼ cups (250 g) granulated sugar
- ¾ cup (90 g) powdered sugar
- ¾ cup (177 ml) oil, (vegetable/canola)
- 2 Tbsp water
- 2 large eggs
- 1 tsp vanilla extract
- 5 ½ cups (660 g) all-purpose flour, (stir, scoop, and level the flour when you measure it)
- ½ tsp baking soda
- ½ tsp cream of tartar
- 1 tsp salt
- *an extra ¼ cup (50 g) granulated sugar for flattening the cookies
Frosting:
- ½ cup (113 g) butter, room temperature
- ½ cup (113 g) solid coconut oil, (I use LouAna Coconut Oil. All coconut oils are different; try to find one that says there is no coconut flavor or aroma. If you don’t have coconut oil, you can substitute with shortening, but I highly recommend the coconut oil.)
- 4 cups (480 g) powdered sugar
- 2 tsp vanilla extract
- 2 Tbsp milk
- red food coloring; optional
Instructions
-
In a stand mixer fitted with the paddle attachment, cream together the butter and both granulated and powdered sugars until the mixture is light and smooth. Then, incorporate the oil, water, eggs, and vanilla extract. Mix thoroughly until all wet ingredients are well combined.
-
In a separate medium bowl, whisk together the all-purpose flour, baking soda, cream of tartar, and salt. Add the dry ingredients to the wet ingredients all at once. Mix on low speed until the dough just comes together. It should have a slightly crumbly consistency but should not be sticky when touched.
-
Using a #30 cookie scoop (which holds approximately 2 tablespoons of dough), scoop uniform balls of dough onto a baking sheet lined with parchment paper or a silicone mat. Arrange them with enough space, no more than 8 cookies per standard tray, to allow for slight spreading.
-
Pour about ¼ cup of granulated sugar onto a small, flat plate. Dip the bottom of a drinking glass into the sugar, ensuring it’s evenly coated. Gently press the sugar-coated bottom of the glass into the center of each dough ball until the cookies are flattened to about ½-inch thick. If your glass has a bowed center, you may find it helpful to gently rock it in a circular motion to ensure uniform flattening.
-
Preheat your oven to 350 degrees Fahrenheit (175°C). Bake the cookies for 7 to 8 minutes. It is crucial NOT to over-bake them to maintain their soft texture. The cookies are ready when their tops appear matte (no longer glossy) and the edges are just barely golden. Remove from oven and let them cool on the baking sheet for a few minutes before transferring to a wire rack to cool completely.
-
For the Frosting: In a large bowl, using an electric hand mixer (or stand mixer with paddle attachment), beat the room temperature butter and solid coconut oil together until the mixture is completely smooth and creamy. Gradually add the powdered sugar, vanilla extract, and 2 tablespoons of milk. Mix thoroughly until the frosting is light and fluffy. If you desire a thinner, smoother consistency, add up to ½ tablespoon of extra milk, one tiny splash at a time, beating after each addition. For a classic pink hue, add a drop or two of red food coloring and mix until evenly colored.
-
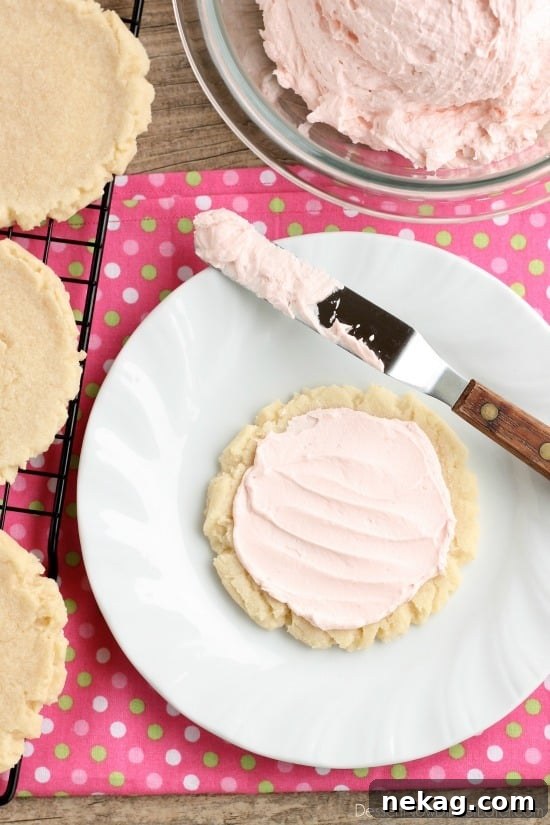
Once the cookies have cooled completely, spread a generous layer of the dreamy buttercream frosting over each cookie. Serve immediately and enjoy! Store any leftover cookies in an airtight container at room temperature for up to 5 days to maintain their freshness.
Notes
Nutrition
Serving:
1 cookie
|
Calories:
253kcal
|
Carbohydrates:
34g
|
Protein:
2g
|
Fat:
12g
|
Saturated Fat:
6g
|
Polyunsaturated Fat:
6g
|
Cholesterol:
22mg
|
Sodium:
117mg
|
Sugar:
21g
Disclaimer: Nutritional values were calculated using a third-party tool and are provided as an estimation only.
Sharing this recipe with a link is both encouraged and appreciated. Copying/pasting and/or screenshots of full recipes to any social media is strictly prohibited. Content and photographs are copyright protected.
Did you make this?
Don’t forget to leave a rating below and make sure to follow on Pinterest and Instagram for more!
Recipe lightly altered from Vintage Revivals
Frequently Asked Questions About These Sugar Cookies
- Can I substitute all butter for the oil in the cookie dough?
- While butter adds flavor, the oil is critical for achieving the unique soft, melt-in-your-mouth texture and preventing dryness. Substituting all butter will likely result in a cookie that is drier and crisper, deviating significantly from the intended recipe. It is highly recommended to stick to the oil as specified.
- What kind of oil should I use for the cookies?
- A neutral-flavored oil like vegetable oil or canola oil is best, as it won’t impart any strong taste to your cookies, allowing the sweet cookie and frosting flavors to shine.
- What if I don’t have cream of tartar?
- Cream of tartar contributes to both the leavening and tenderizing of the cookies. While it’s a key ingredient for the signature texture, you can try substituting it with an equal amount of lemon juice or white vinegar (½ tsp lemon juice/vinegar for ½ tsp cream of tartar), but be aware the texture might be slightly different. It’s truly best with cream of tartar.
- Do I need to refrigerate the cookie dough before baking?
- No, this recipe is designed for immediate baking. The dough does not require chilling, making it a quick and convenient option for fresh cookies.
- How should I store these sugar cookies?
- Store the frosted cookies in an airtight container at room temperature for up to 5 days. For longer storage, you can refrigerate them, or even freeze them (frosted or unfrosted) for up to 3 months. If freezing frosted cookies, flash freeze them on a tray until the frosting is firm, then transfer to an airtight container or freezer bag.
- Can I make these sugar cookies gluten-free?
- I have not tested this recipe with gluten-free flour, so I cannot guarantee the results. Gluten-free flours can behave differently due to their varied protein and starch content. If you choose to experiment, I would recommend a 1:1 gluten-free baking flour blend that contains xanthan gum.
- Can I use this recipe for cut-out sugar cookies?
- While designed as a scoop and press cookie, the author notes it might work for cut-outs. If attempting, keep the dough thicker and be mindful that it spreads more than traditional cut-out cookie doughs. Chilling the dough briefly before rolling and cutting might also help manage spread, though this hasn’t been explicitly tested.
Final Thoughts on Your Best Sugar Cookie Journey
These sugar cookies are more than just a recipe; they are an invitation to experience joy in every bite. Their unparalleled softness, combined with that exquisite buttercream, makes them suitable for any occasion, from casual treats to festive celebrations. The rustic charm of their appearance only adds to their homemade appeal, reminding us that sometimes, the simplest things are truly the most delightful.
I wholeheartedly encourage you to try this recipe. Don’t be swayed by past sugar cookie disappointments; these are different. They are the kind of cookies that will earn you rave reviews and requests for the recipe time and time again. So, gather your ingredients, follow these simple steps, and prepare to be crowned the maker of the BEST sugar cookies!
Try this recipe! ASAP! You won’t regret it!