
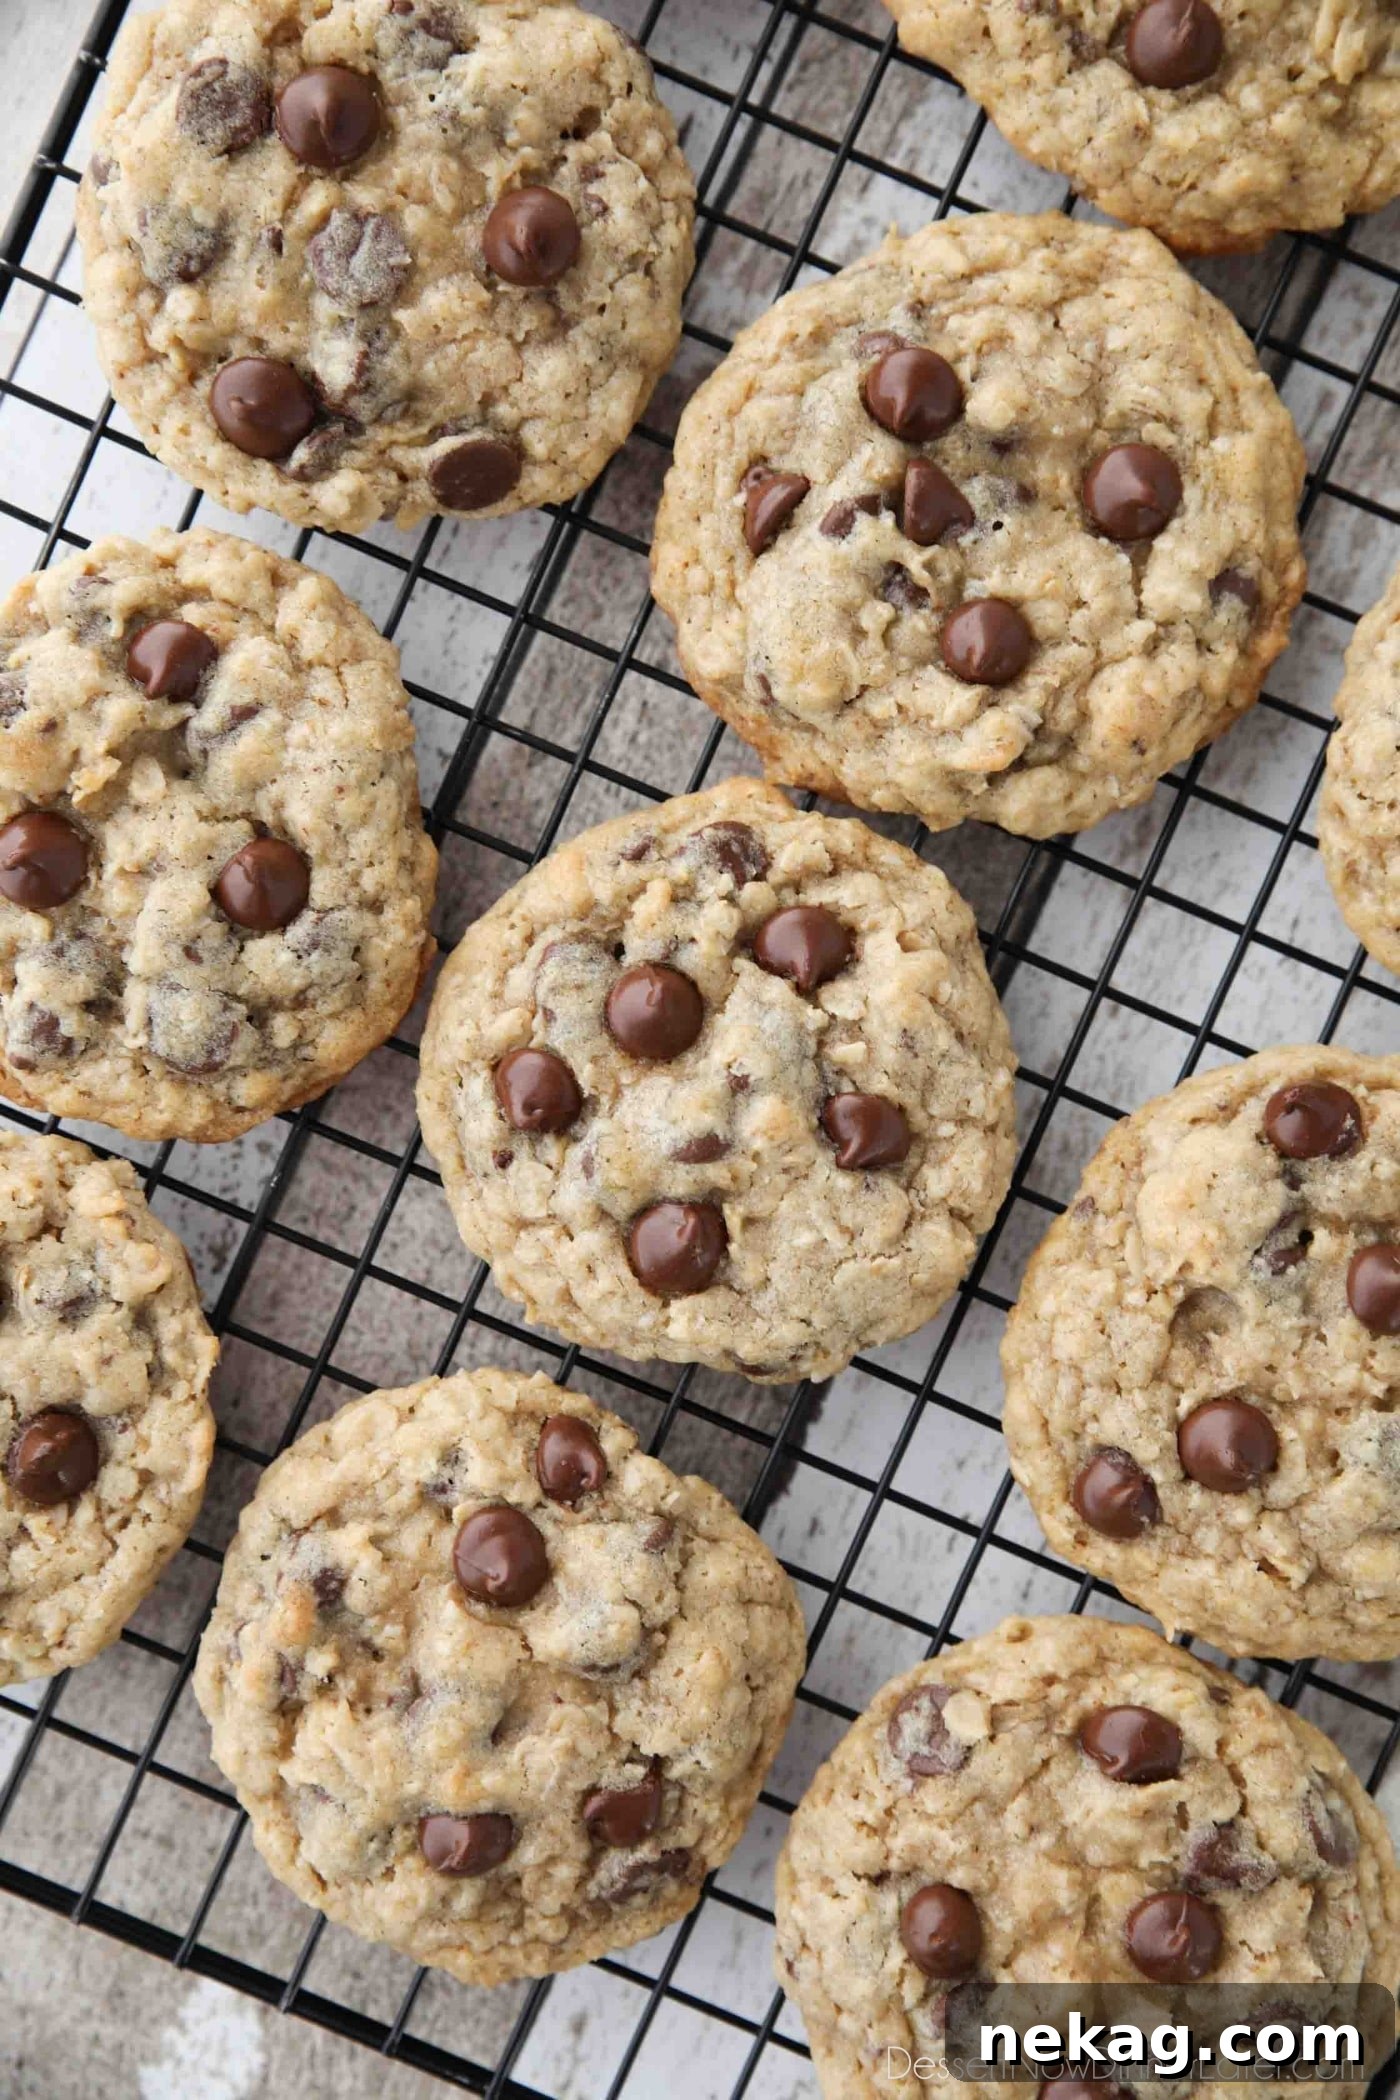
These Oatmeal Chocolate Chip Cookies are gloriously thick, beautifully soft, and wonderfully chewy, brimming with wholesome old-fashioned oats and an abundance of creamy chocolate chips. This is an effortlessly classic recipe, perfected to deliver pure comfort and satisfaction with every single bite.
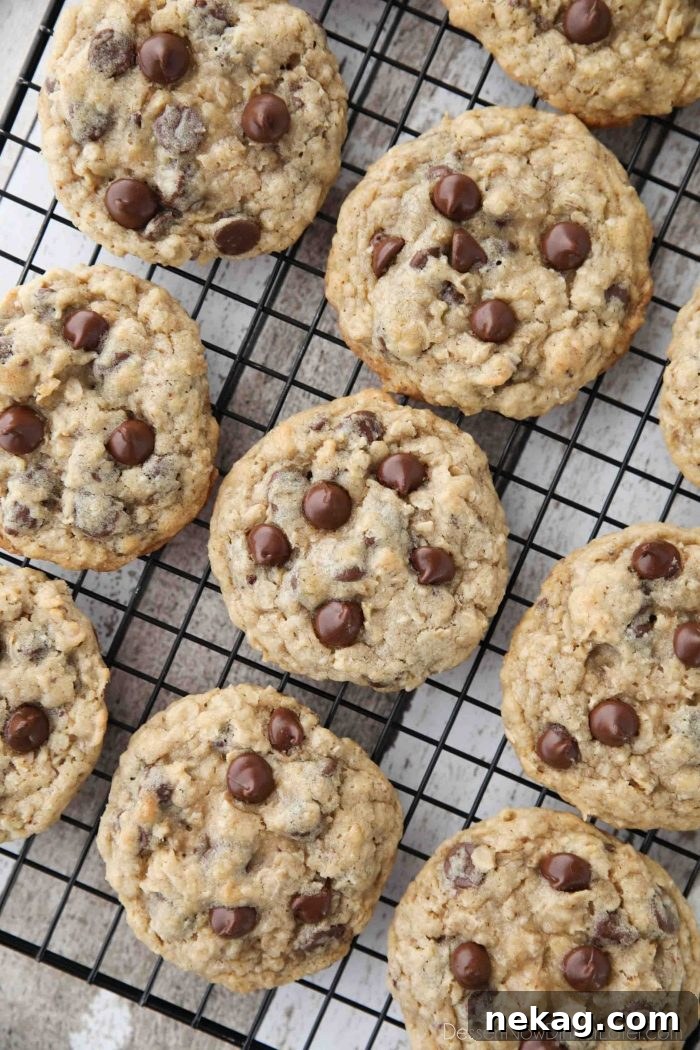
There’s an undeniable charm and comfort found in a batch of homemade cookies, especially when they’re a timeless staple like Oatmeal Chocolate Chip Cookies. Today, we’re taking you back to the very essence of baking, refining a cherished recipe to bring you what we believe is the absolute finest rendition of this beloved treat. My personal journey to perfecting these cookies began years ago with a treasured recipe card from my youth. It was a simple, typewritten card, passed down and famously labeled “Mrs. Fields Oatmeal Cookies.” That foundational recipe not only sparked a lifelong passion for baking but also served as the blueprint for what has evolved into this ultimate oatmeal chocolate chip cookie masterpiece.
While the original “Mrs. Fields” recipe often included additions like raisins and nuts, I consciously decided to streamline this version, focusing purely on the irresistible combination of hearty oats and rich, melt-in-your-mouth chocolate chips. This choice stems from the simple truth that not everyone shares a love for Oatmeal Raisin Cookies, and sometimes, the path to universal appeal lies in elegant simplicity. These cookies are a celebration of perfect textural harmony and straightforward flavor, ensuring they become a surefire crowd-pleaser for every palate, young and old alike. They embody the ideal balance of wholesome goodness and indulgent sweetness, making them an instant favorite in any household.
The Essence of Texture: Understanding Oats in Cookies
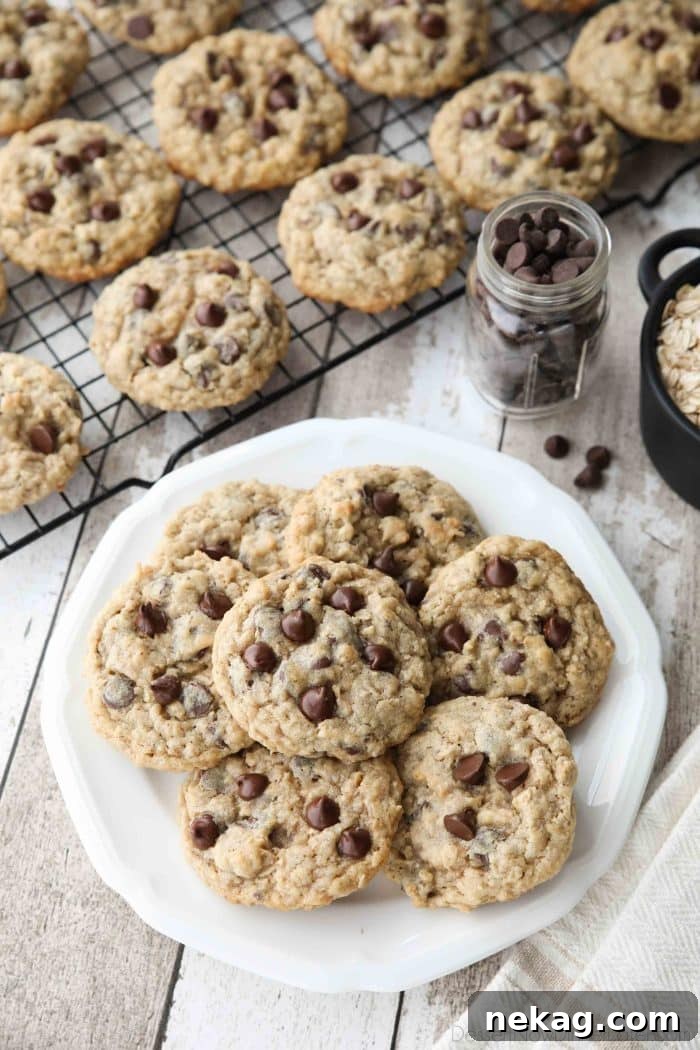
The choice of oats is paramount in defining the final texture of your oatmeal chocolate chip cookies. This is a common point of discussion among bakers, and understanding the nuances between different oat types can truly elevate your baking. Let’s explore the distinctions between old-fashioned (rolled) oats and quick oats.
Old Fashioned vs. Quick Oats: A Detailed Comparison
Old-fashioned oats, often interchangeably called rolled oats, are whole oat groats that have undergone a steaming process before being flattened by large rollers. This method gives them their characteristic broad, flakey appearance. Because they are less processed and larger in size, old-fashioned oats are excellent for adding significant dietary fiber and, more importantly for cookies, a remarkably hearty and satisfyingly chewy texture. When incorporated into cookie dough, they retain their shape and structure, providing that unmistakable, robust bite and a pleasant rustic quality that defines a truly classic oatmeal cookie.
Conversely, quick oats are essentially a more finely cut and processed version of old-fashioned oats. They are typically cut into smaller pieces (often two or three times) before being steamed and rolled. This additional processing reduces their cooking time, making them ideal for quick breakfasts, but it also fundamentally alters their textural contribution in baking. Due to their finer particle size, quick oats absorb liquids much more rapidly and tend to break down more extensively during the baking process. This often results in cookies that are slightly thinner, softer, and can sometimes be denser or even more cake-like in texture compared to those made with old-fashioned oats. While quick oats still offer nutritional benefits, their impact on the cookie’s chewiness and overall structure is less pronounced.
Making the Right Oat Choice for Your Perfect Cookie
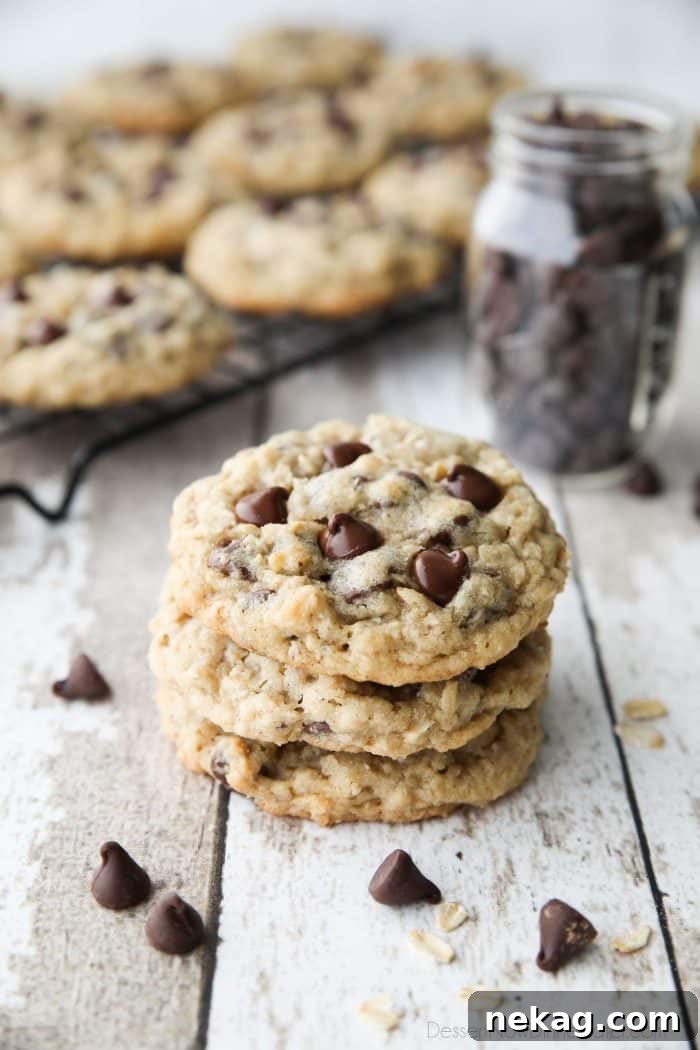
While both old-fashioned oats and quick oats can often be substituted for one another in many general baking applications, the decision becomes particularly critical when striving for the ideal oatmeal chocolate chip cookie. For that genuinely hearty, robust, and wonderfully chewy texture that sets these cookies apart, we unequivocally recommend using old-fashioned oats. They are the secret to achieving that signature bite and contribute to a thicker, more satisfying cookie that doesn’t spread excessively during baking.
If your preference leans towards a cookie with a smoother mouthfeel and a slightly less pronounced chew, quick oats can indeed be utilized. However, it’s important to be aware that this substitution may result in cookies that are a touch more puffy and dense. Should you choose quick oats, a slight adjustment to the quantity – as detailed in the recipe notes – is advisable to prevent the cookies from becoming overly heavy or cakey. For those curious about the visible difference, you can observe the effect of quick oats on texture in my Chewy Milk Chocolate Butterscotch Oatmeal Cookies.
The Ultimate Oatmeal Chocolate Chip Cookies: A Culinary Exploration
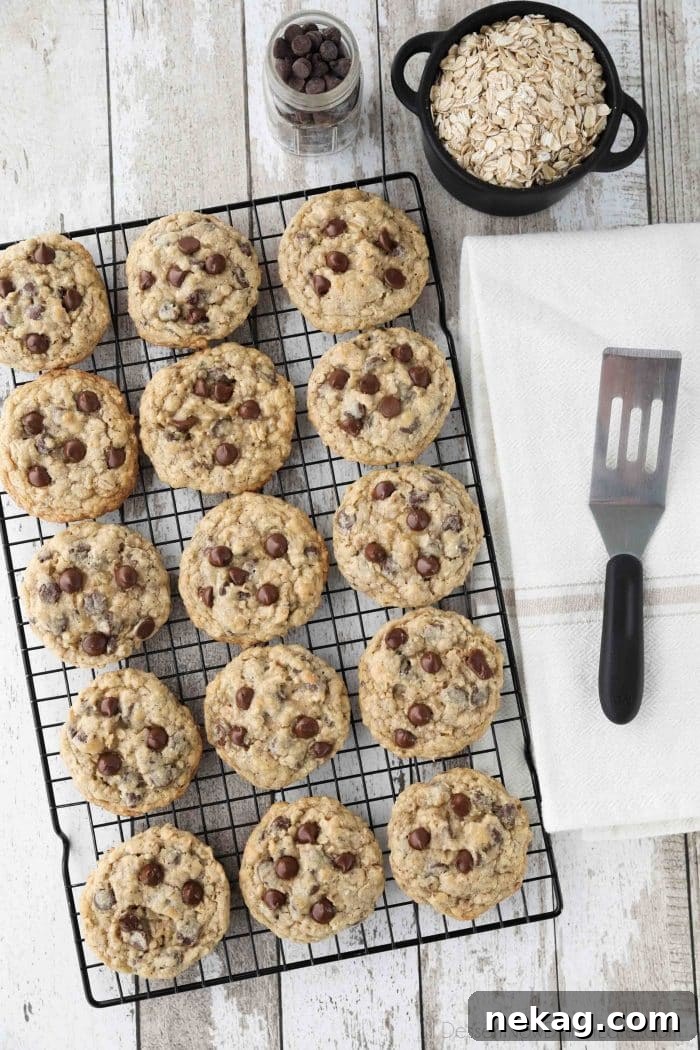
Our rendition of Oatmeal Chocolate Chip Cookies is a celebration of uncomplicated culinary excellence. This recipe deliberately omits overpowering spices, the crunch of nuts, and naturally, raisins. Our singular focus is on fostering the perfect, harmonious alliance between wholesome, chewy oats and decadent, rich chocolate. Envision your most cherished chocolate chip cookie, now imbued with an additional layer of satisfying chewiness and a delightful, earthy depth provided by the oats. It’s a straightforward, unpretentious, yet utterly divine culinary experience that speaks volumes through its perfected simplicity.
Each indulgent bite promises a masterful interplay of textures: the subtly crisp perimeter, giving way to a luxuriously soft, yielding interior, all punctuated by the irresistible, fibrous chew of the oats. The creamy, semi-sweet chocolate chips, when baked, transform into molten pockets of pure bliss, offering a stark yet harmonious contrast to the oat-infused dough. This particular recipe doesn’t rely on complex techniques or exotic ingredients; its brilliance lies in meticulously mastering the fundamentals to achieve unparalleled perfection in a cookie that is universally adored. It’s a testament to how classic ingredients, treated with care, can yield extraordinary results.
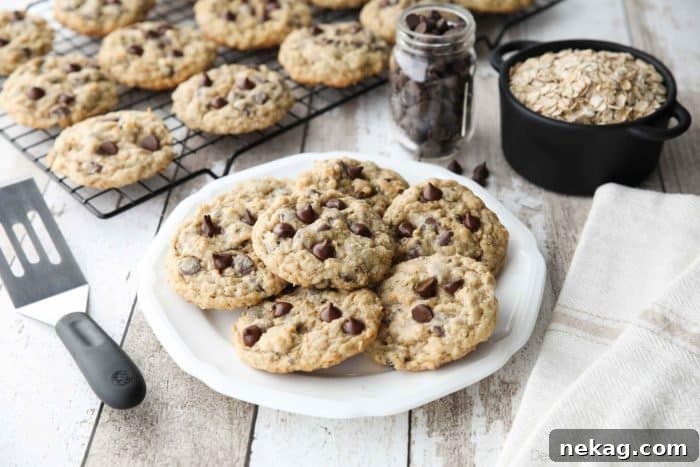
The hearty and substantial character of these oatmeal chocolate chip cookies makes them incredibly fulfilling, almost evoking the wholesome satisfaction of a gourmet granola bar – to such an extent that one might almost deem them suitable for breakfast! (We certainly won’t pass judgment if you decide to enjoy one with your morning coffee.) Regardless of when or how you choose to indulge, you are absolutely guaranteed to savor every single moment of this perfectly balanced and profoundly rewarding recipe. They possess a robust quality that feels nourishing, yet maintain a delicate sweetness that will undeniably leave you craving for just one more. This duality makes them an ideal treat for any time of day, embodying both comfort and indulgence.
Mastering the Art: Secrets to Achieving Perfectly Soft and Chewy Oatmeal Cookies
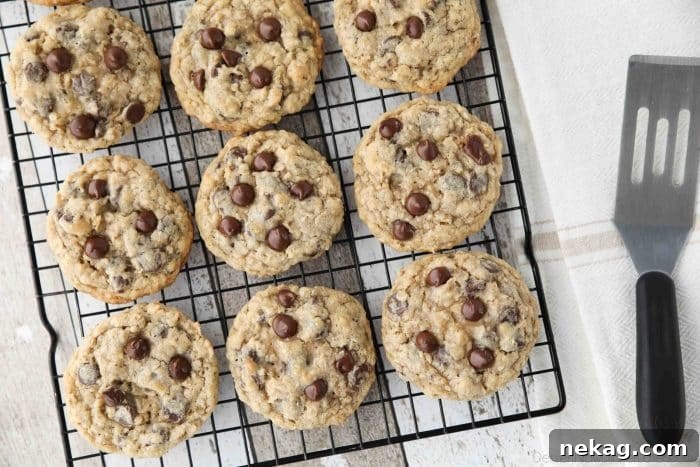
Crafting cookies that boast an alluringly soft center and delightfully chewy edges is an ambition for many bakers. While it may seem like an intricate art, it’s an easily mastered skill with the right knowledge and techniques. Here are our tried-and-true tips to ensure your oatmeal chocolate chip cookies achieve that coveted perfect texture, every single time:
- The Golden Rule: Do Not Over-Bake! This is, without exaggeration, the most critical piece of advice for achieving truly soft and chewy cookies. Vigilantly monitor your oven. The edges of your cookies should be just barely golden brown, while their centers should still appear slightly shiny and somewhat unset or “underdone” when you remove them from the oven. Remember, cookies continue to cook for a few precious minutes after being exposed to the residual heat of the baking sheet – a phenomenon known as “carry-over cooking.” Allowing them to rest on the hot baking sheet for 2-3 minutes before transferring them to a cooling rack permits them to firm up gently without becoming excessively hard or crispy.
- Strategic Baking Temperature and Time: For an optimal balance between a perfectly soft interior and a delicately crisp exterior, consider baking your cookies at a slightly elevated temperature, specifically 375ºF (190°C), but for a shorter duration of 7-8 minutes. This accelerated baking process helps to rapidly set the cookie edges, thereby preserving the interior’s wonderful softness and keeping it just under-baked. Keep in mind that oven calibration varies, so slight adjustments may be necessary for your specific appliance.
- Discern Your Oats Wisely: As thoroughly discussed, the specific type of oats you choose will profoundly influence the ultimate texture of your cookies.
- For that signature hearty chewiness and a cookie that spreads just enough to create a classic, wholesome appearance, old-fashioned oats are unequivocally your superior choice.
- If you opt for quick oats, be prepared for cookies that will typically be softer, thicker, and inherently a bit denser. Should you proceed with quick oats, we strongly recommend a slight reduction in quantity (refer to the recipe notes for specific guidance) to prevent the cookies from becoming overly heavy or cake-like.
- Embrace Room Temperature Ingredients: It is imperative that both your butter and eggs are at true room temperature. Room temperature butter creams exponentially better with sugar, facilitating the incorporation of more air into the dough. This aeration is key to producing lighter, softer, and more tender cookies. Conversely, cold ingredients will lead to a tougher, denser final product due to improper emulsion and mixing.
- Precision in Flour Measurement: Always employ the “spoon and level” method when measuring flour. Instead of scooping directly from the flour bag (which compacts the flour and adds too much), lightly spoon the flour into your measuring cup and then level off the excess with a straight edge. This meticulous measurement ensures the precise flour-to-liquid ratio, preventing dry, dense, or crumbly cookies.
- Guard Against Overmixing: Once you introduce the dry ingredients to the wet mixture, mix only until they are just combined. The moment no visible streaks of dry flour remain, stop mixing. Overmixing develops the gluten in the flour excessively, which will invariably lead to cookies that are tough and less tender. Gentle handling is key.
- The Power of Chilled Dough (Highly Recommended): While this recipe can be baked immediately, chilling the dough for at least 30 minutes (or ideally, for several hours or even overnight) can dramatically enhance both the texture and depth of flavor. Chilled dough spreads significantly less during baking, resulting in thicker, chewier cookies. Furthermore, the resting period allows the dry ingredients to fully hydrate and the flavors to meld, leading to a richer, more complex taste.
- Strategic Pan Placement: Ensure that your cookie dough balls are adequately spaced on the baking sheet. Overcrowding the pan restricts air circulation, leads to uneven baking, and often results in cookies that merge into an unappealing mass. Allow at least 2 inches of space between each dough portion for optimal spreading and browning.
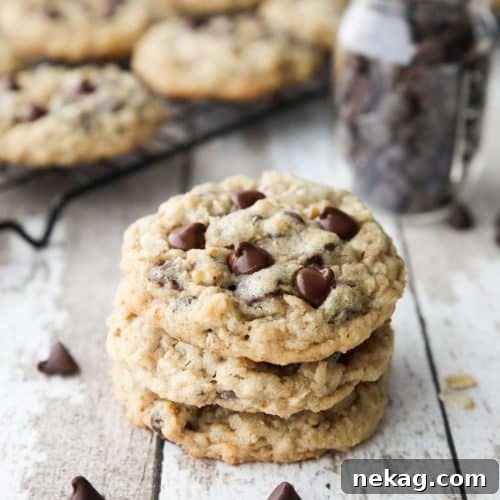
Oatmeal Chocolate Chip Cookies
Amber Brady
10 mins
10 mins
20 mins
Pin
Rate
30 cookies
Ingredients
- 1 cup (226 g) unsalted butter, (2 sticks) at room temperature
- ¾ cup (150 g) light brown sugar, gently packed
- ¾ cup (150 g) granulated sugar
- 2 large eggs, at room temperature
- 1 tsp pure vanilla extract
- 2 cups (240 g) all-purpose flour, spooned and leveled
- 2 ½ cups (200 g) old-fashioned oats*
- 1 tsp baking soda
- ½ tsp fine sea salt
- 2 cups (340 g) semi-sweet chocolate chips, (one 12oz bag or preferred quality)
Instructions
-
Preheat your oven to 350°F (175°C). Prepare several large baking sheets by lining them with parchment paper or silicone baking mats. This crucial step ensures easy removal of the cookies and prevents any sticking.
-
In the bowl of a stand mixer fitted with the paddle attachment (or using a reliable hand mixer), thoroughly cream together the room temperature butter, light brown sugar, and granulated sugar. Mix on medium speed for about 2-3 minutes, until the mixture is visibly light, fluffy, and well aerated.
-
Incorporate the large eggs one at a time, ensuring each egg is fully mixed in before adding the next. Once the eggs are fully combined, stir in the pure vanilla extract. Use a rubber spatula to scrape down the sides and bottom of the bowl, ensuring all ingredients are uniformly incorporated.
-
In a separate, medium-sized bowl, whisk together the all-purpose flour (remembering to spoon and level for accuracy), old-fashioned oats, baking soda, and fine sea salt. This step is vital for evenly distributing the leavening agents and salt throughout the dry mixture.
-
Gradually add the prepared dry ingredient mixture to the wet ingredients in the stand mixer. Mix on low speed until the dry and wet components are just combined. It is crucial to avoid overmixing at this stage; stop as soon as no distinct streaks of dry flour are visible.
-
Gently fold in the semi-sweet chocolate chips by hand using your spatula until they are evenly distributed throughout the cookie dough. If, for any reason, the dough appears excessively sticky, you may add an additional 1-2 tablespoons of flour, though this is typically not required for this recipe.
-
Using a #30 cookie scoop (which holds approximately 2 tablespoons of dough), scoop uniform balls of cookie dough onto your parchment or silicone-lined baking sheets. Ensure that the dough balls are spaced at least 2 inches apart to allow for proper spreading during baking without merging.
-
Bake in the preheated oven at 350°F (175°C) for a duration of 9-11 minutes. The cookies are ready when their edges are lightly golden brown, and their centers still appear slightly soft and unset. For optimal softness, always err on the side of slightly under-baking.
-
Once baked, remove the cookies from the oven and allow them to rest undisturbed on the hot baking sheets for 2-3 minutes. This critical resting period permits them to continue cooking gently from residual heat and firm up adequately without breaking apart. Afterward, carefully transfer them to a wire cooling rack to cool completely.
-
For maximum freshness and to preserve their delightful chewiness, store the fully cooled cookies in an airtight container at room temperature. They will remain wonderfully fresh for up to one week.
Notes
Creative Variations & Delicious Add-ins for Your Oatmeal Chocolate Chip Cookies
While this classic recipe stands perfectly on its own as a testament to cookie perfection, feel absolutely free to unleash your culinary creativity! Customizing your Oatmeal Chocolate Chip Cookies with thoughtful additions can lead to exciting new flavor experiences. Here are some delightful ideas to inspire you:
- Elevated Nutty Crunch: Introduce another layer of texture and flavor by adding ½ to 1 cup of finely chopped walnuts, pecans, or almonds. For an even richer, more profound taste, lightly toast the nuts in a dry pan before incorporating them into the dough.
- Warm Spiced Perfection: Infuse your cookies with cozy, aromatic notes by adding a touch of ground cinnamon (½ to 1 teaspoon) or a delicate pinch of nutmeg. These spices are particularly wonderful for a comforting, autumnal twist.
- Tangy Dried Fruit Medley: If you’re open to exploring beyond pure chocolate, dried cranberries, finely chopped apricots, or even a smaller quantity of traditional raisins (about ½ cup) can introduce a different kind of chewiness and a pleasant tart counterpoint to the sweetness.
- A World of Chocolate: Don’t limit your horizons to just semi-sweet chocolate! Experiment with milk chocolate, rich dark chocolate chunks, sweet white chocolate chips, or a combination of various types for a nuanced range of sweetness and intensity. Butterscotch chips also make a surprisingly fantastic and complementary addition.
- Irresistible Toffee Bits: Stir in a handful of crunchy toffee bits for an added layer of buttery caramel flavor and a delightful textural dimension that truly makes these cookies special.
- Gourmet Sea Salt Finish: For a sophisticated touch that beautifully enhances the chocolate’s depth and cuts through the sweetness, sprinkle a pinch of flaky sea salt (like Maldon) over the top of each cookie dough ball just before they go into the oven.
Storage and Freezing Tips for Lasting Freshness
Ensuring your oatmeal chocolate chip cookies remain fresh, soft, and delicious for as long as possible is simple with proper storage techniques. Whether you’re planning to enjoy them within days or save them for a future craving, these tips will help:
- Storing Baked Cookies at Room Temperature: Once your cookies have completely cooled to room temperature, transfer them to an airtight container. They will maintain their wonderful freshness and chewiness for up to 5-7 days. For an extra touch of softness, you can place a half slice of plain white bread or a small piece of parchment paper inside the container; the cookies will subtly absorb moisture from it.
- Freezing Baked Cookies for Extended Enjoyment: For longer-term storage, fully cooled baked cookies freeze exceptionally well for up to 3 months. To freeze them, first arrange the cookies in a single layer on a baking sheet and place them in the freezer until they are solid (this usually takes about 1-2 hours). Once frozen, transfer the solid cookies to a heavy-duty freezer-safe bag or an airtight container, separating layers with parchment paper to prevent sticking. When you’re ready to enjoy them, simply thaw the cookies at room temperature.
- Freezing Cookie Dough for Future Baking: Freezing raw cookie dough is an excellent way to prepare ahead for fresh-baked treats anytime. Scoop the cookie dough into individual balls, as directed in the recipe. Place these dough balls onto a parchment-lined baking sheet and freeze until they are completely solid (again, about 1-2 hours). Once frozen, transfer the dough balls to a freezer-safe bag or container and store for up to 3 months. When the craving strikes, you can bake these frozen dough balls directly from the freezer. Simply place them on a prepared baking sheet and add an additional 2-4 minutes to the standard baking time (typically around 12-15 minutes total), without needing to thaw them first.
Frequently Asked Questions (FAQs) About Oatmeal Chocolate Chip Cookies
Here are answers to some common questions that arise when baking these delightful cookies:
- Can I use steel-cut oats for these cookies?
- No, absolutely not. Steel-cut oats are dramatically different from rolled or quick oats. They are much coarser and require considerably more liquid and a significantly longer cooking time to soften. Using them in cookie dough will result in a very hard, unpleasant texture that will not soften during the brief baking period. Always stick to old-fashioned (rolled) or quick oats for this recipe.
- Why did my cookies spread too much and turn out flat?
- Excessive spreading can be attributed to several factors. Your butter might have been too warm or even partially melted, leading to a greasy dough that spreads rapidly. An oven temperature that is too low can also cause cookies to spread excessively before they have a chance to set. Another common reason is using too little flour or an incorrect flour measurement. To help prevent spreading, we highly recommend chilling your cookie dough for at least 30 minutes before baking.
- My cookies turned out hard or dry; what could have gone wrong?
- The most frequent culprit for hard or dry cookies is over-baking. Remember the crucial tip: remove them from the oven when the centers still appear slightly soft and unset. Using too much flour (often from improper measurement, like scooping directly from the bag) or making ingredient substitutions that reduce the liquid content can also contribute significantly to dry, dense cookies.
- Is it possible to make this recipe gluten-free?
- Yes, you certainly can adapt this recipe to be gluten-free! To do so, ensure you use certified gluten-free old-fashioned oats and substitute the all-purpose flour with a high-quality 1:1 gluten-free all-purpose flour blend. If you have severe gluten sensitivities, also verify that your baking soda is certified gluten-free. While the texture might have slight variations, the result will still be wonderfully delicious and suitable for those with gluten restrictions.
- How important is it to use room temperature butter and eggs?
- It is incredibly important! Room temperature butter is essential because it creams beautifully with sugar, incorporating vital air pockets into the dough. This aeration is what contributes to the cookies’ light, tender, and chewy texture. Cold butter will not cream properly, resulting in a dense dough, while melted butter will lead to greasy, flat, and less appealing cookies. Room temperature eggs also emulsify better with the butter and sugar, creating a smoother, more uniform dough.
Nutrition
Serving: 1 cookie | Calories: 154kcal | Carbohydrates: 28g | Protein: 3g | Fat: 4g | Saturated Fat: 2g | Polyunsaturated Fat: 2g | Cholesterol: 12mg | Sodium: 89mg | Fiber: 2g | Sugar: 16g
Disclaimer: Nutritional values were calculated using a third-party tool and are provided as an estimation only.
Sharing this recipe with a link is both encouraged and appreciated. Copying/pasting and/or screenshots of full recipes to any social media is strictly prohibited. Content and photographs are copyright protected.
Did you make this recipe?
Don’t forget to leave a rating below and make sure to follow on Pinterest and Instagram for more delicious recipe inspiration and updates!