
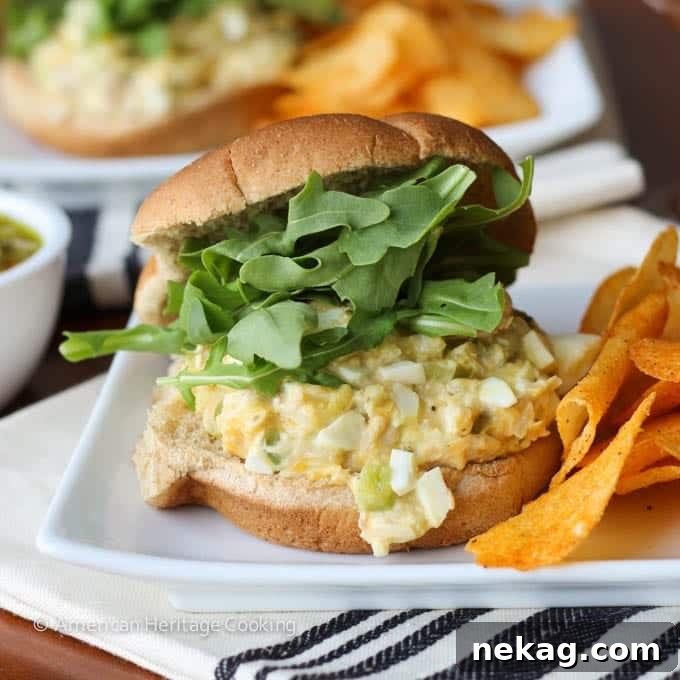
Craving the ultimate comfort food that’s both quick to prepare and incredibly satisfying? Look no further than the **best tuna melt recipe** you’ll ever encounter! This isn’t just any tuna melt; it’s a gourmet spin on a beloved classic, featuring savory tuna salad formed into perfect patties, generously layered with gooey melted cheese, and encased in your favorite toasted bread. Drawing inspiration from cherished family traditions and elevated with professional culinary insights, this recipe transforms humble canned tuna into a truly unforgettable meal in just 30 minutes.
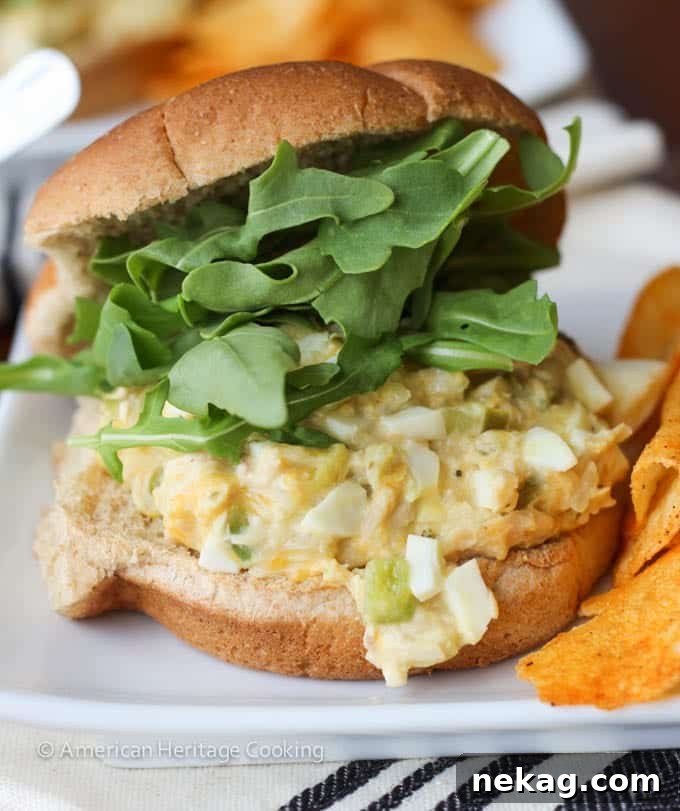
This exceptional tuna melt has its roots in a cherished family recipe, originally crafted by my Grandma Ruth Jean. While preserving its heartwarming essence, I’ve infused it with a professional chef’s touch. My enhancements include a subtle reduction in mayonnaise for a lighter, more balanced texture, and an upgrade to robust cheddar cheese, ensuring a richer flavor profile in every bite. The result is an easy, utterly delicious dish that shines as a satisfying dinner, a quick lunch, or a delightful offering for any casual gathering with friends.
Elevate your weekly sandwich rotation with this standout recipe. For more incredible sandwich inspiration, be sure to explore my real-deal roast beef melt, the indulgent pepper jack juicy lucy, and my personal favorite, the creamy deviled egg salad sandwich!
Table of Contents
- Why You Will Love This Classic Tuna Melt
- Professional Tips for Making the Ultimate Tuna Melt
- Ingredients for the Perfect Tuna Melt
- Creative Variations for Your Tuna Melt
- How to Make a Tuna Melt
- Chef Lindsey’s Recipe Tip: The Secret to Melting Cheese
- Frequently Asked Questions
- Tuna Melt Recipe Card
- Before You Go
Why You Will Love This Classic Tuna Melt
This isn’t just another tuna sandwich; it’s a carefully crafted culinary experience designed to delight your taste buds. Here’s why this particular tuna melt recipe is destined to become a firm favorite in your kitchen:
- Perfectly Balanced Flavors and Textures: Many tuna melt recipes can fall flat, offering a singular savory note and a uniformly soft texture. Our rendition stands out by achieving a harmonious balance. The inclusion of sweet relish introduces a delightful tang that cuts through the richness, while crisp elements like finely chopped bell peppers and onions provide a refreshing crunch. This thoughtful combination ensures every bite is a multi-dimensional pleasure.
- An Innovative Twist on a Timeless Classic: Forget simply spreading tuna salad onto bread. We elevate the experience by forming the tuna salad mixture into distinct patties. This ingenious technique allows us to incorporate shredded cheese directly into the mixture, creating pockets of intensely gooey, melted cheese throughout each patty. The result is a richer, more satisfying, and incredibly cheesy experience from edge to edge.
- Expertly Tested for Restaurant-Quality Results: While cherished home recipes hold a special place, there’s an undeniable confidence that comes from a dish that has been professionally vetted. This tuna melt recipe has been meticulously tested and refined by a chef, ensuring that you can achieve consistent, restaurant-quality results in your own kitchen. You can trust that every measurement and step has been optimized for flavor, texture, and ease of preparation.
Professional Tips for Making the Ultimate Tuna Melt
Achieving the perfect tuna melt is all about attention to detail. Follow these professional tips to ensure your sandwich is nothing short of spectacular:
- Thoroughly Drain Your Tuna: This step is often overlooked but is absolutely critical for the best texture. Excess moisture in the tuna can lead to a watery, soggy salad that won’t hold its form well and can dilute the flavors. Whether your tuna is packed in water or oil, ensure you drain it completely. For tuna packed in water, I even recommend a quick rinse under cold water, followed by pressing out as much liquid as possible. This extra effort will result in a firmer, more flavorful tuna patty.
- Customize to Your Taste: A great recipe is also a flexible one. This tuna melt is designed to be adaptable to your personal preferences. If you desire a creamier tuna salad, don’t hesitate to add a touch more mayonnaise or Miracle Whip until it reaches your desired consistency. Conversely, if you prefer a less sweet and more savory profile, you can reduce the amount of sweet relish or omit it entirely. Feel free to experiment with seasonings like a pinch of black pepper or a dash of hot sauce to make it truly yours.
- Always Taste and Adjust Seasoning Before Cooking: This is a golden rule in any professional kitchen. Before you form your tuna patties and send them to the oven, take a small taste of the tuna salad mixture. This allows you to fine-tune the seasonings. Does it need more salt to brighten the flavors? A bit more acidity from relish or a squeeze of lemon juice? Or perhaps a hint more sweetness? Adjusting at this stage ensures your final product is perfectly seasoned and delicious.
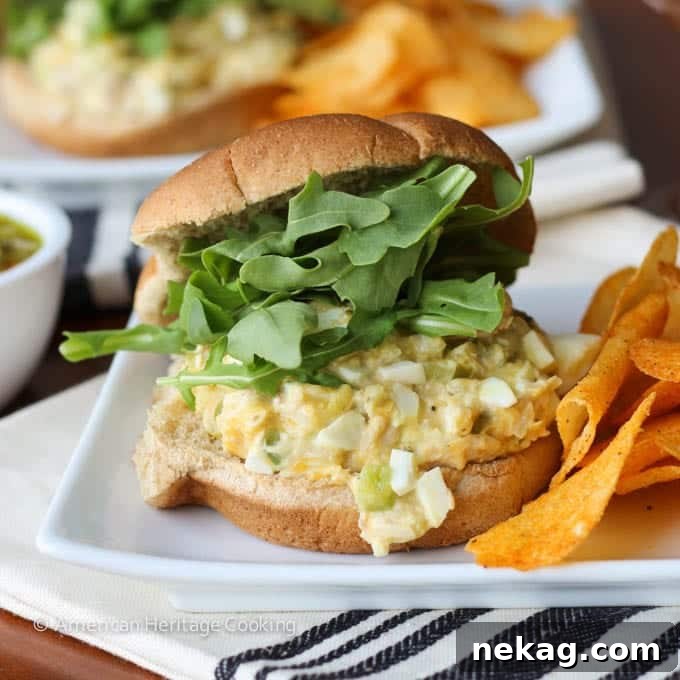
Ingredients for the Perfect Tuna Melt
Crafting the ultimate tuna melt starts with a selection of fresh, high-quality ingredients. Here’s what you’ll need and some tips for choosing the best:
- Tuna: The star of our show! I recommend using one 7-ounce can of tuna fish. You have the choice between water-packed tuna or tuna packed in oil. Water-packed tuna is often preferred for its lighter flavor and lower calorie count, but oil-packed tuna can offer a richer, more luxurious texture. Be sure to drain it thoroughly, regardless of your choice.
- Onion: For a delightful textural contrast and a pungent flavor, you’ll need 2 tablespoons of finely chopped onions. While any variety will work, my personal preference leans towards red, yellow, or sweet onions. Red onions provide a sharp, vibrant note, while sweet onions offer a milder, more subtle sweetness that complements the relish beautifully.
- Bell Peppers: To add a refreshing crunch and a hint of mild sweetness, this recipe calls for 2 tablespoons of finely chopped green bell peppers. Their crisp texture holds up well during baking and provides a lovely counterpoint to the creamy tuna mixture.
- Relish: Sweet relish is a secret weapon in this recipe, crucial for balancing the savory and rich ingredients. Its tangy sweetness brightens the entire dish. If sweet relish isn’t to your liking, feel free to substitute with savory pickle relish or finely chopped dill pickles for a more assertive, briny flavor.
- Hard-Boiled Eggs: Adding 2 tablespoons of chopped hard-boiled eggs to the tuna salad mixture contributes to its classic texture and enriches the flavor profile. My go-to method for perfectly hard-boiled eggs involves placing them in a pot of cold water, bringing it to a rolling boil, then covering the pot, removing it from the heat, and letting them rest for 10 minutes. A quick plunge into an ice bath stops the cooking and makes them easy to peel. Save any extra to whip up some perfect deviled eggs!
- Cheese: For that irresistible gooey center, I use 1 cup of shredded sharp cheddar cheese. This is an upgrade from the original recipe’s American cheese, offering a more complex and mature flavor. However, feel free to experiment with other great melting cheeses like Swiss cheese, provolone, or Monterey Jack for different flavor dimensions.
- Mayonnaise or Miracle Whip: To bind everything together and provide creamy richness, I opted for ¼ cup of Miracle Whip light. The original family recipe called for ½ cup of traditional mayonnaise. Experiment with both options to discover your preferred creaminess and tang. Having some on hand is also great for making slow cooker barbecue pulled chicken sandwiches.
- Rolls or Bread: I love serving these cheesy tuna patties on a soft, toasted brioche bun, creating a delightful “tuna burger” experience. For a more traditional approach, slices of toasted bread are an excellent alternative, especially a hearty deli-style rye bread or sourdough.
Please refer to the detailed recipe card below for precise quantities and additional information.
Creative Variations for Your Tuna Melt
One of the joys of a classic recipe like the tuna melt is its versatility. Feel free to get creative and customize this dish to your heart’s content. Here are some inspiring variations to try:
- Bread Choices Beyond the Bun: While a brioche bun offers a wonderful, slightly sweet richness, the tuna mixture is equally delicious served on a variety of bases. Try two slices of crisp, toasted bread for a traditional sandwich, or go for an open-faced tuna melt on a single slice. Popular choices include tangy sourdough, wholesome whole wheat sandwich bread, or soft potato bread. For a different texture, consider a crunchy English muffin or a sturdy ciabatta.
- Infusion of Fresh Herbs: Elevate the aroma and flavor of your tuna salad by incorporating fresh herbs. Finely chopped dill adds a bright, slightly anise-like freshness that pairs beautifully with seafood, while parsley offers a clean, herbaceous note. Chives can also provide a delicate oniony kick. A tablespoon or two, stirred into the mix, can make a significant difference.
- Beyond Traditional Additions: Don’t limit yourself to the classic sweet relish. Explore a spectrum of additions to discover your ideal flavor profile. Consider finely chopped celery for extra crunch and a subtle earthy note, green onions for a milder onion flavor, or a spoonful of Dijon mustard for a sophisticated tang. A squeeze of fresh lemon juice brightens the entire mixture, while a dash of freshly ground black pepper adds warmth. For an unexpected burst of freshness, I often add thin slices of ripe tomato within the sandwich or a sprinkle of paprika for color and a subtle smoky hint. Experiment to find your perfect combination!
How to Make a Tuna Melt
Follow these simple, detailed instructions to create the perfect tuna melt recipe every single time. More precise measurements and comprehensive details are conveniently located in the recipe card further down this page!
Step 1: Prepare Your Oven for Even Cooking. Begin by preheating your oven to 350°F (175°C). This ensures that when your tuna patties go in, they start cooking immediately and achieve a beautiful, even golden-brown finish and perfectly melted cheese.
Step 2: Craft the Flavorful Tuna Patties. In a spacious mixing bowl, combine the thoroughly drained canned tuna, finely chopped onion, crisp bell peppers, shredded cheese, chopped hard-boiled eggs, sweet relish, and your choice of Miracle Whip or mayonnaise. Using a fork, gently mix all the ingredients until they are just combined. Be careful not to overmix, as this can break down the tuna too much. Once mixed, divide the tuna salad into four equal portions. Shape each portion carefully into a uniform patty. The goal is patties that are roughly the same size and thickness for consistent cooking. After forming, individually wrap each tuna patty in aluminum foil, sealing it securely to lock in moisture and flavor during baking. Place the foil-wrapped patties directly onto a baking sheet and bake in your preheated oven for 30 minutes. This baking method ensures the patties are heated through, and the cheese within becomes wonderfully melty without overcooking the outer layers.
Pro Tip: Ensure your patties are as uniform in size and thickness as possible. This critical step guarantees that they will all finish cooking at precisely the same time, preventing some from being undercooked or overdone.
Step 3: Assemble and Serve Your Masterpiece. Once the tuna patties are baked to perfection, carefully unwrap them from the aluminum foil. Serve these warm, cheesy patties immediately on your chosen rolls or slices of perfectly toasted bread. For an extra touch of deliciousness, you might add a fresh slice of tomato, a crisp lettuce leaf, or a sprinkle of fresh herbs. Enjoy your homemade, perfectly cooked tuna melt!
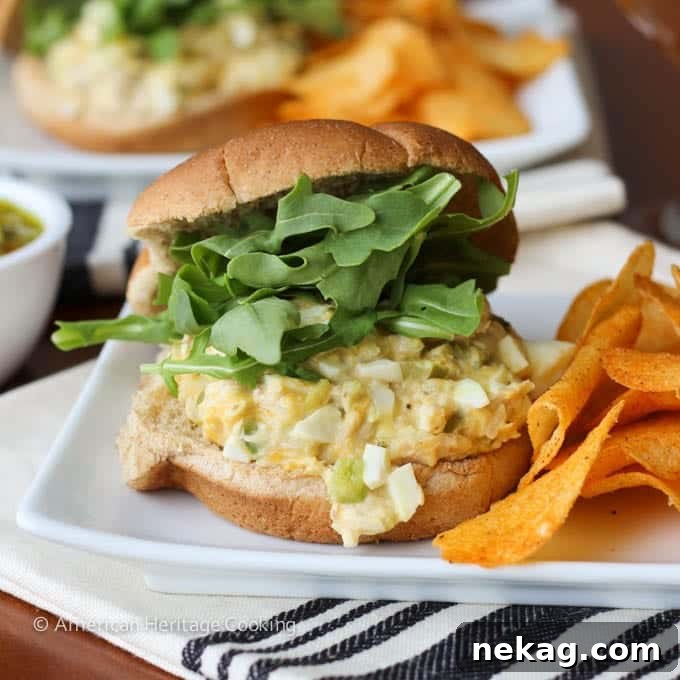
Chef Lindsey’s Recipe Tip: The Secret to Melting Cheese
Always use a good melting cheese. The key to that irresistible, gooey texture in your tuna melt lies in selecting the right type of cheese. Opt for cheeses renowned for their superior melting properties. Excellent choices include sharp cheddar, mozzarella for a stringier melt, rich Gruyère, mild provolone, or creamy Monterey Jack cheese. These varieties will create the most decadent and satisfying cheesy goodness in every bite.
Frequently Asked Questions
Storing leftover tuna patties correctly ensures they remain fresh and delicious. Place the cooled patties in an airtight container and refrigerate them for up to 3-4 days. It’s best to store the patties separately from the rolls or bread to prevent sogginess. For longer storage, tuna patties can be frozen for up to approximately 3 months. To freeze, wrap each patty individually in plastic wrap, then place them in a freezer-safe bag or container. Again, freeze buns or bread separately.
Absolutely! While forming patties is a signature element of this recipe, you can certainly adapt it to a more traditional tuna melt. Simply prepare the tuna salad mixture as directed, then spoon it onto a slice of your favorite toasted bread or a split bun. Top with an extra slice of cheese, if desired. You can then bake it in the oven for about 7-10 minutes, or until the cheese is beautifully melted and bubbly, and the tuna salad is warmed through. This open-faced method is equally delicious and quick.
Yes, cooking a tuna melt in a skillet is a fantastic alternative for a quicker, stovetop version. Prepare the tuna salad mixture exactly as written. Lightly butter your bread slices or buns and place them in a hot skillet over medium heat. Toast until they achieve a golden-brown crispness. Then, spread a generous amount of the tuna salad onto one slice of the toasted bread. Top it with a slice of melting cheese, if not already mixed in, and then with the other slice of toasted bread or the top half of the bun. Cook for a few minutes on each side, pressing gently, until the cheese is wonderfully melted and the sandwich is hot throughout.
A classic tuna melt pairs wonderfully with a variety of sides, making it a versatile meal. For a simple and satisfying accompaniment, grab a bag of your favorite potato chips (barbecue chips are a popular choice!), or serve alongside crisp dill pickles for a refreshing tang. For something a little greener, a light and vibrant kale and cabbage slaw salad is an excellent choice. Other delicious pairings include comforting sweet potato oven fries, a bowl of warm easy tomato bisque, or flavorful rosemary lemon roasted cauliflower for a healthier option. The possibilities are endless for creating a complete and delightful meal!
If you tried this amazing **tuna melt recipe** and absolutely loved it, please take a moment to leave a 🌟 star rating and share your thoughts in the comments below. I truly value your feedback and love hearing about your cooking adventures – your comments always make my day!
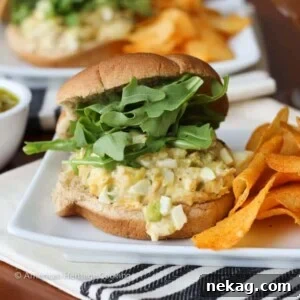
Tuna Melt
Comment
Print Recipe
Ingredients
- 1 7-oz can tuna fish
- 2 tablespoons chopped onions
- 2 tablespoons chopped green peppers
- 2 tablespoons sweet relish
- 2 tablespoons chopped hard boiled eggs
- 1 cup shredded cheddar cheese or American
- ¼ cup Miracle Whip light the original calls for ½ cup mayo
Instructions
-
Preheat the oven to 350°F (175°C).
-
In a bowl, mix the canned tuna, onion, peppers, cheese, eggs, relish, and Miracle Whip or mayo well, but lightly with a fork. Form four uniform patties and wrap each securely in aluminum foil. Bake for 30 minutes in the preheated oven.
-
Carefully unwrap the hot patties and serve immediately on rolls or toasted bread.
Notes
Variations – Experiment with adding fresh herbs like finely chopped dill or parsley to your tuna salad recipe for a burst of freshness.
Storage – Leftover tuna patties can be stored in an airtight container in the fridge for 3-4 days. For best results, keep the patties separate from the bread or rolls. Patties can also be frozen for longer preservation.
Nutrition
Before You Go
Thank you for exploring this professionally chef-tested recipe for the ultimate tuna melt! We hope you enjoyed preparing and savoring this comforting classic. For more inspiring and delicious meal ideas, especially quick and satisfying lunch options, be sure to check out our extensive collection of other chef-developed sandwich recipes. Happy cooking!