
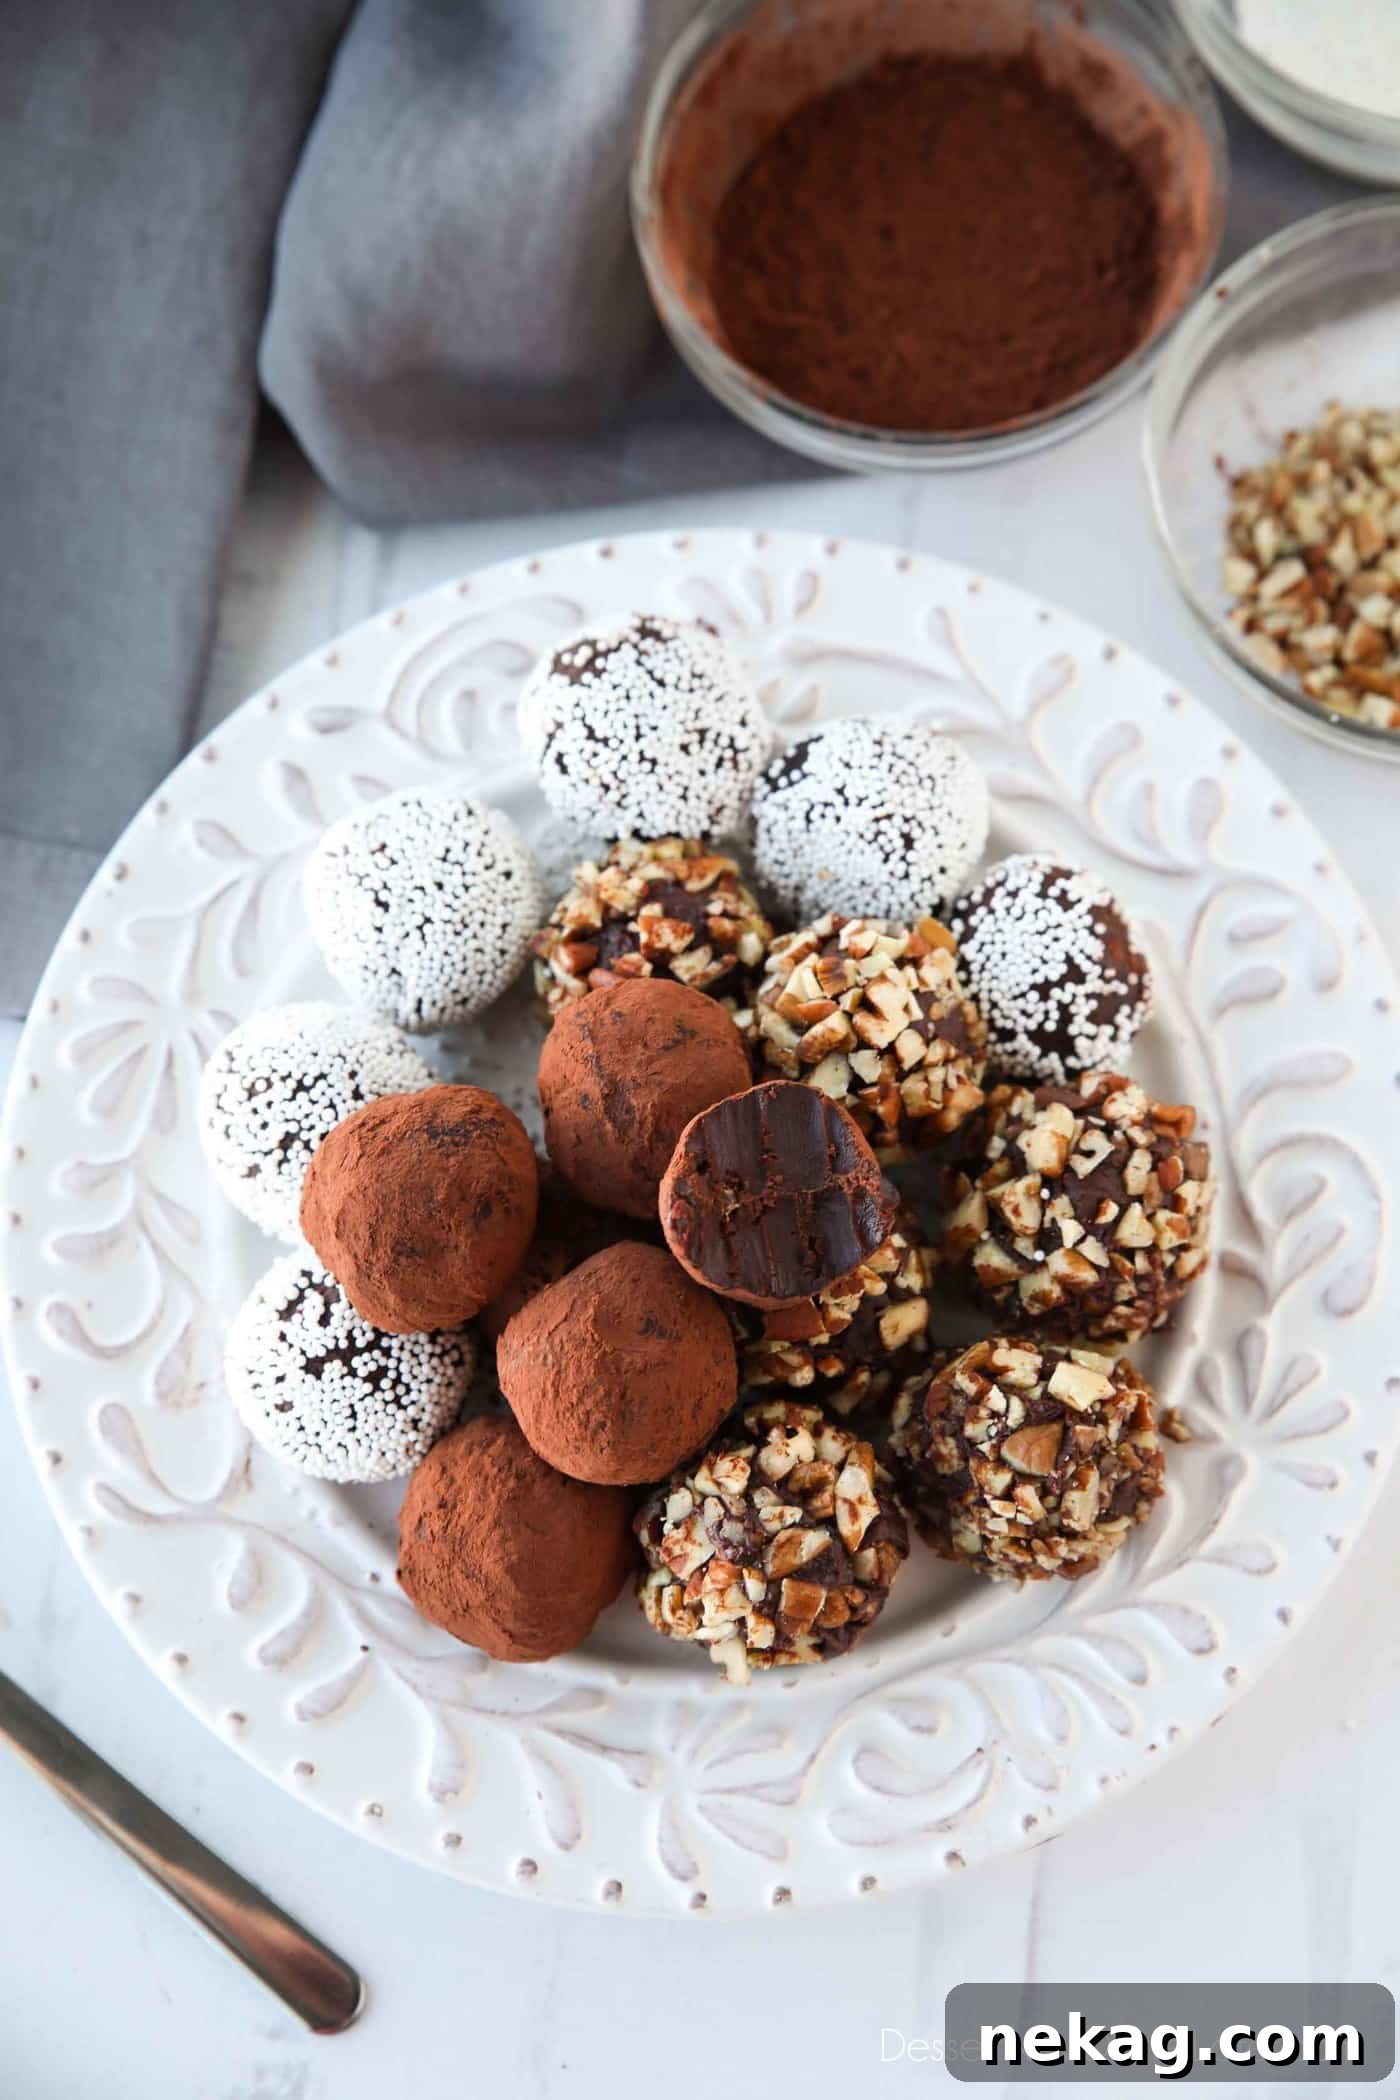
Welcome to the delightful world of homemade chocolate truffles! These decadent treats are surprisingly simple to create, requiring just a few basic ingredients and a touch of passion. With endless possibilities for customization through various extracts and toppings, you can craft a unique, creamy chocolate experience perfect for any occasion. They also make an exquisite, thoughtful gift that truly impresses.
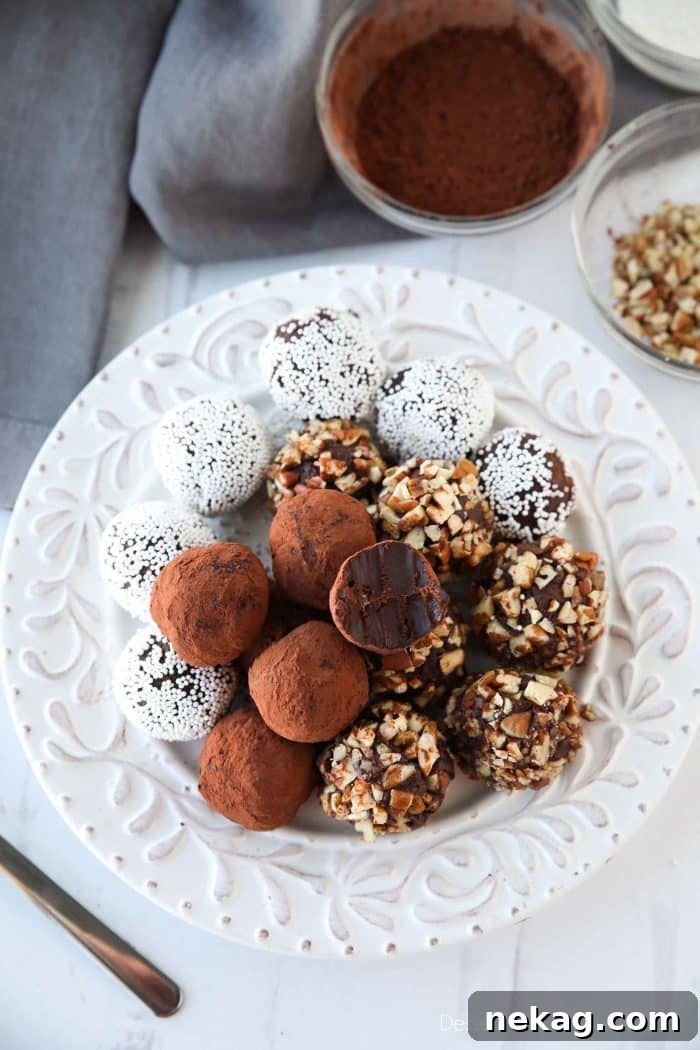
Chocolate truffles represent the pinnacle of gourmet candy that’s remarkably accessible for home bakers. Far from intimidating, these luxurious confections are an ideal project for anyone looking to create something truly special without complex techniques. The magic lies in their versatility: you can infuse them with an array of flavors using different extracts, aromatic oils, or even fine liquors, then adorn them with an endless variety of coatings to match your mood or the occasion.
Beyond personal indulgence, homemade chocolate truffles shine as an exceptional edible gift. Imagine presenting a beautifully boxed assortment for Valentine’s Day, a festive addition to holiday neighbor plates at Christmas, or a sophisticated treat for a dinner party host. Their elegant appearance belies their straightforward preparation, making them a fantastic make-ahead option for busy entertainers or thoughtful gift-givers.
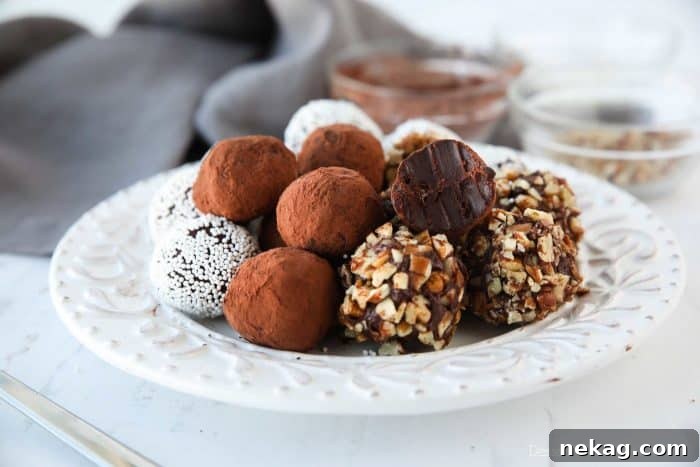
Why Make Your Own Chocolate Truffles?
There’s an undeniable charm and satisfaction in creating confections from scratch, and chocolate truffles are no exception. Store-bought truffles, while convenient, often lack the fresh, nuanced flavors and melt-in-your-mouth texture of their homemade counterparts. When you make them yourself, you control every ingredient, from the quality of the chocolate to the intensity of the flavorings and the variety of toppings.
This control means you can cater to specific dietary needs, experiment with unique flavor profiles, or simply ensure the freshest, most delicious outcome. The process itself is therapeutic, a delightful culinary adventure that culminates in a truly impressive product. Plus, the cost-effectiveness of homemade truffles compared to artisanal chocolate shop prices is a definite bonus, allowing you to produce a generous batch of gourmet treats for a fraction of the cost.
The Secret to Perfect Truffles: Ganache
At the heart of every exquisite chocolate truffle is ganache – a luxurious, velvety emulsion of chocolate and cream. The quality of your ingredients directly impacts the final taste and texture of your truffles, so choose wisely. For truly outstanding results, opt for high-quality dark chocolate with a cocoa content of 60% or higher. This provides a deep, rich chocolate flavor that isn’t overly sweet, allowing other notes to shine through. While the recipe specifies dark chocolate, you can experiment with milk chocolate for a sweeter, milder truffle, or even white chocolate for a different flavor profile, adjusting the cream ratio slightly as needed since different chocolates have varying fat contents.
Heavy whipping cream is essential for creating the perfect consistency. Its high-fat content emulsifies beautifully with the chocolate, creating that signature smooth, stable ganache. Avoid using lighter creams, as they may lead to a grainy or unstable mixture.
Vanilla extract is a classic addition, enhancing the chocolate’s natural flavors. However, this is where customization truly begins! Consider adding a hint of almond extract for a marzipan-like essence, a splash of coffee extract to intensify the chocolate, or a few drops of peppermint oil for a refreshing twist. For adult palates, a tablespoon of your favorite liquor – be it rum, brandy, Kahlúa, or Grand Marnier – can elevate your truffles to an even more sophisticated level.
How to Make Chocolate Truffles: Step-by-Step Guide
Preparation is Key
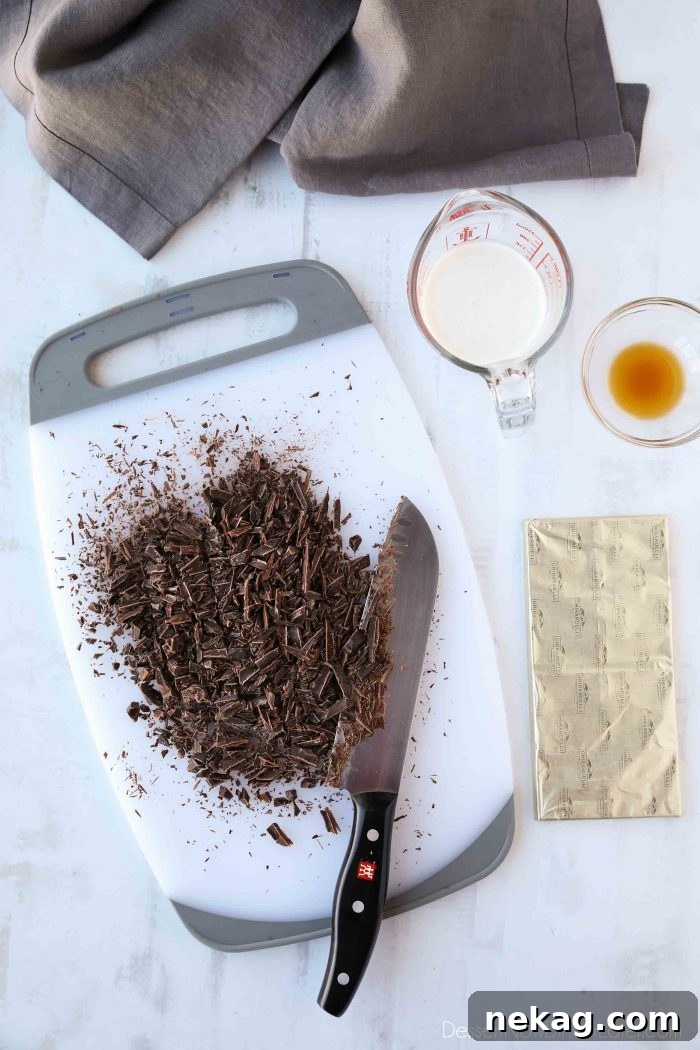
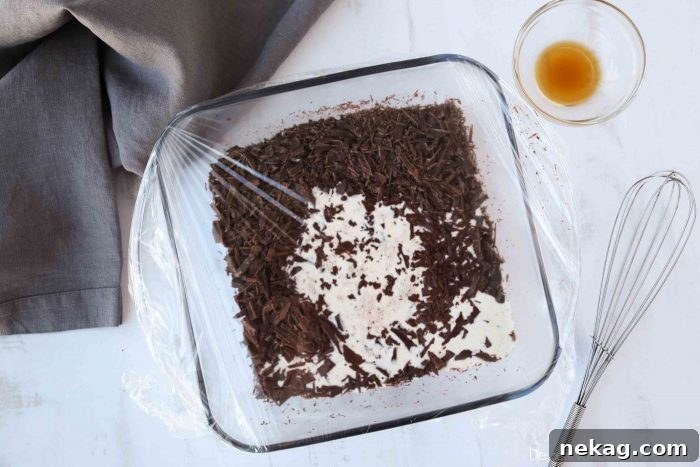
Begin by finely chopping your chocolate. This is a crucial step as smaller pieces melt more evenly and quickly, ensuring a smooth ganache without lumps. Place the finely chopped chocolate into a heat-proof bowl. A square baking dish or a wide, shallow bowl can be particularly helpful for even distribution of heat when the cream is added.
Heating the Cream
Next, gently heat the heavy cream. You can do this in a microwave-safe jug or a small saucepan on the stove. The goal is to bring the cream to a steaming point, just before it boils vigorously. Look for small bubbles forming around the edges and wisps of steam rising from the surface. Be careful not to scorch the cream. Once heated, immediately pour the hot cream over the chopped chocolate, ensuring all the chocolate is submerged.
The Ganache Emulsion
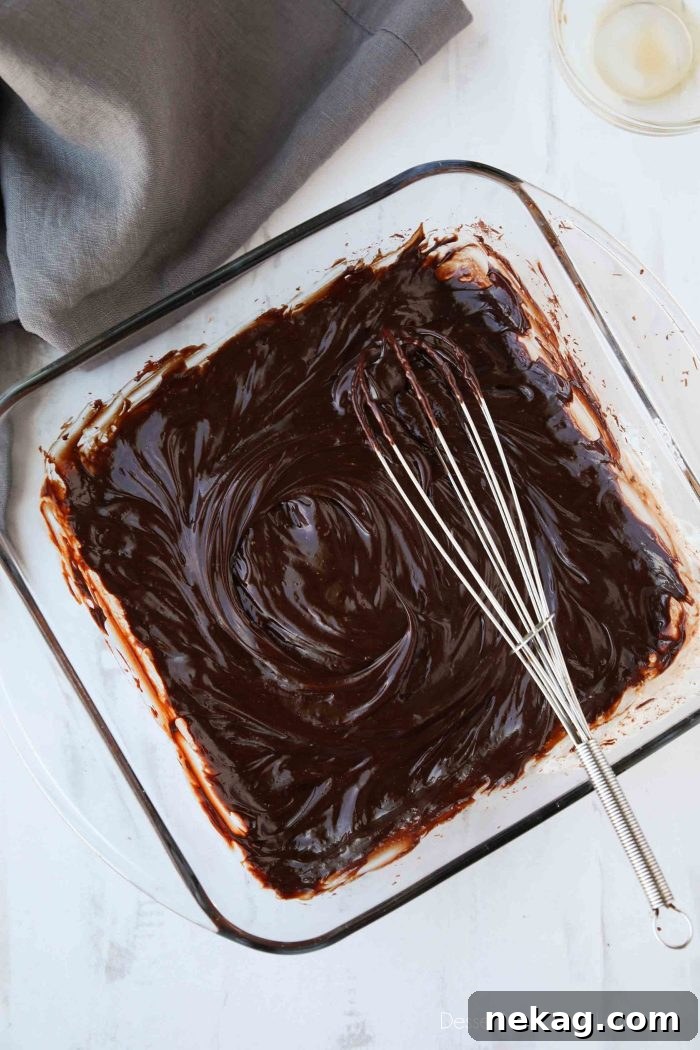
Cover the bowl tightly with plastic wrap to trap the heat. This allows the residual heat from the cream to gently melt the chocolate, ensuring a smooth, lump-free ganache. Let it rest undisturbed for a few minutes. This resting period is essential for the chocolate to melt thoroughly. After resting, remove the plastic wrap and, using a whisk, slowly begin to stir the mixture from the center outwards. You’ll witness the magic as the chocolate and cream emulsify into a glossy, homogenous ganache. Stir in your chosen flavoring, such as vanilla extract, at this stage.
Chilling for Perfection
Once your ganache is smooth and flavored, it needs to firm up. Refrigerate the chocolate ganache for approximately one hour, or until it reaches a consistency firm enough to scoop and hold its shape. The exact chilling time can vary depending on your refrigerator’s temperature and the type of chocolate used. You want it firm but still pliable – not rock hard. If it becomes too hard, let it sit at room temperature for a few minutes to soften slightly.
Shaping and Coating
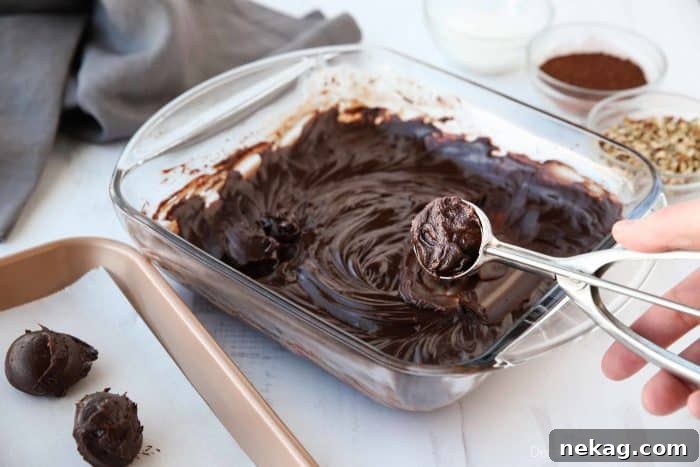
Prepare a baking sheet by lining it with parchment paper. Using a #50 or #60 size scoop (roughly two teaspoons), portion out the chilled ganache. These scoops help create uniform truffles, though you can also use a spoon. Work quickly to prevent the ganache from becoming too soft from the warmth of your hands. Roll each portion between your palms to form a smooth, round ball. This part can be a bit messy, so don’t be afraid to get your hands dirty!
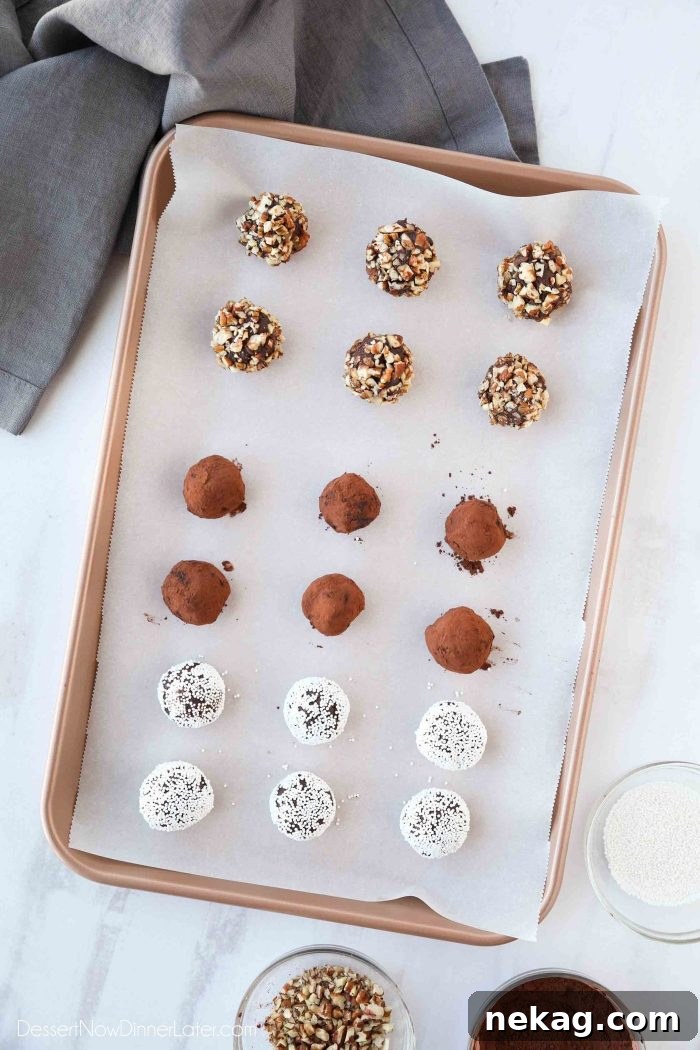
Once shaped, immediately roll each truffle in your chosen topping. Place the coated truffles back onto the parchment-lined tray. Repeat the process until all the ganache is used. For best results and to maintain their shape, you might want to chill the truffles again briefly after coating, especially if your kitchen is warm.
Unleash Your Creativity: Topping Ideas for Chocolate Truffles
The exterior of your chocolate truffles is where you can truly let your imagination run wild. A simple coating can transform a plain truffle into an edible work of art. Here are some fantastic ideas to get you started:
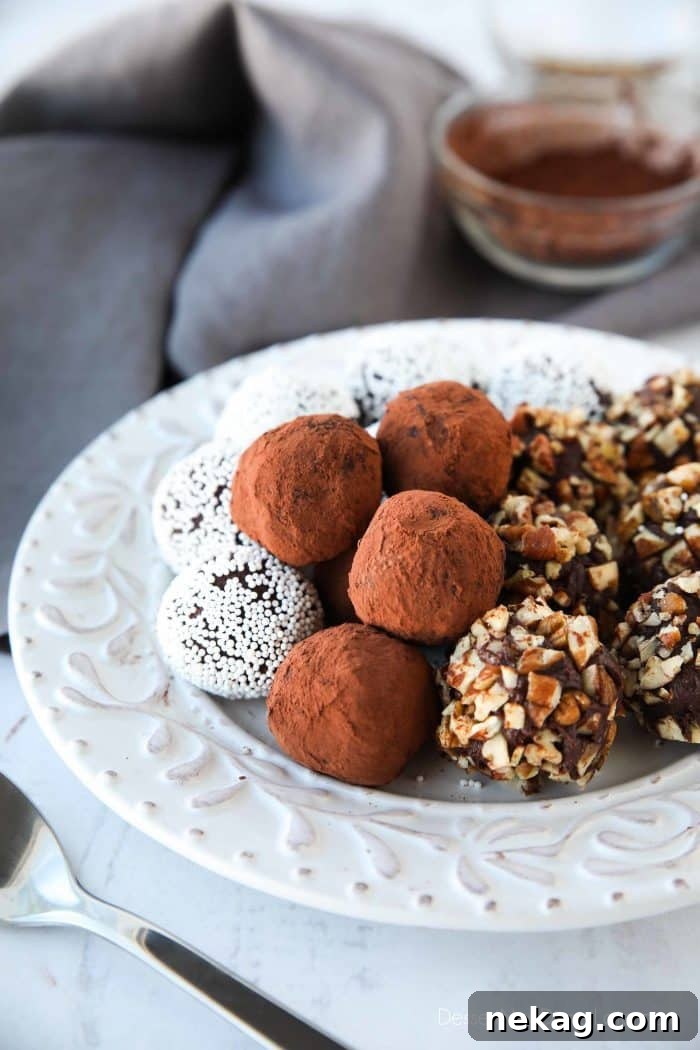
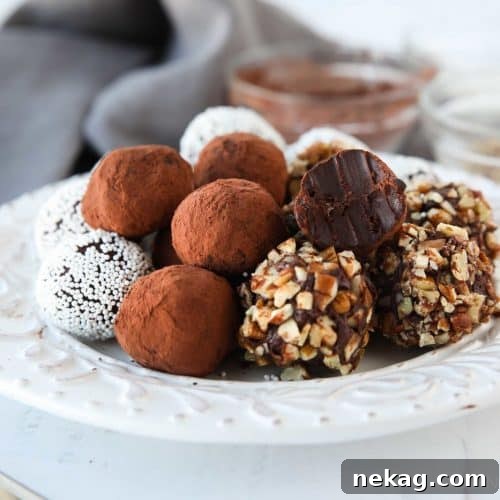
- Classic Cocoa Powder: A timeless choice that provides a beautiful matte finish and a hint of bitterness, contrasting perfectly with the sweet interior.
- Finely Chopped Nuts: Enhance texture and flavor with toasted pecans, almonds, walnuts, hazelnuts, or pistachios. Toasting them beforehand brings out their deep, nutty aroma.
- Sprinkles: Nonpareils offer a classic candy-store look and a satisfying crunch, while regular sprinkles add a festive burst of color.
- Toasted or Regular Shredded Coconut: Provides a tropical twist and delightful chewiness. Toasting deepens its flavor.
- Powdered Sugar: A soft, elegant coating that melts delicately on the tongue.
- Freeze-Dried Fruit Powder: Blend freeze-dried strawberries, raspberries, or blueberries into a fine powder for a vibrant color and tangy fruit flavor.
- Melted Chocolate Coating: For a truly decadent experience, dip your truffles in melted milk, semi-sweet, or white chocolate. Ensure the truffles are very cold before dipping to prevent them from melting and to achieve a crisp chocolate shell.
- Crushed Cookies or Wafers: Finely crush Oreos, graham crackers, or vanilla wafers for a playful, textural coating.
- Spices: A dusting of cinnamon, chili powder (for a Mexican chocolate kick), or a blend of warm spices can add an unexpected depth.
- Sea Salt Flakes: A sprinkle of flaky sea salt creates a sophisticated sweet-and-salty balance.
Note on Dipped Truffles: If you plan to dip your truffles in melted chocolate for a firm chocolate exterior, they will require an additional chilling period after shaping and before dipping. This ensures they are firm enough to withstand the warm melted chocolate without losing their shape, and helps the outer shell set quickly and evenly.
Gifting Homemade Truffles
Homemade truffles are not just a dessert; they are a heartfelt gesture. Presenting them beautifully can enhance their appeal even further. Consider elegant small boxes lined with parchment or tissue paper, clear cellophane bags tied with a festive ribbon, or even mini cupcake liners placed in a decorative tin. Labeling your creations with flavor descriptions adds a professional touch and helps recipients appreciate the thought you’ve put in. These personal touches transform a simple treat into a memorable gift for birthdays, anniversaries, holidays, or as a thoughtful thank-you.
Storage and Enjoyment
While chocolate truffles are best enjoyed at room temperature, allowing their creamy texture and complex flavors to fully bloom, proper storage is key to extending their shelf life. Store your homemade truffles in an airtight container in the refrigerator for up to two weeks. Before serving, allow them to come to room temperature for about 15-20 minutes to achieve that perfect melt-in-your-mouth consistency. This brief wait is well worth it for the ultimate indulgent experience.
Troubleshooting Common Truffle Problems
- Ganache Too Thin: If your ganache seems too runny even after chilling, it might be due to too much cream or not enough chocolate. Try adding a bit more finely chopped chocolate to the warm ganache and stir until melted and smooth. Chill again.
- Ganache Too Thick/Hard: If it’s too hard to scoop or roll, let it sit at room temperature for a while to soften. If it’s still too firm, you can gently warm it in a double boiler or microwave for very short bursts (5-10 seconds) until it becomes pliable.
- Greasy Ganache: This can happen if the ganache breaks or separates, often due to overheating or over-stirring. If it’s slightly greasy, try adding a tablespoon of cold cream and stirring vigorously to bring it back together.
- Lumpy Ganache: Usually a sign that the chocolate wasn’t chopped finely enough or the cream wasn’t hot enough. You can gently reheat the ganache over a double boiler, stirring constantly, until smooth.
The Ultimate Homemade Chocolate Truffles Recipe
Crafting these luxurious chocolate truffles at home is a rewarding experience, yielding exquisite results with minimal effort. Follow this detailed recipe to create your own batch of irresistible, customizable treats.
Chocolate Truffles
Homemade chocolate truffles are incredibly easy to make with just a few simple ingredients. Customize them with various extracts or toppings for a truly unique, creamy chocolate treat perfect for gifting or personal indulgence.
Yields: 18-20 truffles
Prep Time: 20 mins
Chill Time: 1 hr
Total Time: 1 hr 20 mins
Ingredients
- 8 oz (227 g) dark chocolate (60%), finely chopped
- ½ cup (118 ml) heavy whipping cream
- ½ tsp pure vanilla extract (or other desired flavoring)
- Assorted toppings for rolling (e.g., cocoa powder, toasted chopped pecans, sprinkles, shredded coconut)
Equipment
- #60 Cookie Scoop (or similar, about 2 teaspoons capacity)
- Aluminum Half Sheet Tray
- Parchment Paper
- Heat-safe bowl
- Whisk
- Plastic wrap
Instructions
- Chop the dark chocolate into very small, uniform pieces. Place the chopped chocolate into a clean, heat-safe bowl or dish.
- Heat the heavy whipping cream in the microwave or on the stovetop until it begins to steam and simmer, just before a full boil. Watch it carefully, as cream can puff up quickly.
- Pour the hot cream directly over the chopped chocolate, ensuring all chocolate pieces are submerged. Immediately cover the bowl tightly with plastic wrap and let it sit undisturbed for 2 minutes to allow the chocolate to melt from the residual heat.
- Remove the plastic wrap. Using a whisk, gently stir the mixture starting from the center and working your way outwards until the ganache is completely smooth and glossy. Stir in the vanilla extract or any other chosen flavoring.
- Refrigerate the chocolate ganache for approximately 1 hour, or until it has firmed up enough to be easily scooped and rolled into balls.
- While the ganache chills, prepare your chosen toppings by placing them in separate shallow bowls. Line a baking sheet with parchment paper.
- Once chilled, use a #50 or #60 size scoop (about 2 teaspoons) to portion the ganache onto the prepared parchment-lined sheet tray.
- Working quickly to prevent the ganache from softening too much, roll each scooped portion between your palms to form a round truffle. Immediately roll the shaped truffle in your desired topping until fully coated.
- Place the coated truffles back onto the parchment-lined tray. Repeat with the remaining ganache and toppings.
- For best results, especially if dipping in melted chocolate, chill the finished truffles for an additional 15-30 minutes to ensure they are firm.
- Store the chocolate truffles in an airtight container in the refrigerator for up to 2 weeks. Serve them at room temperature for the best texture and flavor.
Notes
- If dipping truffles in melted chocolate, ensure they are very cold before dipping to prevent melting and achieve a smooth, firm chocolate shell.
- Using high-quality chocolate, such as Ghirardelli Baking Bars, will significantly improve the taste and texture of your truffles.
- Experiment with different extracts (e.g., almond, orange, coffee) or a tablespoon of liquor (e.g., rum, brandy) for unique flavor variations.
Nutrition (Estimated per truffle)
Serving: 1 truffle | Calories: 98kcal | Carbohydrates: 6g | Protein: 1g | Fat: 8g | Saturated Fat: 5g | Polyunsaturated Fat: 0.3g | Monounsaturated Fat: 2g | Trans Fat: 0.004g | Cholesterol: 8mg | Sodium: 4mg | Potassium: 97mg | Fiber: 1g | Sugar: 3g | Vitamin A: 102IU | Vitamin C: 0.04mg | Calcium: 14mg | Iron: 2mg
Disclaimer: Nutritional values are provided as an estimation only and may vary based on specific ingredients and preparation methods.
More Decadent Homemade Treats
If you’ve enjoyed making these delightful chocolate truffles, you’ll surely love exploring other homemade candy recipes that are just as satisfying and perfect for sharing:
- Cracker Toffee
- Homemade Caramels
- Peppermint Bark
Did you make this?
Don’t forget to leave a rating below and make sure to follow us on Pinterest and Instagram for more delicious inspiration!
Sharing this recipe with a link is both encouraged and appreciated. Copying/pasting and/or screenshots of full recipes to any social media is strictly prohibited. Content and photographs are copyright protected.