
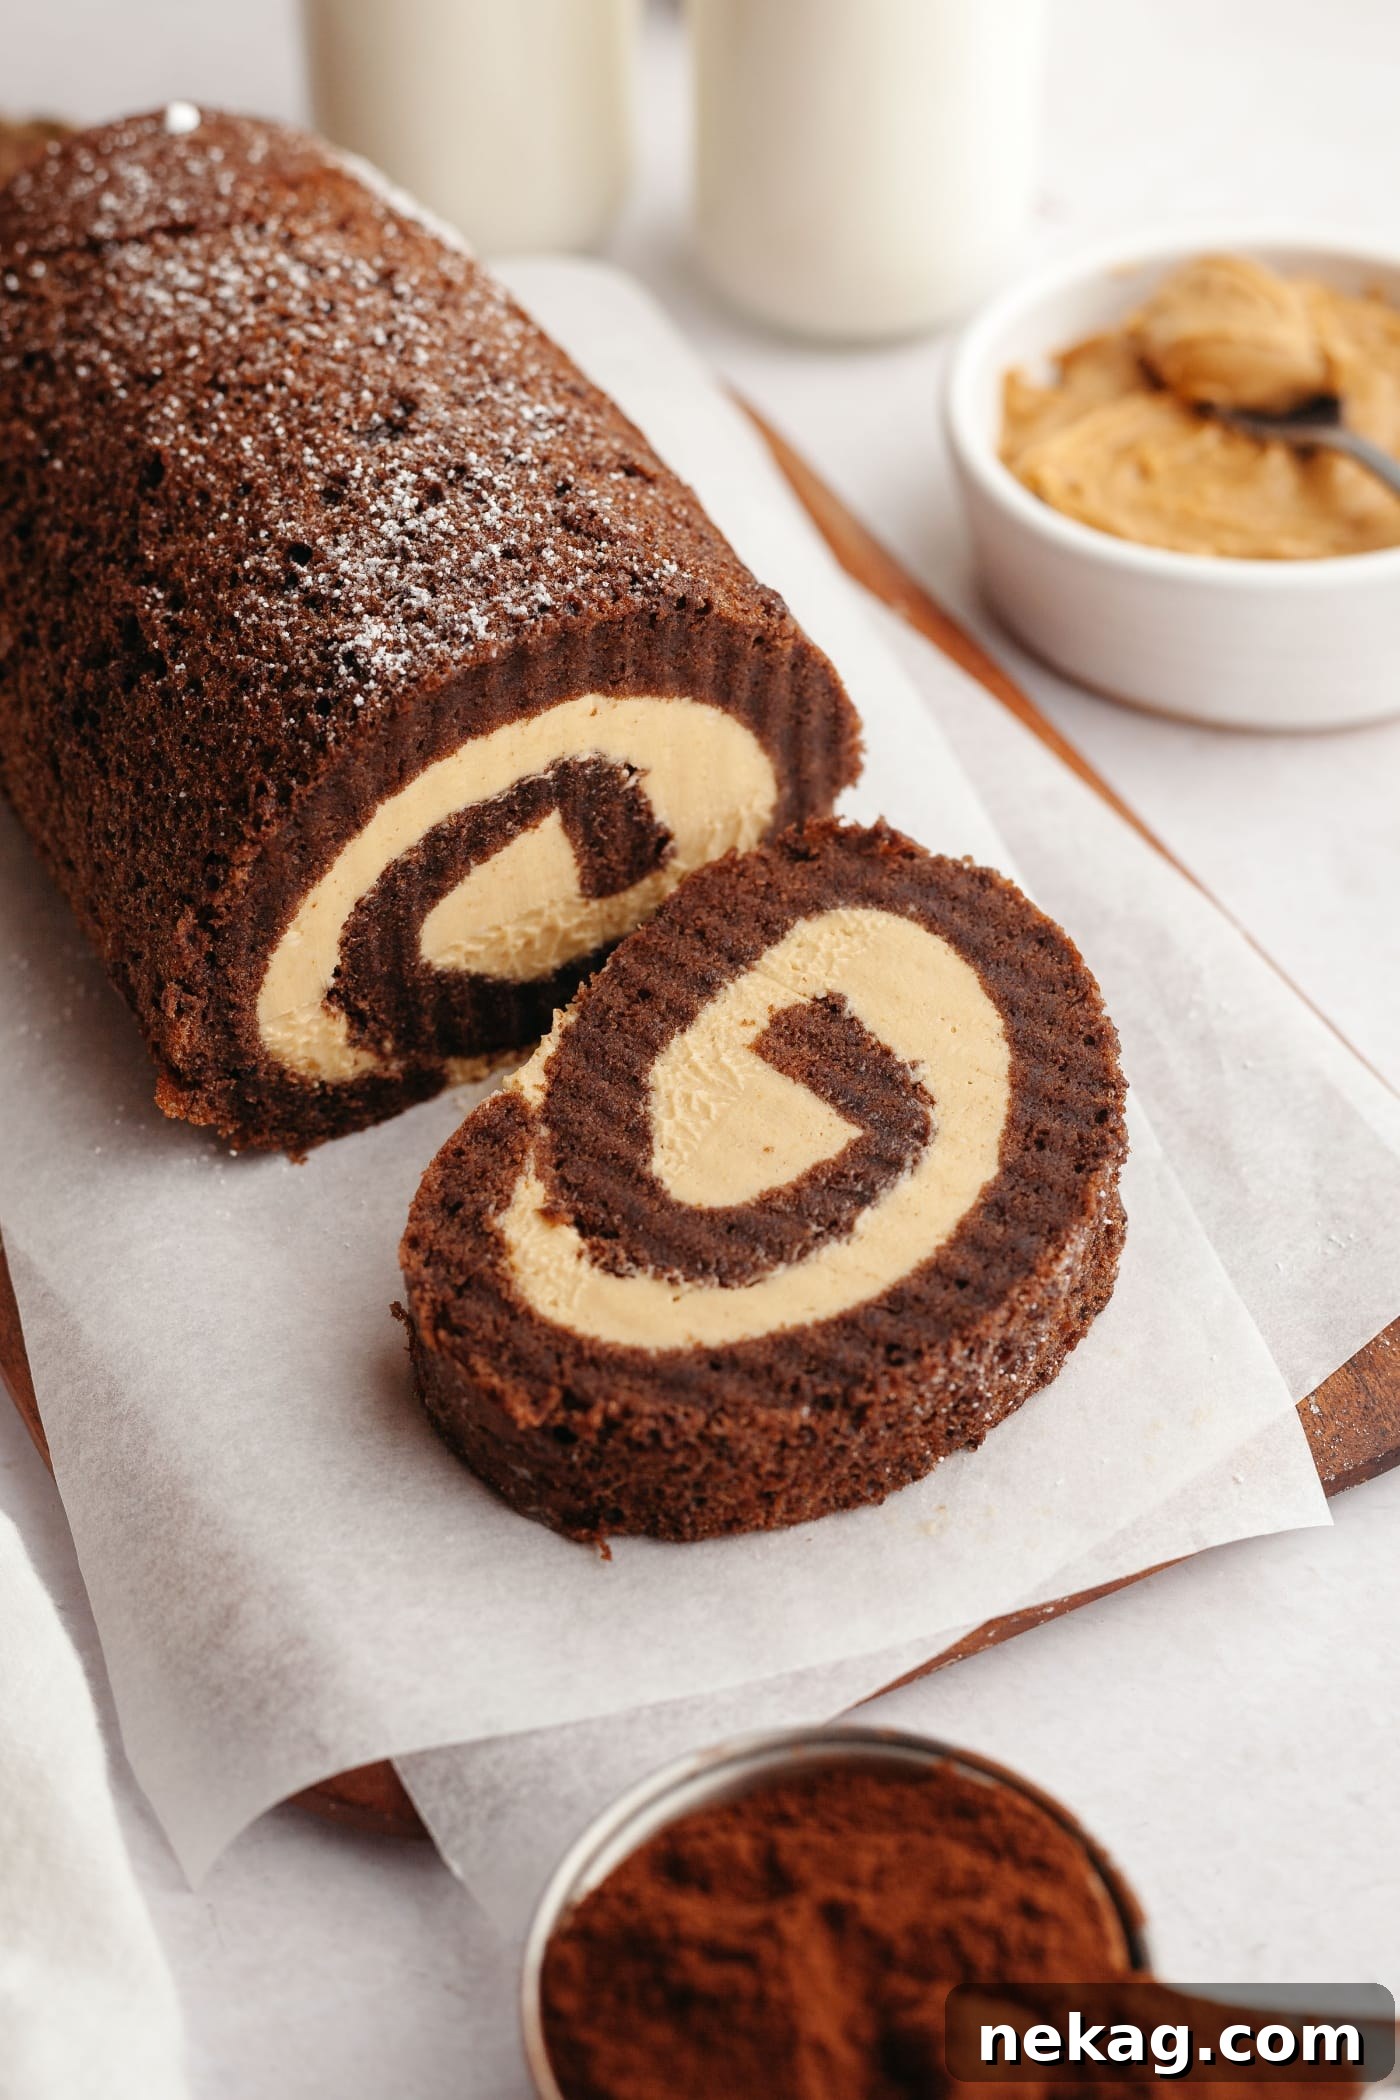
Decadent Chocolate Sponge Roulade with Creamy Peanut Butter Filling
Prepare to impress with this spectacular Chocolate Sponge Roulade, a dessert that looks incredibly fancy but is surprisingly simple to master. Imagine a feather-light, intensely chocolatey sponge cake, gently rolled around a luscious, whipped peanut butter filling. This exquisite combination creates a harmonious balance of rich flavors and delicate textures, making every bite an unforgettable experience. Perfect for adding a touch of elegance to special occasions, holiday feasts, or simply to satisfy a craving for something truly indulgent, this chocolate cake roll promises to be a showstopper on any dessert table.
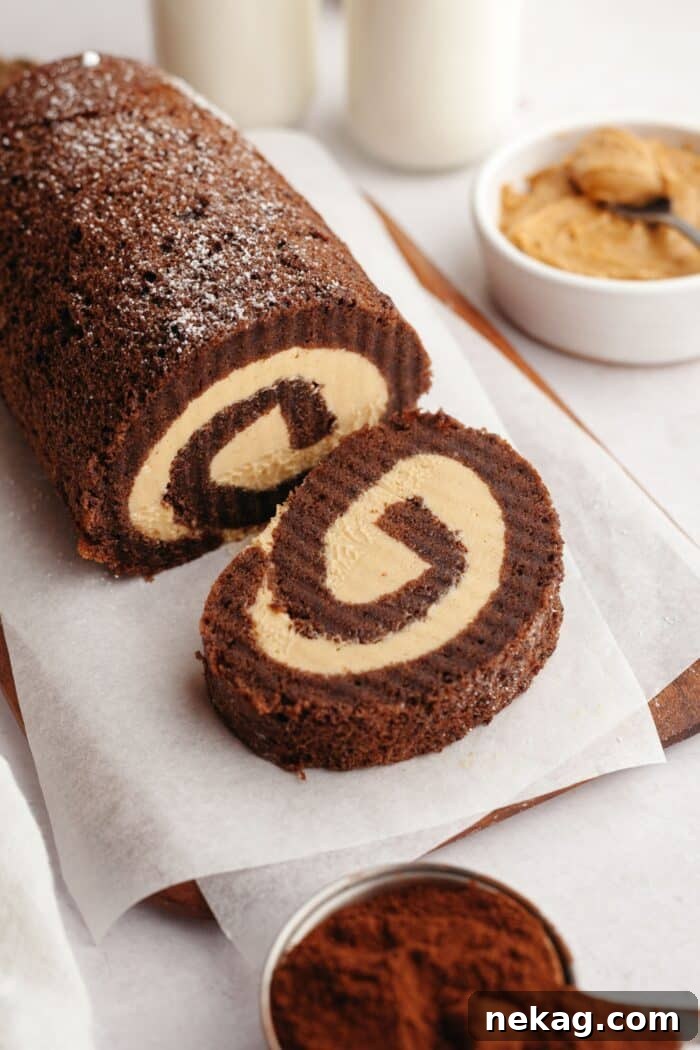
Why This Chocolate Peanut Butter Roulade Will Be Your New Favorite Dessert
This isn’t just another dessert; it’s an experience waiting to happen. The delightful contrast between the airy chocolate cake and the creamy peanut butter filling is simply irresistible. Here’s why you’ll fall in love with this recipe:
- Unforgettable Flavor Combination: The classic pairing of rich chocolate and nutty peanut butter reaches new heights in this elegant roulade, offering a sophisticated yet comforting taste.
- Elegant Presentation, Easy Execution: Despite its sophisticated appearance, the rolling technique is straightforward, allowing you to create a visually stunning dessert without the stress.
- Perfect for Any Occasion: Whether it’s a birthday, an anniversary, a festive holiday gathering (it makes a fantastic Christmas yule log!), or simply an evening treat, this roulade elevates any event.
- Crowd-Pleasing and Shareable: Its rolled shape makes it incredibly easy to slice and serve, ensuring that everyone gets a perfect piece of this delectable treat.
- Satisfying Baking Process: There’s a unique satisfaction in rolling the warm sponge and then slicing into that beautiful spiral. It’s a project that’s truly rewarding from start to finish.
This chocolate sponge roulade is more than just a dessert; it’s a delightful journey for your taste buds, bringing a touch of bakery-quality luxury right into your home. Its charming spiral, combined with the decadent flavors, guarantees to leave a lasting impression on anyone lucky enough to try it.
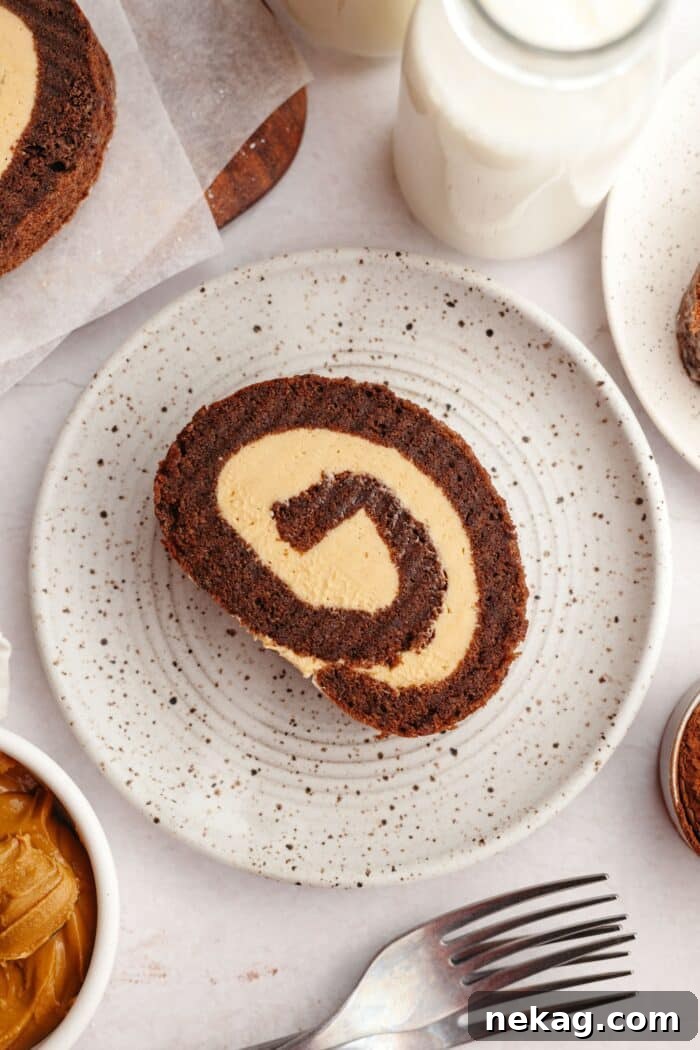
What is a Chocolate Sponge Roulade?
A roulade, often likened to a Swiss roll, is a light and airy dessert created by baking a thin sheet of sponge cake, then carefully rolling it around a rich, creamy filling. The hallmark of a roulade is its distinctive spiral shape, which is achieved by rolling the warm cake, allowing it to cool in its rolled form, then unrolling, filling, and re-rolling it to set the filling.
Unlike traditional layer cakes, the sponge for a roulade is specifically designed to be thin and pliable, preventing cracks during the rolling process. It’s typically baked on a flat sheet pan, resulting in a delicate, flexible texture. This particular recipe features a decadent chocolate sponge, made with simple yet effective ingredients like eggs, sugar, flour, and cocoa powder. This combination yields a batter that’s light enough to roll without tearing, yet sturdy enough to hold its shape once filled.
While classic roulades might feature whipped cream or fruit preserves, our version elevates the experience with a sumptuous peanut butter filling. If you appreciate the simplicity and elegance of a Swiss roll, you’ll adore this chocolate roulade. It’s a delightful fusion of light chocolate sponge and a rich, nutty filling, presenting a picture-perfect dessert that’s as delightful to look at as it is to eat. It transforms a familiar treat into a gourmet indulgence, making it perfect for those who seek both classic comfort and a touch of sophistication.
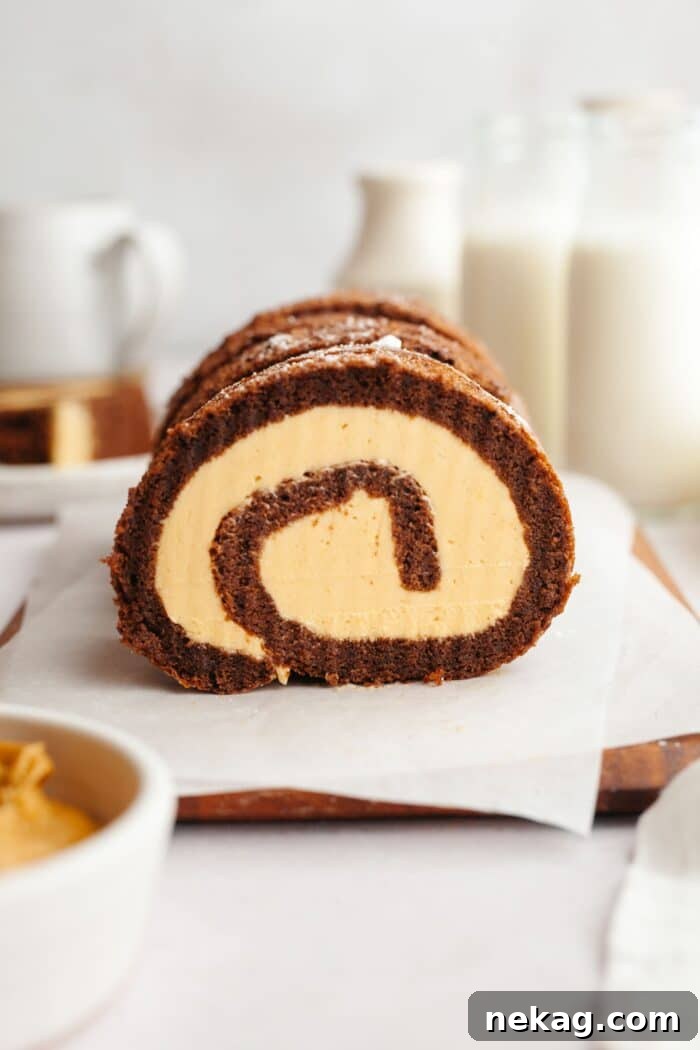
Mastering the Art of the Chocolate Roll Cake
Creating a beautiful chocolate roll cake might seem intimidating at first glance, but with a few key techniques and a little patience, it becomes an incredibly satisfying baking project. The secret lies in the delicate balance of the sponge, ensuring it’s moist enough to roll without cracking, and the proper chilling of the assembled roulade to allow the filling to set perfectly.
From whisking the eggs to achieve maximum volume for an airy sponge, to carefully folding in the dry ingredients, each step is designed to contribute to the cake’s flexible texture. The initial warm roll, followed by cooling, is crucial for “training” the cake to maintain its spiral shape. Once you master this, the reward is a breathtaking dessert with neat, uniform swirls of rich chocolate cake and creamy peanut butter filling.
This recipe emphasizes clear instructions and helpful tips to guide you through each stage, ensuring your chocolate peanut butter roulade is not just delicious, but also visually stunning. The joy of presenting this elegant dessert, knowing you created it from scratch, is truly unparalleled. It’s a testament to the fact that impressive desserts don’t always require complex skills, just the right recipe and a touch of care.
Essential Ingredients for Your Chocolate Roulade
This exquisite chocolate roulade relies on a selection of simple, high-quality ingredients that come together to form a dessert that’s both light and intensely flavorful. Each component plays a vital role in achieving the perfect texture and taste, from the airy sponge to the rich, creamy filling. Let’s delve into what you’ll need and some tips for success.
For the Fluffy Chocolate Sponge
- Eggs: The foundation of our airy sponge, eggs provide both structure and lightness. Using large, room-temperature eggs is crucial as they whip up more easily and achieve greater volume, leading to a truly fluffy cake.
- Granulated Sugar: Beyond sweetness, sugar helps stabilize the whipped eggs, contributing to the cake’s tender crumb. You’ll also need powdered sugar for dusting, which prevents sticking during the initial roll.
- Salt: A small pinch of salt is a flavor enhancer, deepening the chocolate notes without making the cake taste salty.
- Vanilla Extract: Adds a warm, aromatic depth that complements the chocolate beautifully. Use a good quality pure vanilla extract for the best flavor.
- All-Purpose Flour: Provides the necessary structure for the sponge, ensuring it’s sturdy enough to roll yet remains soft and delicate. Accurate measurement is key here; stir, spoon, and level the flour or, even better, weigh it.
- Unsweetened Cocoa Powder: The star ingredient for our chocolate flavor. Opt for a high-quality cocoa powder, whether natural or Dutch-process, to achieve a rich, deep chocolate taste.
- Baking Powder: A leavening agent that helps the cake rise gently, contributing to its light and airy texture. Always check that your baking powder is fresh for optimal results.
- Neutral Oil: Adds moisture to the cake without making it dense, ensuring a tender and flexible sponge. Canola or vegetable oil are excellent choices.
- Buttermilk: Lends a subtle tang that balances the sweetness and keeps the sponge incredibly tender. If you don’t have buttermilk on hand, you can easily make a substitute by mixing regular milk with a teaspoon of lemon juice or white vinegar and letting it sit for 5 minutes.
- Powdered Sugar: Essential for dusting the tea towel, which prevents the warm cake from sticking as you roll it. It also adds a beautiful finish when dusted on the completed roulade.
For the Irresistible Whipped Peanut Butter Filling
This unique filling takes the chocolate roulade to an extraordinary level, moving beyond traditional choices to create a truly memorable dessert. It’s smooth, rich, and perfectly complements the light chocolate sponge.
- Heavy Cream: Whipped to perfection, heavy cream provides a silky, light texture, ensuring the filling is not too dense. Ensure it is very cold for best whipping results.
- Powdered Sugar: Sweetens the filling while also contributing to its smooth consistency, blending seamlessly with the other ingredients.
- Creamy Peanut Butter: The defining flavor of our filling! Creamy peanut butter yields a smooth, luxurious texture. For a playful twist, you could experiment with chunky peanut butter for added crunch.
- Unsalted Butter: Adds a delightful richness and helps to stabilize the filling, ensuring it holds its shape beautifully once rolled inside the cake. Make sure it’s at room temperature for easy blending.
These carefully selected ingredients, combined with the right techniques, promise a chocolate sponge roulade that is as light and luscious as it is visually captivating. Get ready to create a dessert that will truly shine!
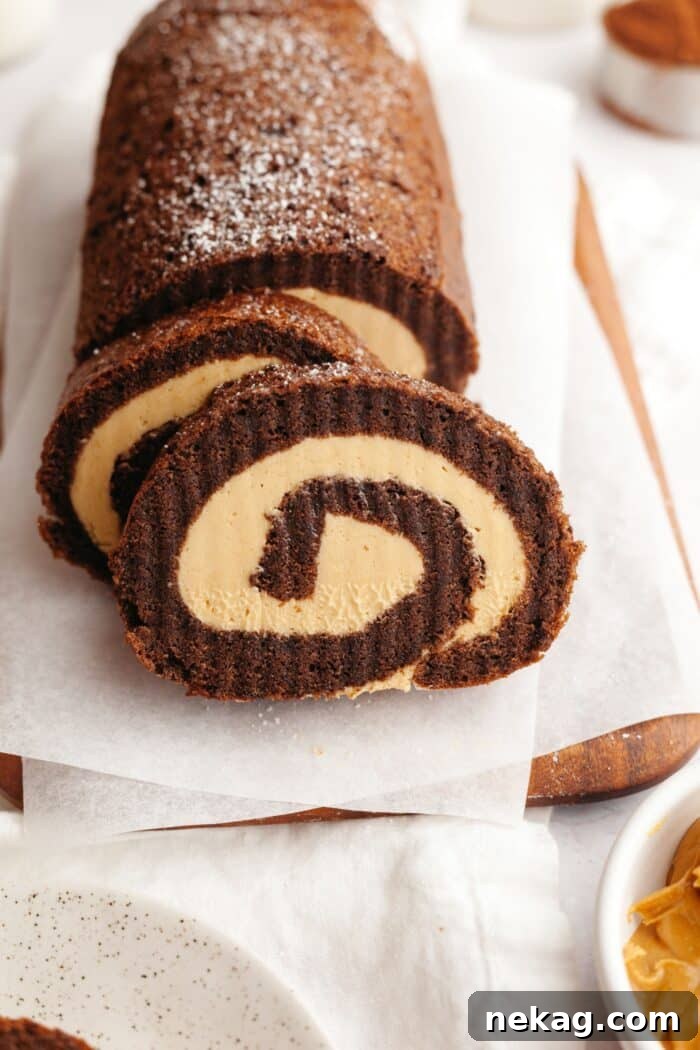
Step-by-Step Guide: How to Make a Chocolate Peanut Butter Roll Cake
Creating this elegant chocolate roll cake with its creamy peanut butter filling is a rewarding process. Follow these detailed steps to ensure a perfect result every time.
Preparing the Perfect Chocolate Sponge
- Preheat your oven to 350°F (175°C). Line a 10×15-inch jelly roll pan with parchment paper, allowing it to overhang slightly on the sides for easy removal. If any sides are exposed, grease and flour them to prevent sticking.
- In a large bowl, using an electric hand mixer, beat the room-temperature eggs until they are frothy and pale, indicating plenty of air has been incorporated. Gradually beat in the granulated sugar, salt, and vanilla extract until well combined and light.
- In a separate bowl, sift together the all-purpose flour, unsweetened cocoa powder, and baking powder. This step ensures a lump-free batter. Gently fold these dry ingredients into the egg mixture using a spatula until just combined.
- In a small bowl, whisk together the oil and room-temperature buttermilk. Carefully fold this wet mixture into the chocolate batter, stirring until it’s just incorporated. Be careful not to overmix, as this can lead to a tough cake.
- Spread the batter evenly into the prepared jelly roll pan. Bake for 10-15 minutes, or until the cake springs back when gently touched in the center, or a toothpick inserted comes out clean with only a few moist crumbs.
- Once baked, remove the cake from the oven and let it rest in the pan for 1-2 minutes.
- Generously dust a clean tea towel with powdered sugar. Carefully invert the warm cake onto the sugared tea towel and gently peel off the parchment paper.
- Starting from one of the 10-inch (shorter) ends, gently roll the cake up with the tea towel inside. This initial roll helps the cake “learn” its spiral shape and prevents cracking later. Place the rolled cake seam-side down on a wire rack and let it cool completely. This cooling process is crucial before adding the filling.
Crafting the Creamy Peanut Butter Filling
- While the cake cools, prepare the luscious peanut butter filling. In a stand mixer fitted with the whisk attachment, whip the very cold heavy cream until it becomes frothy.
- Gradually add ⅔ cup of powdered sugar to the whipping cream. Continue to whip until stiff peaks form. Transfer the whipped cream to a separate bowl and refrigerate it to keep it cold and stable.
- Wash and thoroughly dry your mixing bowl and whisk attachment. Switch to the paddle attachment for the next step.
- Beat the room-temperature unsalted butter and creamy peanut butter together until the mixture is light and fluffy, scraping down the sides of the bowl as needed to ensure everything is well combined.
- Add ¾ cup of powdered sugar all at once to the butter and peanut butter mixture. Mix until it is fully incorporated and smooth.
- Gently fold the prepared whipped cream into the peanut butter buttercream using a spatula. This creates a light, airy, and incredibly flavorful filling. Cover the filling and refrigerate it until the cake is completely cool.
Assembling and Chilling Your Roulade
- Once the chocolate sponge is completely cool, carefully unroll it from the tea towel.
- Generously dollop the chilled peanut butter filling onto the cake. Using an offset spatula, spread the filling evenly over the entire surface of the cake, leaving a ½-inch border bare on the end you will roll towards.
- Important Tip for Spreading: Keep the tip of your spatula in contact with the frosting throughout the spreading process. This prevents you from accidentally lifting cake crumbs into the pristine peanut butter filling.
- Begin re-rolling the cake from the filled end as tightly as you can, ensuring the filling is evenly distributed. Place the re-rolled cake, seam-side down, onto a serving platter.
- For the best results and to allow the filling to set properly, wrap the roulade tightly in plastic wrap and refrigerate for at least 1-2 hours.
- Before serving, use a sharp serrated knife to cut the roulade into 12 even slices. For the cleanest cuts, rinse and dry the knife between each slice.
Enjoy your beautifully crafted chocolate peanut butter roulade! It’s a dessert that’s sure to impress with its elegant appearance and delightful taste.
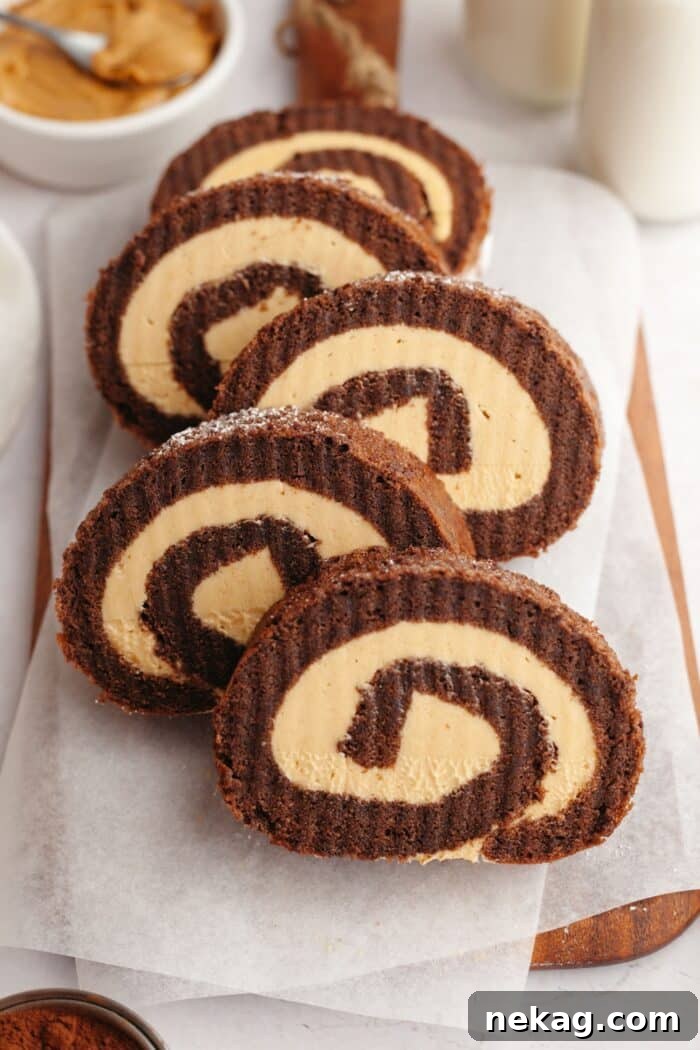
Storing and Freezing Your Chocolate Roulade
To ensure your chocolate sponge roulade remains fresh and delicious, proper storage is key. Whether you’re planning to enjoy it over a few days or save some for a future craving, here’s how to store it effectively:
- Refrigeration: Once assembled, wrap the roulade tightly in plastic wrap to prevent it from drying out and absorbing other odors from the fridge. Store it in the refrigerator for up to 3 days. The creamy peanut butter filling will maintain its rich flavor and smooth texture, while the sponge remains moist.
- Serving Tip: For the best flavor and texture, allow the chilled roulade to sit at room temperature for about 15-20 minutes before slicing and serving. This allows the cake to soften slightly and the flavors to truly bloom.
- Freezing for Longer Storage: This chocolate roll cake freezes exceptionally well!
- To Freeze the Whole Cake: Double wrap the entire chocolate cake roll securely with plastic wrap, then add an outer layer of aluminum foil for extra protection against freezer burn. Label with the date. It can be frozen for up to 2-3 months.
- To Thaw: You can either thaw the cake in the refrigerator overnight or, for a unique serving experience, slice the cake directly from frozen.
- Serving Frozen Slices: If slicing from frozen, arrange the individual slices on a platter and allow them to thaw at room temperature for about 20-30 minutes. The texture is surprisingly delightful when enjoyed slightly chilled and firm.
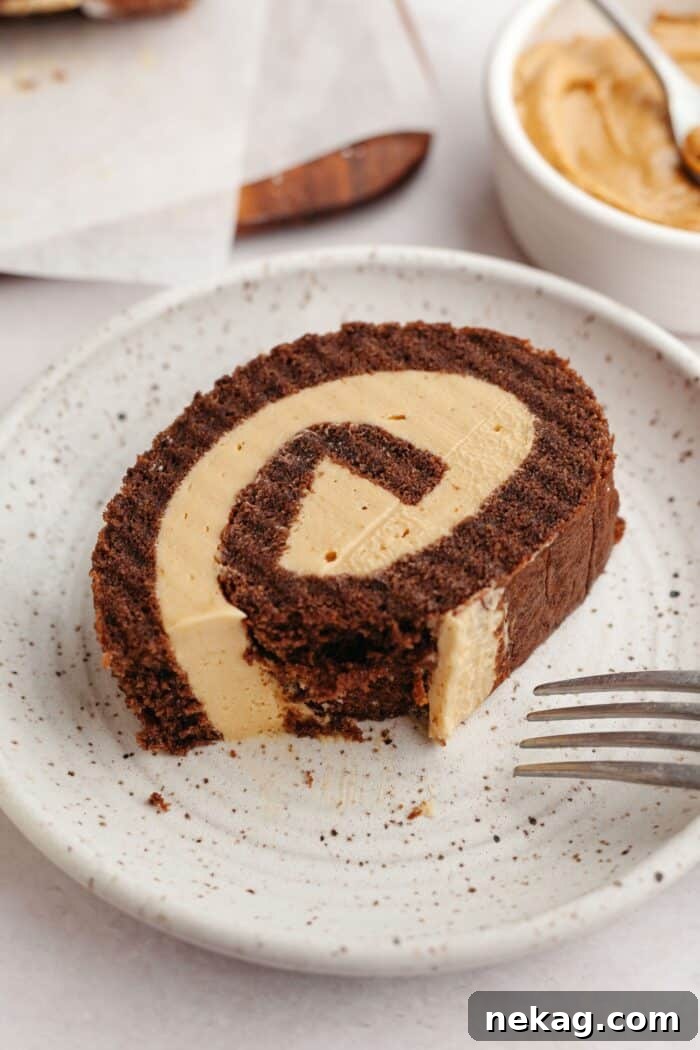
Expert Tips for a Flawless Chocolate Roll Cake
Achieving a picture-perfect roulade involves a few essential techniques and considerations. These tips will help you navigate potential challenges and ensure your dessert turns out beautifully every time:
- Accurate Flour Measurement is Key: Flour is one of the trickiest ingredients to measure. Too much flour can result in a dry, crumbly cake that will crack when rolled. The most accurate method is to weigh your flour using a kitchen scale. If measuring by cups, always use the “stir, spoon, and level” method: gently stir the flour in its container to aerate it, then spoon it into your measuring cup without packing it down, and finally, level off the top with the back of a knife. Never scoop directly from the bag or shake the cup to level, as this compacts the flour.
- Spreading the Filling Smoothly: When spreading the peanut butter filling onto the cooled cake, use an offset spatula. For a pristine, crumb-free finish, keep the tip of the spatula gently submerged in the frosting throughout the spreading process. This technique prevents you from inadvertently lifting cake crumbs and mixing them into your smooth, creamy filling.
- Achieving Clean Slices: A beautifully rolled cake deserves clean, even slices. Use a sharp serrated knife for cutting. To maintain perfectly defined swirls and prevent smudging, wipe the knife clean with a damp cloth and dry it thoroughly between each cut. This simple step makes a significant difference in the presentation of your slices.
- Make-Ahead Convenience: This chocolate sponge roulade is an excellent make-ahead dessert. You can prepare it fully and freeze it for up to 2-3 months. Double-wrap the entire cake tightly with plastic wrap, or use one layer of plastic wrap followed by a layer of foil. Don’t forget to label it with the date. You can even slice the cake while it’s still frozen, and then arrange the staggered pieces on a serving platter. The slices will thaw beautifully at room temperature in about 20-30 minutes, or you can thaw the whole cake roll or individual slices in the refrigerator overnight.
By following these expert tips, you’ll ensure your chocolate peanut butter roulade is not only delicious but also flawlessly executed, making you a dessert hero!
Delicious Variations to Customize Your Roulade
One of the most exciting aspects of a chocolate roll cake is its incredible versatility. While our chocolate and peanut butter combination is a crowd-pleaser, you can easily adapt the filling and toppings to suit different tastes, seasons, or dietary preferences. Here are some delightful variations to inspire your next baking adventure:
- Classic Whipped Cream Filling: For a traditional Swiss roll experience, replace the peanut butter filling with a simple, lightly sweetened stabilized whipped cream. You can add a burst of freshness by incorporating fresh berries like raspberries or strawberries. For a slight tang, a whipped cream cheese frosting also works wonderfully.
- Rich Chocolate Ganache Filling: If you’re a true chocoholic, double down on the chocolate! Fill your roulade with a smooth, decadent chocolate ganache made from melted chocolate and heavy cream. For an extra touch of indulgence, drizzle more ganache over the top of the finished cake.
- Zesty Fruit Preserve Swirl: Introduce a tangy counterpoint to the rich chocolate by spreading a thin layer of your favorite fruit preserve (such as raspberry, apricot, or cherry) onto the cake before adding your primary filling (whether it’s peanut butter or whipped cream). The fruit adds a vibrant flavor and a beautiful color swirl.
- Nutella Hazelnut Dream: For an irresistible nutty and chocolatey twist, swap out the peanut butter for creamy Nutella. This creates a luxurious hazelnut-chocolate filling that is sure to be a hit with both kids and adults.
- Mint Chocolate Chip Delight: Infuse your whipped cream filling with a hint of peppermint extract and fold in some finely chopped chocolate chips for a refreshing mint chocolate chip variation, especially popular during the holidays.
- Caramel Drizzle: After filling and rolling, consider drizzling your finished roulade with a homemade or store-bought caramel sauce for an added layer of sweetness and sticky indulgence.
The possibilities are truly endless, allowing you to get creative and tailor this elegant dessert to any occasion or craving. Don’t hesitate to experiment and make this chocolate roulade uniquely your own!
Frequently Asked Questions (FAQ) about Chocolate Roulade
Even seasoned bakers have questions when trying a new recipe. Here are some common queries about making a chocolate sponge roulade to help ensure your success:
- Q: How do I prevent my cake from cracking when rolling?
A: The key is to roll the cake while it’s still warm (but not hot) after baking. The initial roll with a powdered sugar-dusted tea towel helps “train” the cake to maintain its spiral shape as it cools. Also, ensure you don’t overbake the cake, as a dry cake is more prone to cracking. Using room-temperature ingredients, especially eggs, also contributes to a more pliable sponge. - Q: Can I make this roulade gluten-free?
A: While this specific recipe uses all-purpose flour, you can often substitute a 1:1 gluten-free baking flour blend (one that contains xanthan gum) for the all-purpose flour. Results may vary slightly, as gluten-free flours can affect the texture and elasticity needed for rolling. - Q: What if I don’t have buttermilk?
A: No problem! You can easily make a buttermilk substitute at home. For every cup of milk, add 1 tablespoon of lemon juice or white vinegar. Let it sit for 5-10 minutes until it slightly curdles. For this recipe’s 6 tablespoons of buttermilk, you would mix 6 tablespoons of regular milk with 2 teaspoons of lemon juice or vinegar. - Q: How far in advance can I make this chocolate roulade?
A: The assembled roulade can be stored in the refrigerator for up to 3 days. It can also be frozen for up to 2-3 months, making it an excellent make-ahead dessert for entertaining. - Q: Can I use a different type of nut butter?
A: Absolutely! While peanut butter is classic, you could experiment with almond butter, cashew butter, or even a sunflower seed butter for a nut-free option. Just ensure the consistency is creamy enough to spread easily.
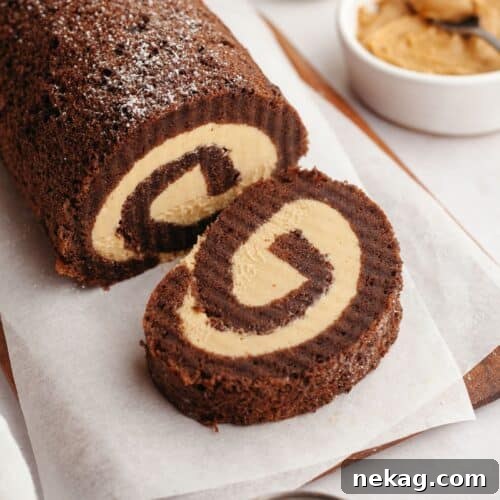
Average Rating: 4.25 from 29 ratings
Chocolate Roll Cake
Share this recipe: Print | Pin | Rate | Save
Ingredients
Chocolate Cake Roll:
- 4 large eggs, room temperature
- ¾ cup (150 g) granulated sugar
- ½ tsp salt
- 1 tsp vanilla extract
- ⅔ cup (84 g) all-purpose flour, (stir, spoon, & level)
- ⅓ cup (27 g) unsweetened cocoa powder, (natural or Dutch-process)
- 1 ¼ tsp baking powder
- ¼ cup (59 ml) oil, (canola or vegetable)
- 6 Tbsp buttermilk, room temperature (or milk with 2 tsp lemon juice/distilled white vinegar; let sit for 5 minutes before using)
- ¼ cup (30 g) powdered sugar, for dusting a tea towel
Whipped Peanut Butter Filling:
- ¾ cup (177 ml) heavy cream, cold
- ⅔ cup (80 g) powdered sugar
- ½ cup (113 g) unsalted butter, (1 stick) room temperature
- ⅔ cup (177 g) creamy peanut butter
- ¾ cup (90 g) powdered sugar
Equipment
- 10 x 15 Inch Jelly Roll Pan
- Fine Mesh Strainer/Sieve
- Parchment Paper
- Baker’s Joy Pan Spray (optional, for greasing sides if exposed)
Instructions
- Prepare the Cake: Preheat oven to 350 degrees Fahrenheit. Line a 10×15-inch jelly roll pan with parchment paper covering the bottom and sides, leaving an inch or two overhanging. If sides are exposed, grease and flour them (Baker’s Joy is a great option). Spray the pan lightly to keep the parchment paper in place.
- In a large bowl, beat the eggs until frothy and pale with an electric hand mixer. Then beat in the sugar, salt, and vanilla extract until well combined.
- Sift together the flour, cocoa, and baking powder. Gently fold this dry mixture into the egg mixture with a spatula. In a separate small bowl, whisk the oil and buttermilk together, then fold into the chocolate mixture, stirring until just combined. Spread batter evenly into the parchment-lined jelly-roll pan.
- Bake at 350˚F for 10-15 minutes until the cake springs back when touched or a toothpick inserted into the center comes out clean or with a few moist crumbs. Let sit for 1-2 minutes after removing from the oven. Flip cake over onto a powdered sugar dusted tea towel and remove the parchment paper. Gently roll up the warm cake, starting from the 10-inch (short) end, and let cool completely on a wire rack.
- Prepare the Filling: In a stand mixer with the whisk attachment, whip heavy cream until frothy, then gradually add ⅔ cup powdered sugar. Whip until stiff peaks form. Place whipped cream in a separate bowl and refrigerate to keep cold. Wash and dry the mixing bowl thoroughly.
- Using the paddle attachment now, beat the butter and peanut butter together until light and fluffy, scraping the bowl as needed. Add ¾ cup powdered sugar all at once and mix until incorporated. Gently fold the prepared whipped cream into the peanut butter buttercream with a spatula. Cover the filling and keep refrigerated until the cake is cool.
- Assemble the Roulade: Carefully unroll the cooled cake. Dollop, then spread the filling evenly over the cake, leaving ½-inch bare on the end you will roll towards. IMPORTANT: Keep the tip of the spatula in the frosting the whole time to avoid lifting crumbs into the frosting.
- Re-roll the cake as tightly as you can and place seam-side down onto a platter. For best results, wrap and refrigerate the cake for 1-2 hours to help the filling set before slicing. Use a serrated knife to cut 12 even pieces. Rinse and dry the knife between cuts for clean slices.
Notes
- Storage: Store leftovers covered with plastic wrap in the fridge for up to 3 days. Before serving, let the roulade sit at room temperature for about 15 minutes to soften slightly for the best flavor and texture.
- Freezing: Double wrap the chocolate cake roll with plastic wrap and freeze for up to 2-3 months. Unwrap the cake and slice from frozen. Allow the cake to thaw at room temperature for 20-30 minutes before serving. Alternately thaw cake in fridge overnight before slicing and serving.
- Filling Variation: I’ve also used half of this whipped cream cheese frosting recipe for the filling, which adds a lovely tang.
Nutrition Information (Estimated):
Disclaimer: Nutritional values were calculated using a third-party tool and are provided as an estimation only.
Sharing this recipe with a link is both encouraged and appreciated. Copying/pasting and/or screenshots of full recipes to any social media is strictly prohibited. Content and photographs are copyright protected.
More Delicious Cake Rolls You’ll Love
If you’ve fallen in love with the elegance and flavor of this Chocolate Sponge Roulade, you’ll be thrilled to discover other delightful cake roll variations. These recipes offer similar show-stopping appeal with unique flavor profiles, perfect for any occasion:

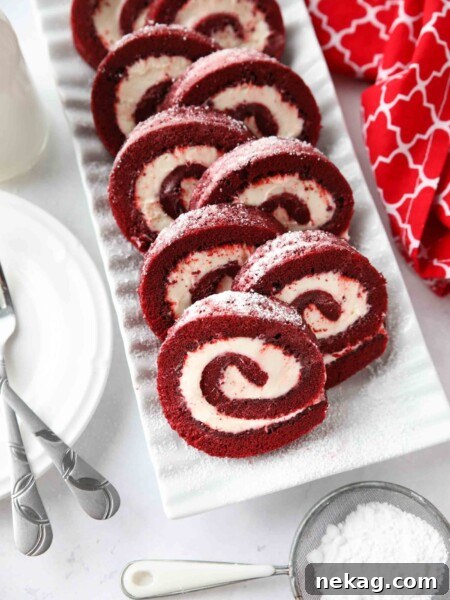
Red Velvet Cake Roll: A festive and rich classic, featuring vibrant red velvet cake and a tangy cream cheese frosting.
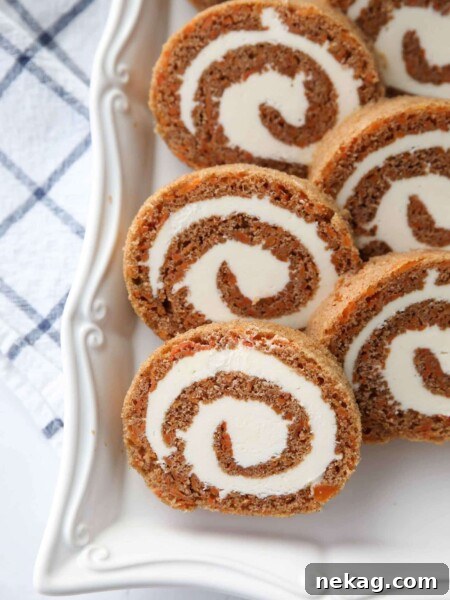
Carrot Cake Roll: A spiced carrot cake wrapped around a luscious cream cheese filling, perfect for spring or fall.
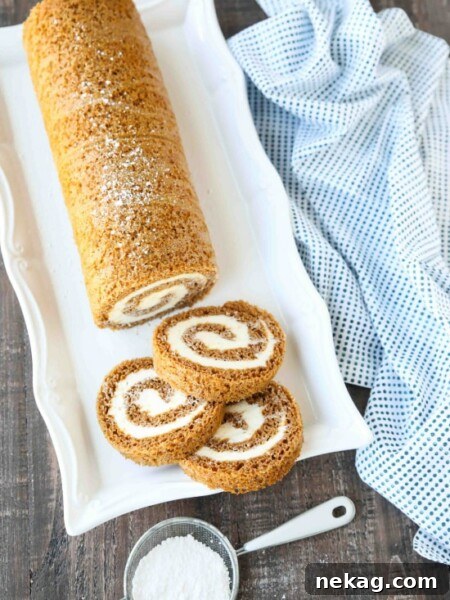
Pumpkin Roll: A quintessential autumn dessert with a soft pumpkin sponge and a creamy, spiced filling.
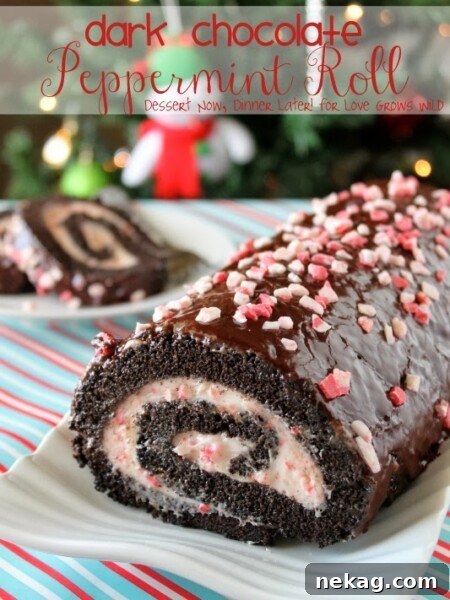
Dark Chocolate Peppermint Roll: A decadent and refreshing holiday treat, combining rich dark chocolate with cool peppermint.
Try these variations to expand your repertoire of impressive and delicious rolled cakes!
*Originally published on 3/5/2012. Recipe and photos updated December 2024.