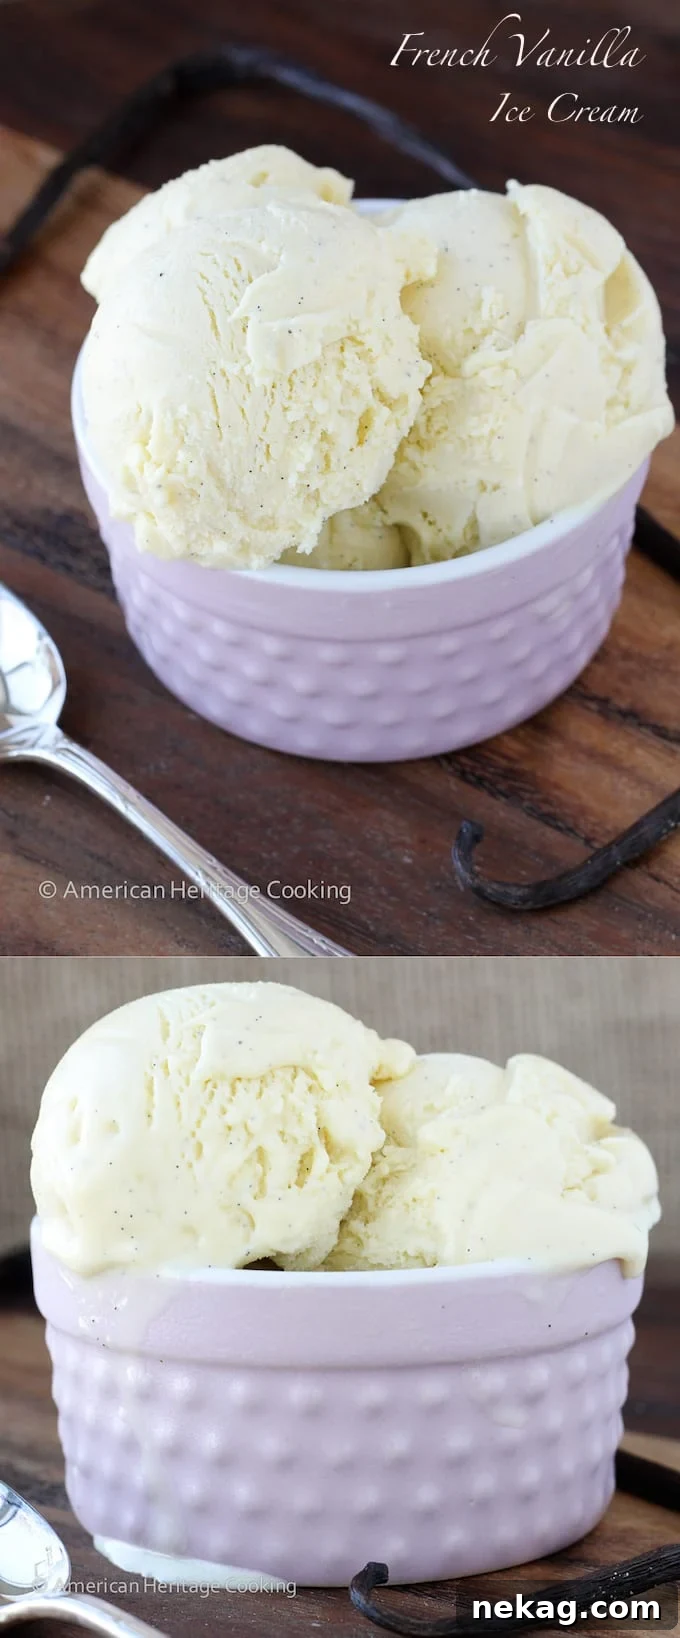
Unlock the secret to crafting truly exquisite, homemade **vanilla bean ice cream** with this meticulously developed recipe from a professional pastry chef. Prepare to indulge in a dessert that is exceptionally rich, unbelievably creamy, and perfectly infused with the authentic, complex flavor of real vanilla bean. This elegant recipe requires just 6 core ingredients, transforming simple components into a luxurious culinary experience that rivals any gourmet creamery.
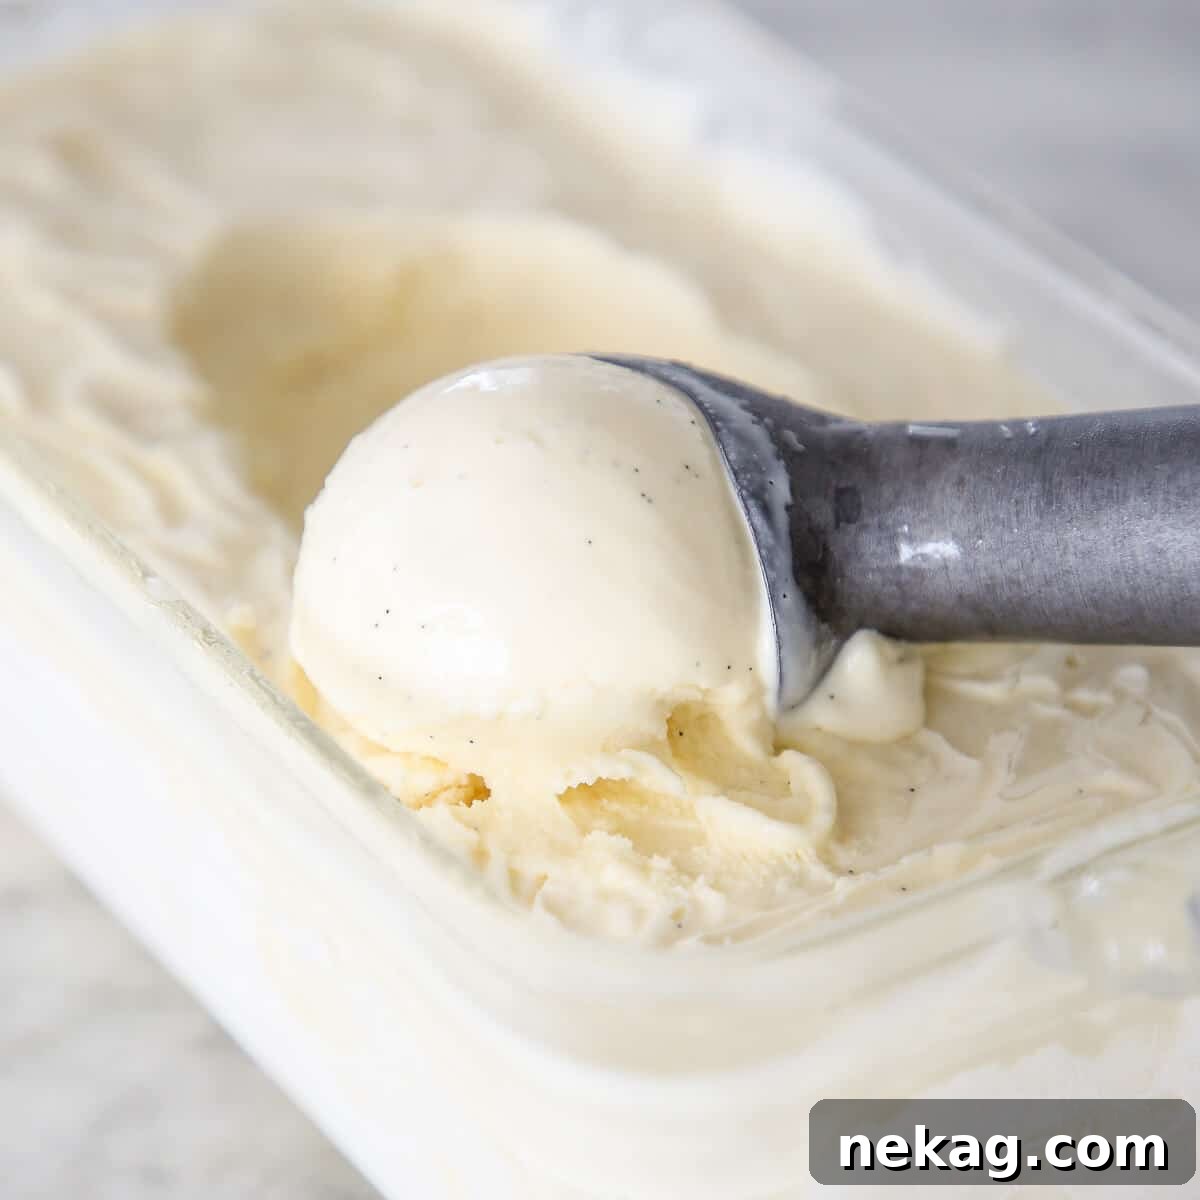
Unlike many basic ice cream recipes, this vanilla bean masterpiece utilizes a classic, velvety custard base, deeply enriched and flavored by infusing real vanilla beans. This traditional French-style approach is key to achieving a depth of flavor and an unparalleled creamy texture that simply cannot be replicated by recipes omitting eggs. While egg-free ice creams exist, they often lack the luxurious richness and silken mouthfeel that only an egg yolk-based custard can provide. Our recipe ensures every spoonful is a delightful journey of pure vanilla indulgence.
To achieve the signature smooth consistency, an ice cream maker (or a stand mixer attachment) is essential for this recipe. While it adds an extra step to the process, the resulting superior quality and taste are undeniably worth the effort. Once churned to perfection, this versatile vanilla bean ice cream serves as the ultimate accompaniment to a myriad of desserts. Imagine it melting delicately atop a warm bread pudding, providing a creamy contrast to a rich flourless chocolate decadence cake, or complementing the bright flavors of a mixed berry pie. Explore our extensive collection of delicious pie recipes and professional cake recipes to find your perfect pairing!
Table of Contents
- Why This is the Best Vanilla Bean Ice Cream
- Professional Tips for Making Vanilla Ice Cream
- Essential Ingredients for Vanilla Bean Ice Cream
- Creative Variations & Smart Substitutions
- Secrets to Creamy, Non-Icy Ice Cream
- Step-by-Step Guide to Making Vanilla Ice Cream
- Chef Lindsey’s Expert Recipe Tip
- Serving Suggestions: What to Pair with Vanilla Ice Cream
- Frequently Asked Questions About Vanilla Ice Cream
- Vanilla Bean Ice Cream Recipe Card
- Before You Go
**Why This is the Best Vanilla Bean Ice Cream You’ll Ever Make**
- **Unmatched Creaminess and Richness:** As a pastry chef, I’ve dedicated years to perfecting this recipe in professional kitchens, aiming for the thickest, silkiest, and most decadent custard-based ice cream. My secret lies in adding ample fat through egg yolks rather than solely relying on cream. This technique creates an incredibly thick and creamy texture without leaving an unpleasant fatty coating on your palate, a common issue with recipes that use too much cream. The egg yolks act as a natural emulsifier, binding the ingredients together for a truly smooth finish.
- **Authentic, Complex Vanilla Flavor:** The heart of this recipe is the infusion of real vanilla bean. Every speck, every aromatic note from a fresh vanilla bean permeates the custard, imparting a complex, profound, and truly refined vanilla flavor that simple extracts cannot replicate. You’ll see those beautiful specks of vanilla throughout your ice cream, a visual testament to its authenticity. A clever tip: you can even use ‘spent’ vanilla bean pods from other recipes, like homemade marshmallows, to extract every last drop of flavor!
- **Simple Ingredients, Surprisingly Easy Process:** Despite its gourmet quality, this recipe uses straightforward ingredients you likely already have on hand, with the vanilla bean being the star exception. If you’ve ever successfully prepared a crème anglaise, then you possess all the skills needed to effortlessly create this spectacular homemade ice cream. Don’t be intimidated; the process is more accessible than it appears and incredibly rewarding.
**Professional Tips for Making Impeccable Vanilla Ice Cream**
- **Select a Premium Madagascar Vanilla Bean:** The quality of your vanilla bean profoundly impacts the final flavor. Opt for a plump, moist, and fragrant Madagascar Bourbon vanilla bean. These beans are renowned for their classic, rich, and creamy vanilla notes, offering a depth and complexity far superior to vanilla extract or paste. Splitting the bean lengthwise and scraping out the tiny seeds (the ‘caviar’) allows for maximum flavor extraction into your custard base, creating those desirable flecks in your finished ice cream.
- **Thoroughly Chill the Base:** This is a non-negotiable step for achieving ultra-creamy ice cream. An adequately chilled ice cream base (preferably overnight) significantly hinders the formation of large ice crystals during the churning process. The colder the base, the faster it will churn, and the smaller the ice crystals will be, resulting in a remarkably smoother, thicker, and more luxurious texture. Patience here pays off immensely.
- **Strategically Divide the Sugar between Cream and Egg Yolks:** This professional technique serves two vital purposes. Adding a portion of the sugar to the cream mixture helps prevent the milk solids from scorching at the bottom of the pot, ensuring a clean flavor. The remaining sugar, when whisked with the egg yolks, acts as a protective barrier. It gently disperses the heat during the tempering process, significantly reducing the risk of the egg yolks scrambling or cooking too quickly when the hot cream is added. This ensures a perfectly smooth custard every time.
- **Avoid Over-Churning at All Costs:** While churning is crucial for incorporating air and preventing large ice crystals, over-churning can lead to undesirable results. If churned too long, the ice cream will freeze excessively hard, making it difficult to scoop. In extreme cases, the fat from the cream can actually separate, leaving a greasy or fatty coating in your mouth after each bite. Pay close attention to the texture during churning; it should be thick, resembling soft-serve ice cream, and pulling away from the sides of the churner.
**Essential Ingredients for Unforgettable Vanilla Bean Ice Cream**
Crafting the perfect vanilla bean ice cream begins with selecting high-quality ingredients. Each component plays a crucial role in achieving the desired rich flavor and creamy texture:
- **Heavy Cream:** Heavy cream, with its high-fat content (typically 36-40%), is fundamental to creating a luxurious, full-bodied ice cream. The fat contributes significantly to the creamy mouthfeel and richness, ensuring a decadent dessert that melts beautifully.
- **Whole Milk:** I always opt for whole milk in my custard bases, including ice cream. Its higher fat content compared to skim or low-fat milk contributes to a richer taste and helps the custard withstand heating without curdling, providing a stable and flavorful foundation.
- **Granulated Sugar:** Granulated sugar not only provides essential sweetness but also plays a critical role in the ice cream’s texture. It lowers the freezing point, helping to prevent excessive ice crystal formation, resulting in a smoother product. As mentioned in our tips, it also protects the milk from scorching and the eggs from scrambling during tempering.
- **Kosher Salt:** A touch of Kosher salt is a flavor enhancer, not just for savory dishes! In this recipe, it subtly brightens and amplifies the complex vanilla notes and the inherent sweetness of the dairy, creating a more balanced and profound flavor profile without making the ice cream taste salty.
- **Vanilla Bean:** The star of the show! A plump, fragrant vanilla bean (preferably Madagascar Bourbon) is indispensable for that authentic, speckled, and deeply flavored vanilla experience. Don’t discard the pods after scraping the seeds; they can be infused to add even more aroma. You can even use ‘spent’ pods from recipes like banana pudding to get extra mileage!
- **Egg Yolks:** These are the backbone of our French-style custard, providing both thickening power and rich fat. The emulsifying properties of egg yolks are crucial for creating a smooth, stable, and incredibly creamy ice cream that resists iciness. They contribute significantly to the velvety texture. Don’t worry about the leftover whites; they’re perfect for homemade marshmallows or a stunning pavlova cake!
Refer to the comprehensive recipe card below for precise measurements and quantities of all ingredients.
**Creative Variations & Smart Substitutions for Your Vanilla Ice Cream**
- **Alternative Vanilla Flavorings:** While real vanilla bean offers the most superior flavor, you can certainly substitute. Use 2 teaspoons of high-quality vanilla bean paste for visible specks and a robust flavor profile, or 1 tablespoon of pure vanilla extract for a more classic, smooth vanilla taste. Remember, the quality of your extract or paste will greatly influence the final result.
- **Using Half-and-Half:** For a slightly lighter yet still creamy base, you can substitute 3 cups of half-and-half for the combined total of whole milk and heavy cream. This adjustment maintains a balanced dairy fat content while streamlining your ingredient list.
- **Get Playful with Mix-ins and Swirls:** This vanilla bean ice cream is an exceptional blank canvas for an array of delightful additions.
- **Decadent Swirls:** Incorporate a ribbon of rich salted caramel sauce, a classic chocolate sauce, a vibrant quick strawberry jam, or tart cherry preserves during the last few minutes of churning.
- **Crunchy Additions:** Fold in baked streusel topping, toasted nuts (pecans, walnuts, almonds), crushed cookies, or chocolate chips.
- **Fruity & Spice Infusions:** Mix in spoonfuls of apple pie filling for a comforting flavor, or chopped fresh berries.
If your craving leans more towards chocolate, I highly recommend my recipe for the best chocolate ice cream instead!
**Secrets to Keeping Your Homemade Ice Cream Perfectly Creamy, Not Icy**
- **Prioritize Egg Yolks for Fat, Not Just Cream:** While cream provides fat, adding more egg yolks is a superior strategy for ultimate creaminess without sacrificing mouthfeel. The fat and emulsifying properties of egg yolks create a thicker, richer base and inhibit the formation of large ice crystals more effectively than just increasing cream. My recipe has been carefully balanced to provide maximum creaminess without an “eggy” taste. I’ve done all the testing so you can trust the ratios!
- **The Importance of a Thoroughly Chilled Ice Cream Base:** This cannot be stressed enough. For the absolute thickest base and creamiest final product, cool your custard base in the refrigerator overnight. A cold base churns faster and more efficiently, leading to smaller, more desirable ice crystals and a smoother texture. Even if you’re eager, resist the urge to churn until the base is completely cold to the touch – preferably below 40°F (4°C).
- **Consider Using an Ice Cream Stabilizer:** All commercially produced premium ice creams and many high-end restaurant versions utilize stabilizers to ensure consistent texture. These ingredients prevent iciness, improve the silkiness of the ice cream, and even slow down the melting process. For home use, you can incorporate a dedicated ice cream stabilizer or a small amount of xanthan gum. Find detailed instructions for adding either option in the recipe card below. Stabilizers are a game-changer for homemade ice cream texture.
**Step-by-Step Guide to Making Silky Vanilla Ice Cream**
Follow these precise instructions to achieve the perfect, velvety vanilla bean ice cream every single time. For detailed ingredient quantities and further specifics, please refer to the recipe card located at the end of this article.
**Part 1: Crafting the Luxurious Custard Ice Cream Base**
Step 1: Prepare Your Equipment. Before you begin, ensure your ice cream machine’s mixing canister is completely pre-frozen according to the manufacturer’s instructions (usually 12-24 hours). Also, place the container you plan to store the churned ice cream in into the freezer. A standard loaf pan or a 1-quart airtight container works wonderfully.
Step 2: Infuse the Dairy. In a heavy-bottomed pot, combine the whole milk, heavy cream, kosher salt, and half of the granulated sugar. Split your vanilla bean lengthwise with a sharp paring knife and scrape out all the tiny, fragrant seeds into the pot. Add both the scraped seeds and the vanilla bean pods to the cream mixture. Heat this mixture over medium-high heat, stirring occasionally, just until it begins to steam and gently simmer, approaching a boil. You’ll see small bubbles forming around the edges, but avoid a vigorous rolling boil.
A professional technique often involves making larger batches, which naturally takes longer to heat. At home, you can emulate this gentle heating by starting on a lower heat setting and gradually increasing it. This allows the vanilla ample time to infuse its full flavor into the dairy.
Step 3: Prepare the Egg Yolks. While the cream mixture is heating, in a large, heatproof bowl, whisk the egg yolks with the remaining granulated sugar until the mixture becomes pale yellow and slightly thickened. This whisking incorporates air and ensures the sugar is well dissolved. Once the cream mixture is steaming, immediately add the sugar to the yolks and whisk vigorously to prevent them from sitting too long.
It’s crucial not to let the sugar sit directly on the egg yolks for an extended period before whisking, as the sugar can “burn” or denature the egg proteins, leading to hard, scrambled-egg-like pieces in your finished custard. Whisk immediately upon adding the sugar.
Step 4: Temper and Cook the Custard. Once the cream mixture reaches a gentle simmer, slowly and gradually pour about half of the hot cream into the whisked egg yolks, whisking constantly and vigorously. This process, known as tempering, slowly raises the temperature of the eggs without scrambling them. Then, pour the tempered egg mixture back into the pot with the remaining hot cream. Return the pot to medium heat and cook, stirring constantly with a heat-resistant spatula, until the custard thickens enough to coat the back of the spoon (the “nappe” stage) and reaches 85°C (180°F) on an instant-read thermometer. Do not allow the custard to boil, as this will curdle the eggs.
Step 5: Rapid Cooling for Optimal Texture. Immediately pour the cooked custard through a fine-mesh strainer into a clean bowl. This step removes any potential tiny bits of scrambled egg or vanilla bean remnants, ensuring a perfectly smooth custard. Place this bowl into a larger bowl filled generously with ice and a little water (an ice bath). Stir the custard occasionally in the ice bath for about 10-15 minutes to rapidly cool it down and halt the cooking process. Rapid cooling is crucial for maintaining a smooth texture and preventing further cooking of the eggs. Once cooled, remove the vanilla bean pods. Cover the surface of the custard directly with plastic wrap (to prevent a skin from forming and keep out freezer odors) and poke a few small holes. Refrigerate for at least 3 hours, but ideally overnight, for the thickest, richest, and creamiest ice cream results. You can technically churn it as soon as it’s cold to the touch, but patience yields superior texture.
As emphasized, you will achieve the thickest base and creamiest ice cream by allowing it to cool overnight in the refrigerator. This extended chilling ensures the fat molecules are firm and the mixture is uniformly cold, which is vital for efficient churning and minimizing ice crystal formation.
**Part 2: Churning and Freezing Your Homemade Vanilla Ice Cream**
Step 6: Churning the Base. Once your custard base is thoroughly chilled, pour it into your pre-frozen ice cream machine canister. Always start the ice cream machine *before* pouring in the base. This prevents the cold base from immediately freezing to the sides of the stationary canister, ensuring even churning from the start. Follow your manufacturer’s specific instructions for your model.
Step 7: Monitor Churning for Perfect Consistency. Continue churning until the volume of the ice cream increases by approximately one-third, and it resembles soft-serve in consistency. The ice cream should pull away from the sides of the canister and hold its shape when scooped. In my Cuisinart, this typically takes a solid 25 minutes, but times can vary depending on your machine and the initial temperature of your base.
Step 8: Final Freeze for Firmness. Once churned, transfer the soft ice cream into your pre-frozen container (like the loaf pan). Press a layer of plastic wrap directly onto the surface of the ice cream, ensuring no air pockets. This crucial step prevents ice crystals from forming on the surface and shields the ice cream from absorbing any unwanted freezer flavors. Freeze for a minimum of 4 hours, but for the best texture and scoopability, freeze preferably overnight.
**Chef Lindsey’s Expert Recipe Tip**
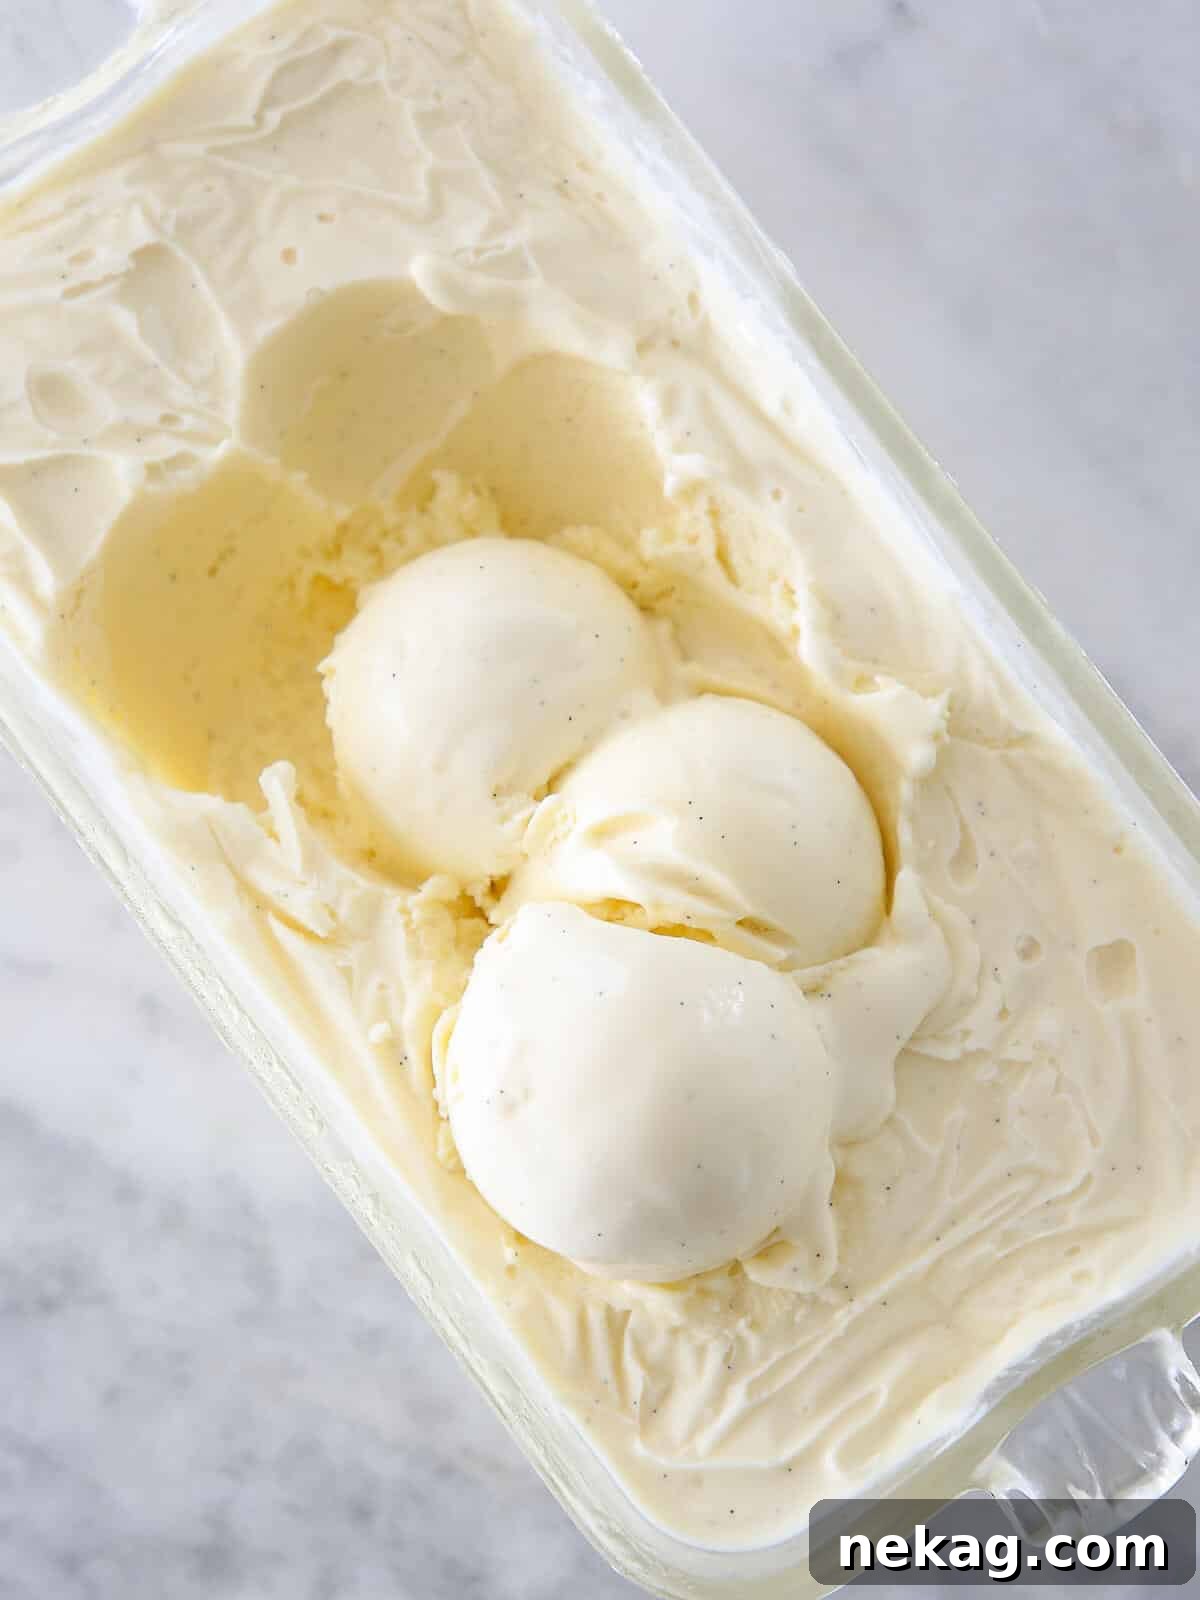
For effortless scooping and optimal enjoyment, allow your homemade ice cream to soften at room temperature for about 5 to 10 minutes before serving. Additionally, dipping your ice cream scoop or spoon in hot water just before scooping will help you create those perfectly rounded, clean scoops every time!
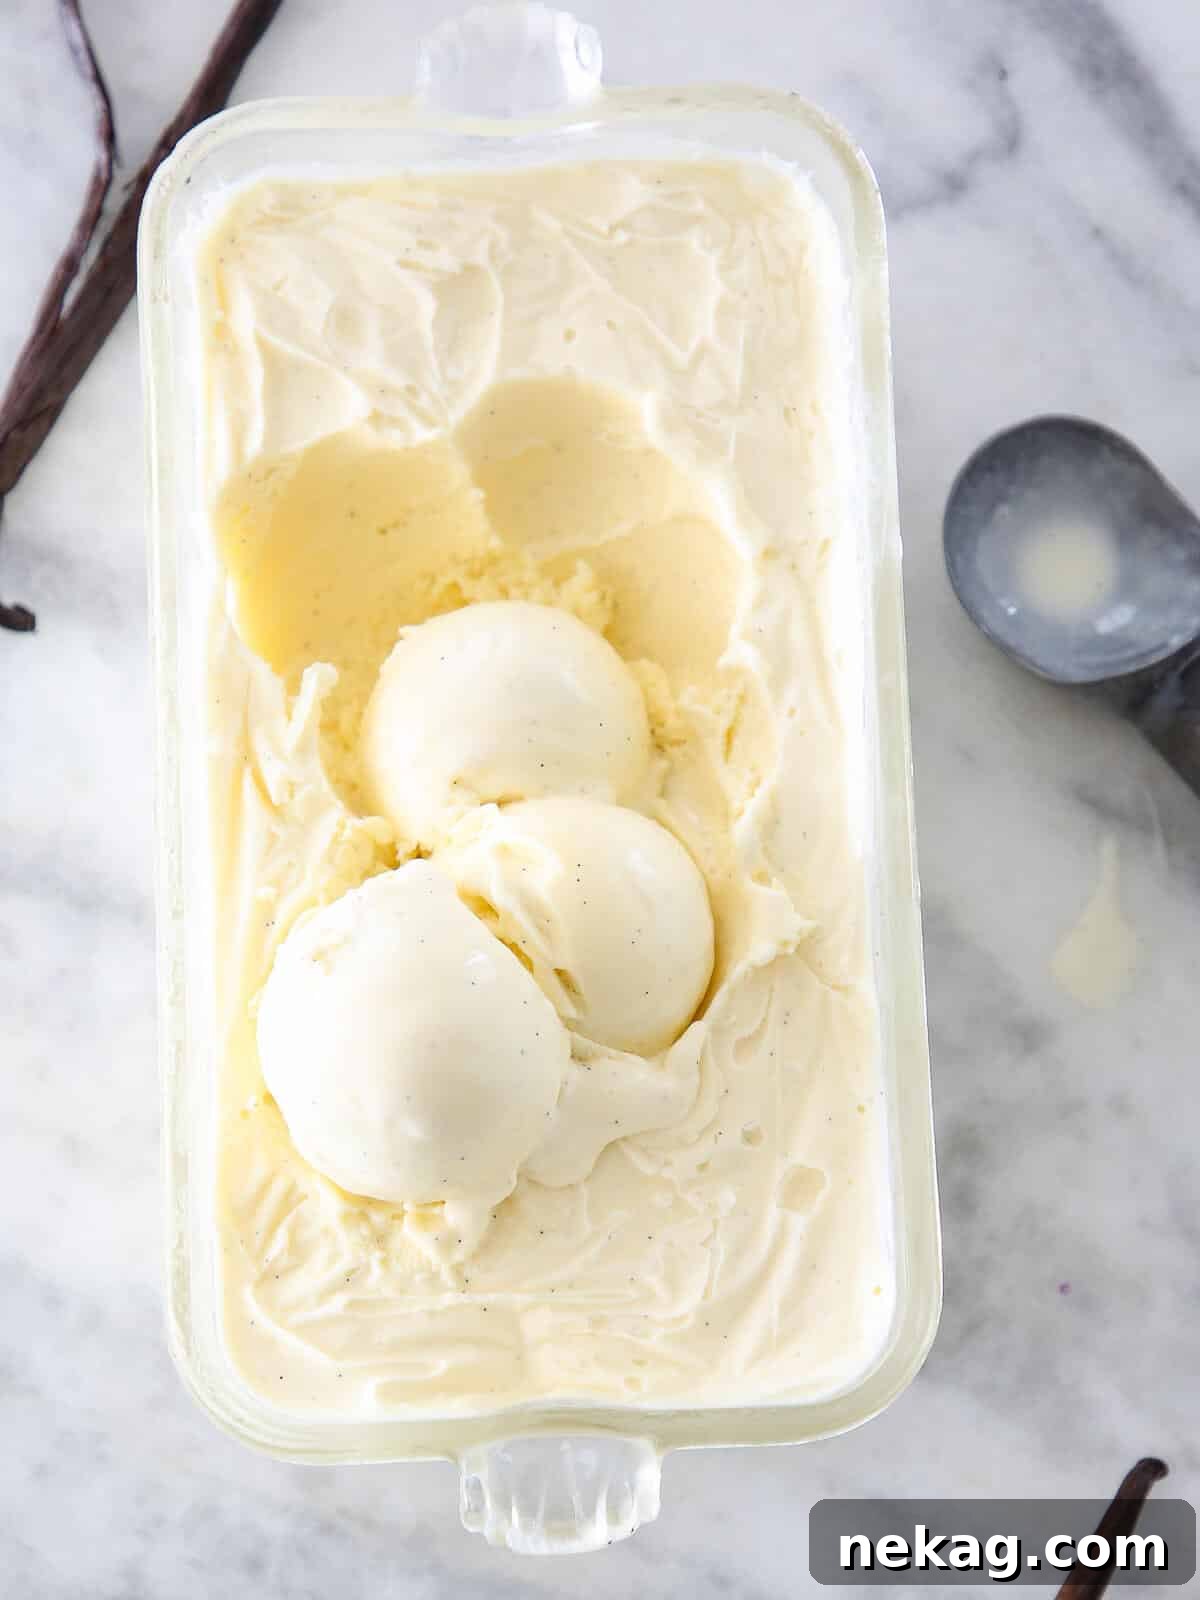
**Serving Suggestions: What to Pair with Divine Vanilla Ice Cream?**
The beauty of homemade vanilla bean ice cream lies in its incredible versatility. Its classic, comforting flavor profile makes it a perfect partner for almost any dessert, enhancing and balancing other tastes. Here’s some inspiration to elevate your serving experience:
- **Make it the Star of the Show:** Sometimes, simplicity is supreme. Let your luscious vanilla bean ice cream shine as the main dessert. Crown it simply with a warm drizzle of rich hot fudge sauce, a swirl of buttery salted caramel sauce, or a dollop of sweet and tangy easy apple compote. Add a delightful textural contrast with a sprinkle of this easy streusel topping, delicate pizzelle cookies, crispy lace cookies, or crumbled chocolate chip shortbread cookies.
- **The Perfect Cake Companion:** No birthday celebration or special occasion cake is truly complete without a generous scoop of ice cream. Whether you’re serving a festive funfetti sheet cake, a timeless classic yellow cake, or something more elaborate, vanilla ice cream provides a cool, creamy counterpoint that enhances every bite. Explore all our chef-developed cake recipes for endless pairing possibilities.
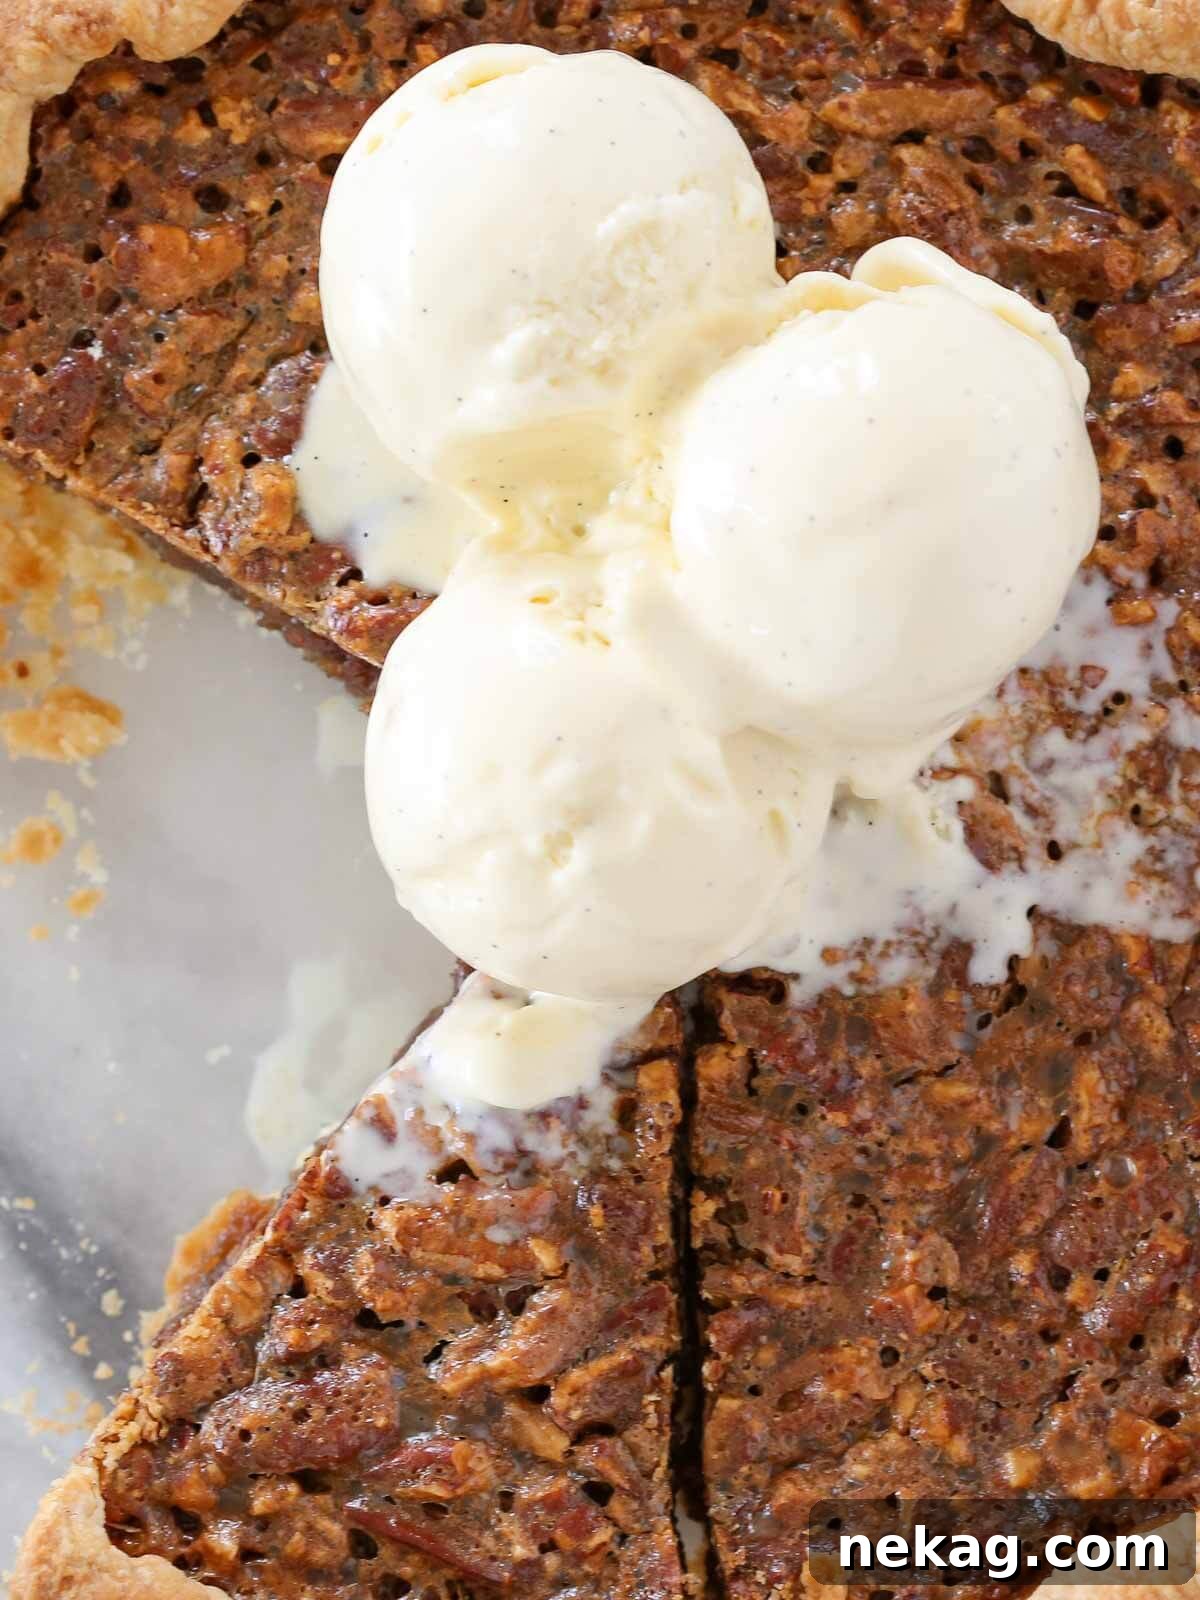
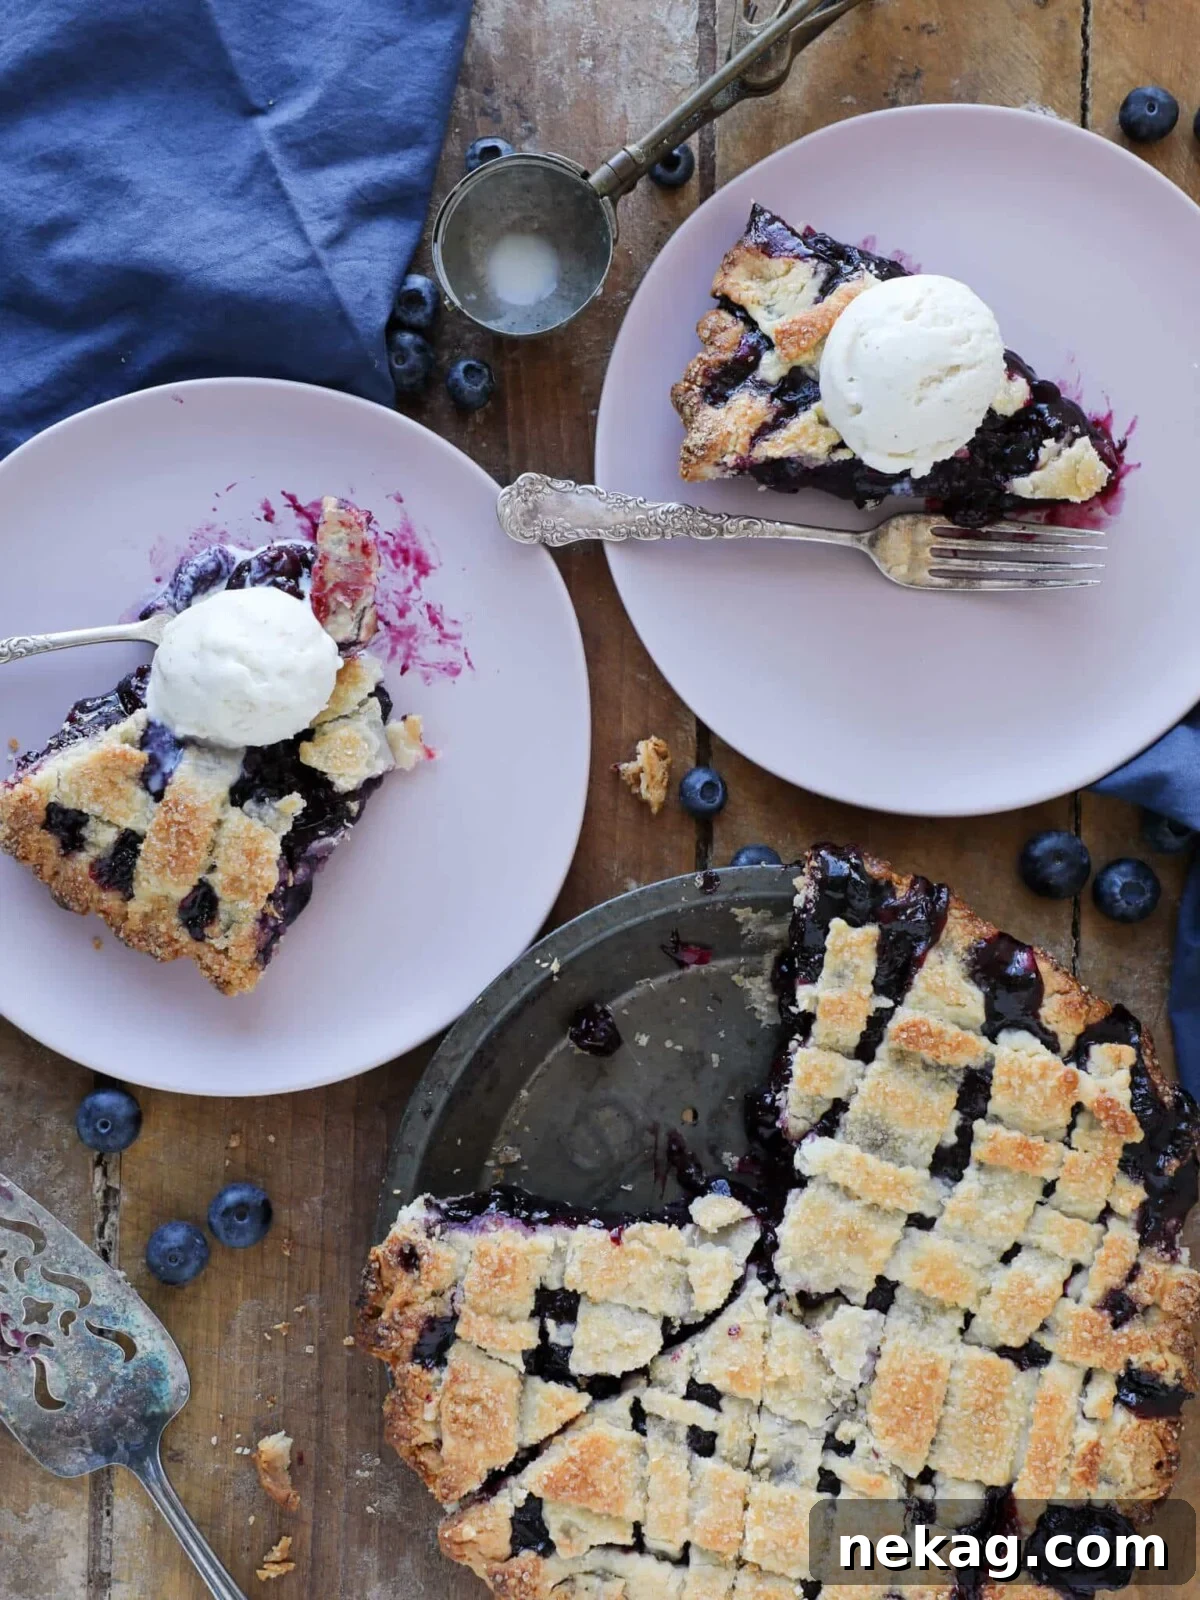
- **Melting Magic with Pie:** There’s an undeniable allure to a scoop of vanilla ice cream slowly melting down the sides of a warm slice of pie. The creamy texture and cool temperature beautifully contrast with the warm, often spiced or fruity filling and flaky crust. Try it with a vibrant blueberry pie, a comforting easy apple pie, or a tart cherry pie for a truly classic dessert experience.
- **Elevating Any Fruit, Spiced, or Chocolate Dessert:** The rich cream and subtle vanilla notes of this ice cream are a universal enhancer. It perfectly augments the deep, warming flavors of molasses and spices found in desserts like this tender gingerbread cake. It brings balance to the bright, tangy fruit in this comforting raspberry rhubarb crumble. And naturally, it’s an iconic pairing for any chocolate dessert, providing a luxurious creaminess that highlights the chocolate’s depth, as with this easy one-bowl chocolate cake.
**Frequently Asked Questions About Vanilla Bean Ice Cream**
To maintain the best texture and prevent ice crystals, store your homemade ice cream in a sealed, airtight container in the coldest part of your freezer. For an extra layer of protection, press a piece of plastic wrap directly onto the surface of the ice cream before sealing the container. This prevents air exposure, which causes ice crystals and can lead to the ice cream absorbing other freezer odors. Properly stored, it will remain delicious for up to 2 months.
Vanilla bean ice cream is a premium form of ice cream characterized by its deep, authentic vanilla flavor derived directly from the whole vanilla bean. It’s typically made using a rich custard base (egg yolks, milk, and cream) which is infused with both the scraped seeds and the spent pod of a vanilla bean. This method extracts a more complex and nuanced vanilla flavor compared to using only extract, and it leaves beautiful, visible specks of vanilla throughout the ice cream.
The primary distinction lies in the source of the vanilla flavor. “Vanilla ice cream” is a broad term that typically implies flavoring with vanilla extract. In contrast, “vanilla bean ice cream” specifically uses the actual vanilla bean (either the whole pod, just the scraped seeds, or high-quality vanilla bean paste) for its flavoring. Vanilla bean ice cream often has a more intense, complex, and layered vanilla flavor, and is visually identifiable by the tiny black specks of vanilla bean distributed throughout.
Many connoisseurs and pastry chefs agree that vanilla bean ice cream offers a superior taste experience. It possesses a richer, more nuanced, and complex flavor profile compared to ice cream flavored solely with vanilla extract. The natural compounds in the whole bean contribute to a more profound aroma and taste, often described as floral, woody, and creamy, beyond just simple sweetness. The visible specks also enhance the sensory experience, signaling its authentic quality.
If you choose to use a stabilizer for an even creamier, less icy result, it’s crucial to incorporate it correctly. Ice cream stabilizers typically need heat to activate but can clump if added directly to hot liquids. Therefore, I recommend whisking the stabilizer thoroughly into the cold milk and cream mixture *before* you begin heating it. Follow the same process if using xanthan gum. A general guideline is 1 teaspoon of commercial ice cream stabilizer or ½ teaspoon of xanthan gum per 3 cups of liquid. Please note that stabilizer compositions and strengths can vary, so some minor experimentation may be needed to achieve your desired texture.
The most crucial piece of equipment is an ice cream maker, ideally one with a freezer bowl that needs to be pre-frozen. You will also need a heavy-bottomed saucepan for the custard base, a whisk, a heatproof bowl for tempering eggs, an instant-read thermometer (highly recommended for precision), a fine-mesh strainer, and an airtight container for freezing the finished ice cream.
While an ice cream maker is highly recommended for the silkiest texture, it is possible to make ice cream without one, though the results will not be as consistently smooth. The ‘no-churn’ method involves whipping heavy cream and folding it into a condensed milk base. For this custard-based recipe, you would typically freeze the custard base in a shallow pan and then vigorously whisk or blend it every 30-60 minutes for several hours to break up ice crystals as it freezes. This manual process is more labor-intensive and generally yields a slightly icier texture compared to machine churning.
If you tried this recipe and absolutely loved it, please take a moment to leave a 🌟 **star rating** and share your experience in the **comments** below. I truly cherish hearing from you; your feedback and comments brighten my day!
Vanilla Bean Ice Cream
Chef Lindsey
20 minutes
20 minutes
3 hours
3 hours 40 minutes
10 servings
Saved
Pin Recipe
Comment
Print Recipe
Ingredients
- 1 ½ cups whole milk
- 1 ½ cups heavy cream
- ⅔ cup granulated sugar divided
- 1 vanilla bean split & scraped
- 1 teaspoon kosher salt
- 5 egg yolks
Instructions
-
Ensure your ice cream maker’s mixing bowl and the container you plan to store the ice cream in are pre-frozen according to their specific instructions.
Make ice cream custard base
-
Place a fine mesh strainer over a medium bowl, and then set that medium bowl over a larger bowl filled with ice and a little water (an ice bath).
-
In a heavy saucepot, combine milk, cream, ⅓ cup sugar, and kosher salt.
-
Using a paring knife, split the vanilla bean lengthwise and scrape out all the seeds. You can also use previously scraped pods. Add both the seeds and the pod directly into the cream mixture.
-
Heat the milk mixture over medium heat, stirring occasionally to dissolve the sugar. Continue to heat gently until the mixture comes to a gentle simmer, just before a rolling boil.
-
In a large bowl, whisk the egg yolks with the remaining sugar until the mixture lightens to a pale yellow. When the cream mixture begins to steam, slowly pour about half of it into the yolks while whisking constantly to temper them. This gradual mixing prevents the eggs from curdling.
-
Once the cream comes to a boil, slowly pour it into the eggs while whisking constantly. Pour back into the pot.
-
Return the tempered mixture to the pot and cook over medium heat, stirring constantly with a silicone spatula. Continue until the custard thickens enough to coat the back of a spoon and reaches 85°C (180°F) on an instant-read thermometer. Do not let it boil.
-
Pour through the sieve into the bowl nestled in the ice bath. Allow to cool, stirring occasionally, for about 10 minutes. Remove the vanilla pods. Wrap tightly in plastic wrap, pressing it directly onto the surface of the custard, and cool in the refrigerator for at least 3 hours or overnight for the thickest, richest ice cream.
Churn the ice cream
-
Pour the thoroughly chilled custard base into your ice cream machine per the manufacturer’s specifications. Always add the base with the machine already running to prevent it from freezing to the sides.
-
Continue churning until the volume increases by about 1/3 and the ice cream pulls away from the sides, resembling soft-serve and holding its shape when scooped out. In my Cuisinart, this typically takes a solid 25 minutes.
-
Transfer the churned ice cream into your pre-frozen 1-quart container. Cover the surface directly with plastic wrap to prevent ice crystals from forming or the ice cream absorbing any flavors from the freezer. Freeze for at least 3 hours, but preferably overnight, for optimal firmness.
Video
Notes
Storage – Store for up to 2 months, tightly covered with plastic wrap pressed directly onto the surface, in the freezer.
Yield: Approximately 1 Quart of churned ice cream.
Nutrition
Dessert
French
224
Like this? Leave a comment below!
**Before You Go: Explore More Deliciousness**
I sincerely hope you enjoyed creating and savoring this professional chef-tested recipe for vanilla bean ice cream. There’s immense satisfaction in crafting such a classic, rich dessert from scratch. The pure, authentic vanilla flavor and creamy texture are truly unparalleled. Don’t stop here! I encourage you to explore our other delightful, chef-developed ice cream recipes, each promising a gourmet experience in your own kitchen. Happy churning!