
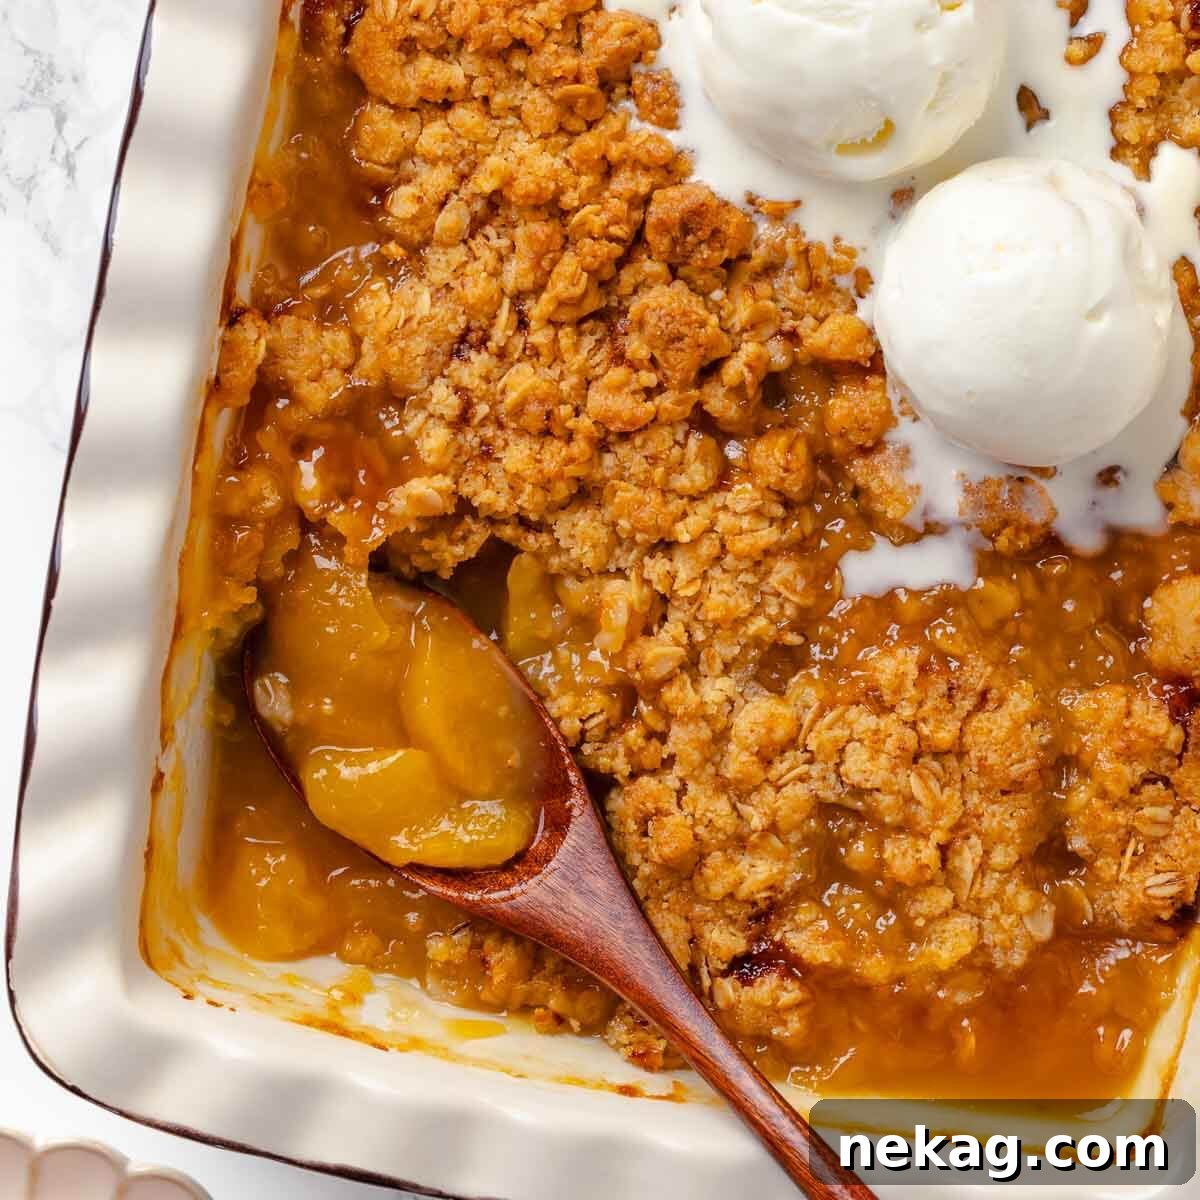
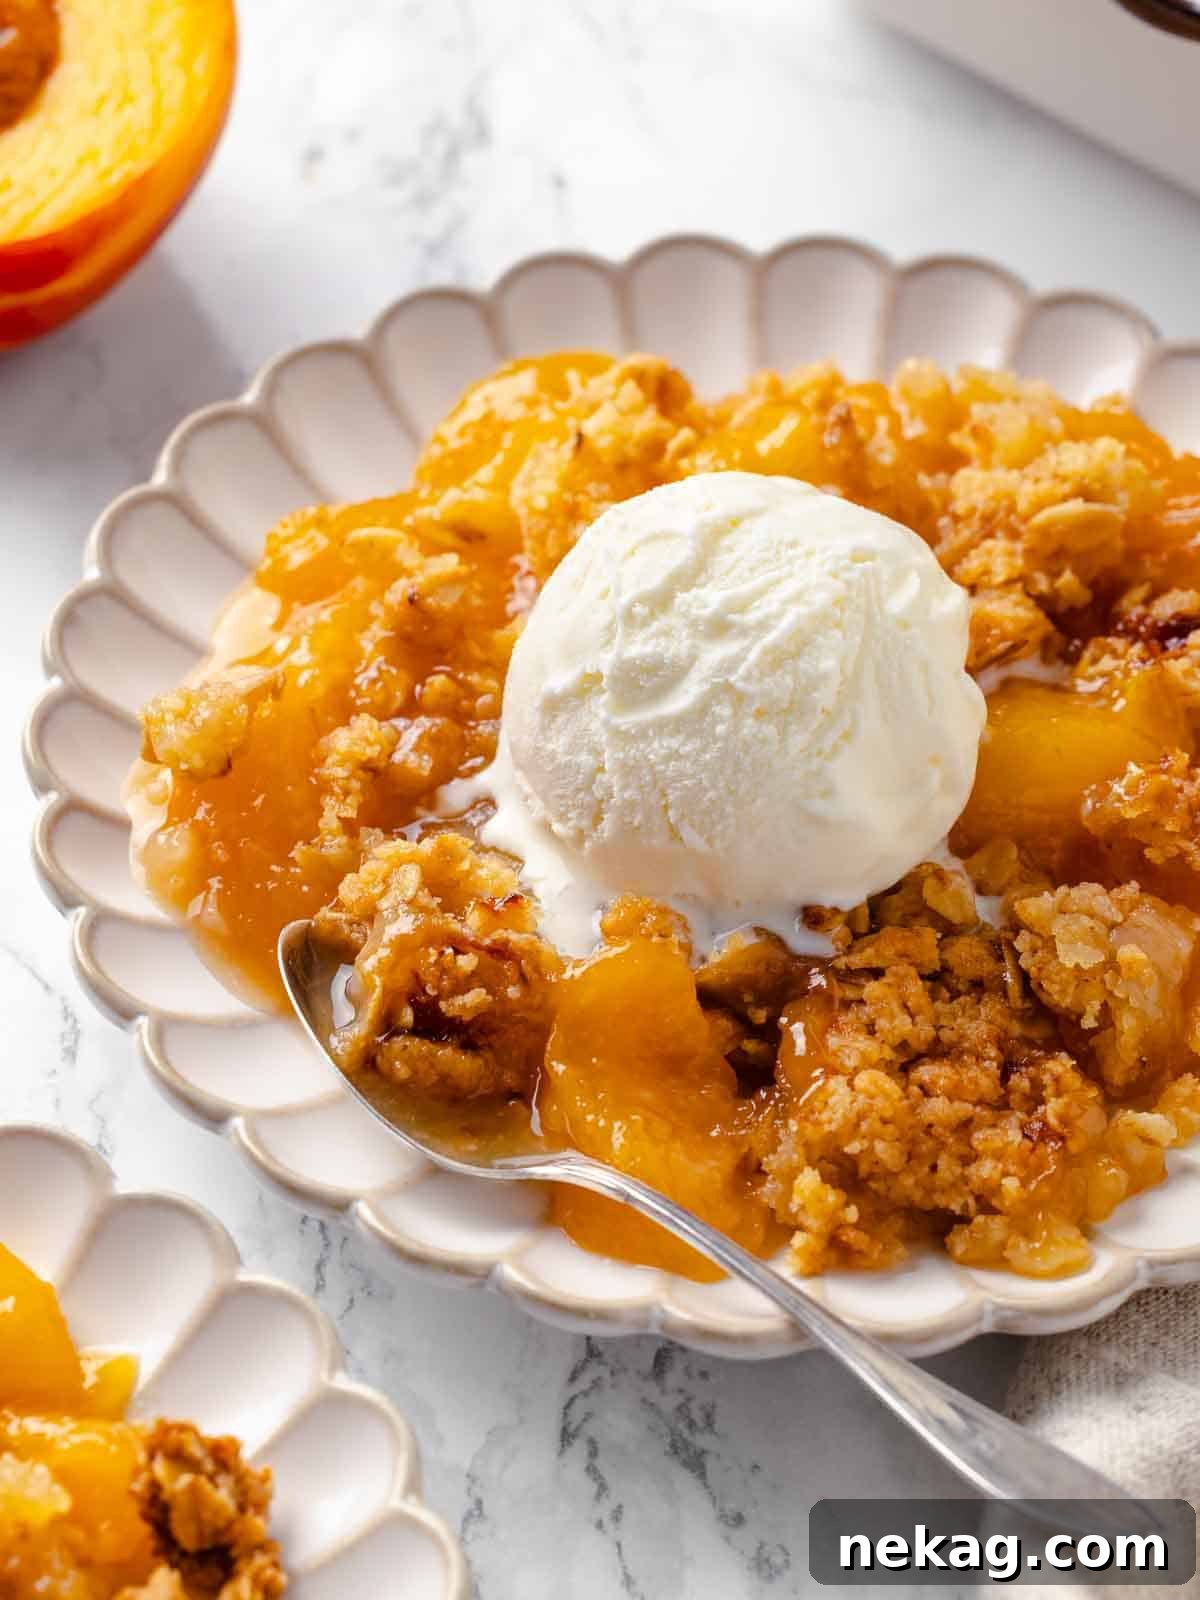
This ultimate peach crisp recipe promises to be your go-to summer dessert, blending the luscious sweetness of ripe, juicy peaches with a golden, irresistibly crunchy oat topping. Infused with a delicate hint of lemon and a warm whisper of ginger, it’s a symphony of flavors and textures that defines the essence of warm-weather indulgence. Best of all, it’s ready for the oven in just 15 minutes, making it an effortless yet impressive treat. Serve it warm, ideally crowned with a generous scoop of cold vanilla bean ice cream, for an experience that melts in your mouth and leaves you craving more. This recipe isn’t just a dessert; it’s a staple in my kitchen every peach season, and soon, it will be in yours too!
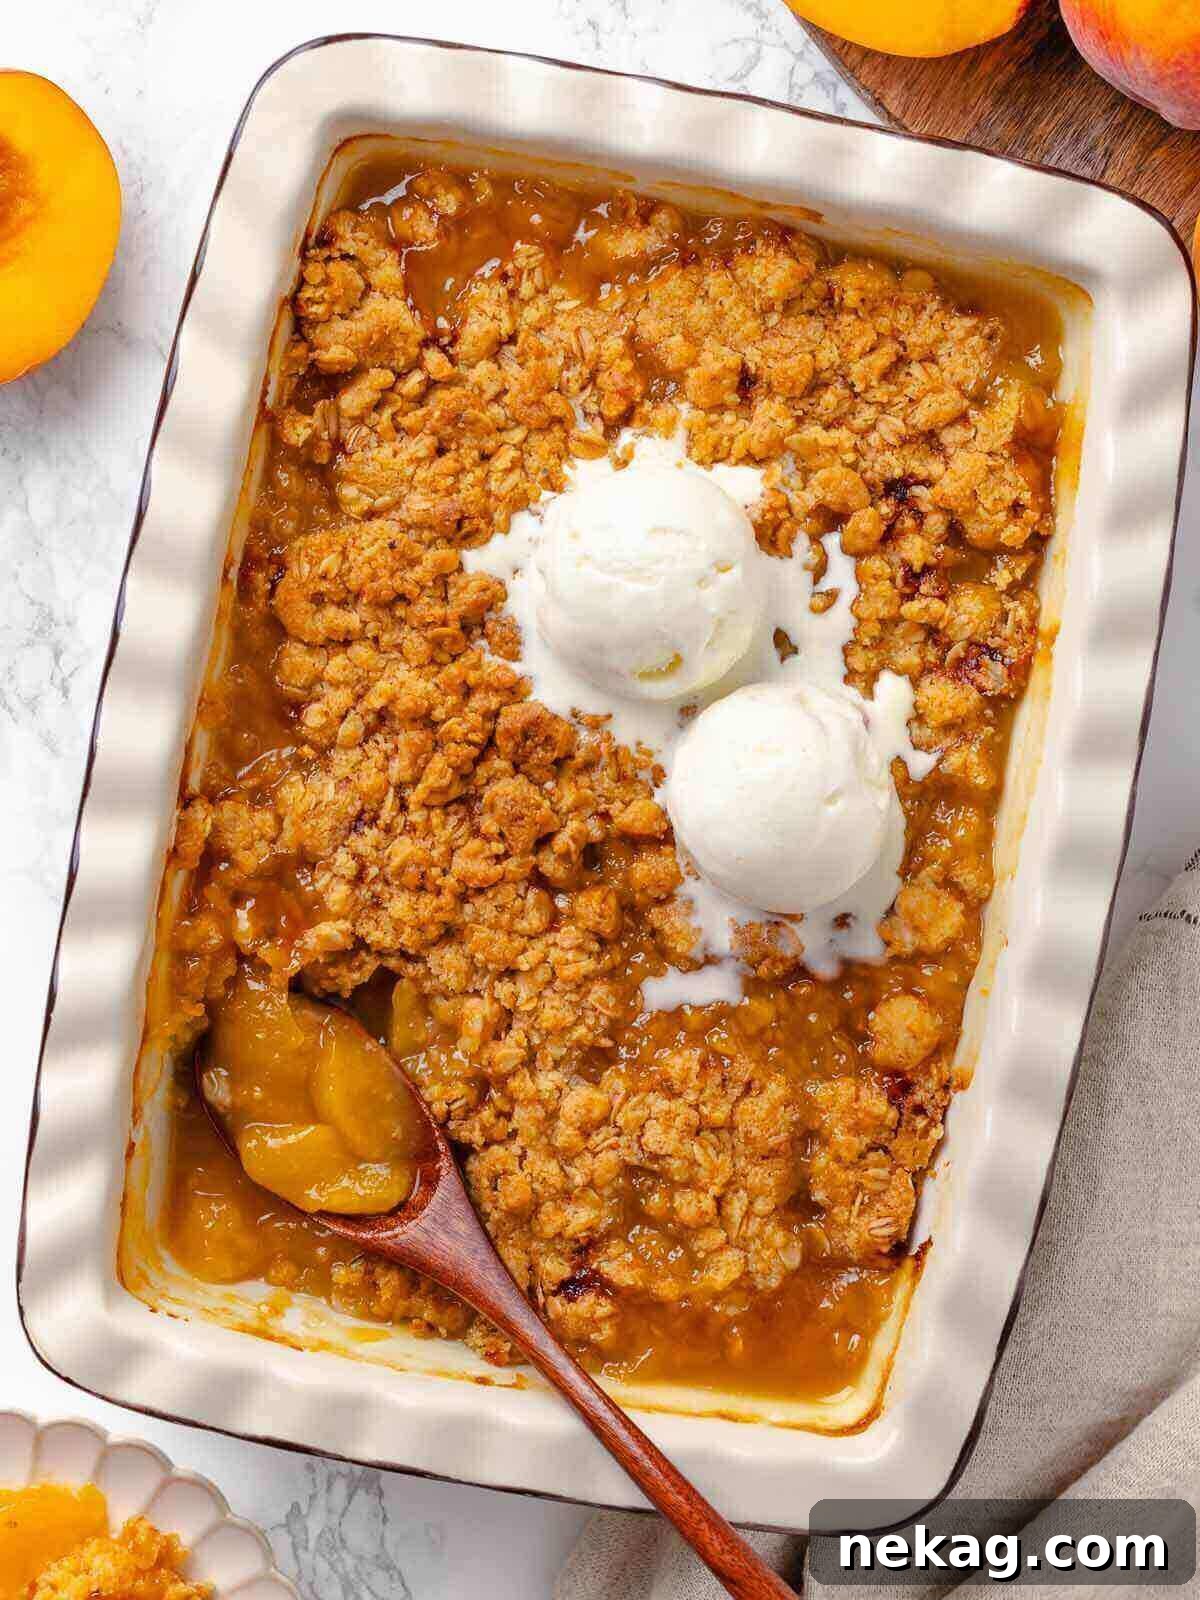
Forget complicated desserts; this isn’t just any peach crisp – this is *the* easy peach crisp recipe, perfected through years of culinary expertise and complete with my signature ginger kick that once graced restaurant menus. The process is delightfully simple: First, gather your perfectly ripe peaches, slice them with care, and let them macerate in a vibrant lemon-sugar mixture. This not only enhances their natural sweetness but also adds a bright, zesty body to the fruit filling. Second, prepare your magical granola-like topping, a rustic blend elevated by the subtle molasses notes of light brown sugar. Sprinkle this crumbly goodness generously over your peaches, and it’s ready to bake!
The waiting is the hardest part, but I often can’t resist serving it while still warm, allowing a scoop of creamy vanilla bean ice cream to slowly melt into the golden topping and tender fruit. Each spoonful offers a harmonious blend of melty, crisp, and creamy goodness. As soon as summer arrives, and frankly, throughout the entire year, peach crisp and other fresh peach delights are always on my mind. I seize every opportunity during peach season to create my beloved classic peach pie, the comforting old-fashioned peach cobbler, a refreshing marinated tomato stone fruit salad, and even savory dishes like spicy peach pork chops. And yes, I absolutely make easy peach preserves (no pectin required) to savor the taste of summer peaches long after the season ends. Do I use these succulent peaches to top my homemade fresh peach ice cream? Without a doubt, and it’s utterly delicious.
Table of Contents
- Why You Will Absolutely Love This Easy Peach Crisp Recipe
- Essential Equipment You Will Need
- Professional Tips for Crafting the Perfect Peach Crisp
- Key Ingredients for an Unforgettable Peach Crisp
- Exciting Variations to Customize Your Peach Crisp
- How to Best Serve Your Homemade Peach Crisp
- Step-by-Step Guide: How to Make Peach Crisp
- Chef Lindsey’s Expert Recipe Tip: The Secret to Perfect Peaches
- Frequently Asked Questions About Peach Crisp
- Printable Peach Crisp Recipe Card
- Before You Go: Explore More Delicious Recipes
Why You Will Absolutely Love This Easy Peach Crisp Recipe:
- Effortlessly Adaptable for Any Occasion or Season: This peach crisp is a culinary chameleon! It’s the ideal dessert to share with a hungry crowd, thanks to its generous serving size, and it can be enjoyed all year round. Even when fresh peaches are out of season, you can easily use frozen peaches; just remember to thaw them thoroughly before baking for the best results. This flexibility makes it a truly versatile addition to your recipe collection.
- No Intimidating Equipment or Stressful Timing Required: Say goodbye to complex kitchen gadgets and meticulous timing! You can prepare this entire recipe by hand with minimal effort, and it’ll be ready to go into the oven in a mere 15 minutes. There’s no need for deep breathing exercises or waiting for ingredients to reach room temperature. This is a genuinely straightforward, fuss-free dessert that delivers maximum flavor with minimal stress.
- A Symphony of Balanced Textures and Fresh, Vibrant Flavors: What truly sets this crisp apart is its exquisite balance. The tender, juicy peaches provide a soft, comforting base, perfectly complemented by the contrasting crunch of the golden oat topping. The magical combination of sugar and lemon enhances the peaches’ natural sweetness, while a subtle yet invigorating ginger kick adds a unique depth that elevates this crisp far beyond the ordinary. It’s a delightful experience for your palate in every single bite.
- Perfect for Any Skill Level: Whether you’re a seasoned baker or just starting your culinary journey, this recipe is designed for success. The clear, concise steps and forgiving nature of the ingredients make it incredibly beginner-friendly, ensuring a delicious outcome every time.
- A Warm, Nostalgic Comfort Food: There’s something inherently comforting about a warm fruit crisp straight from the oven. This peach crisp evokes feelings of home, summer days, and joyful gatherings, making it more than just a dessert – it’s an experience.
Essential Equipment You Will Need
One of the beauties of this easy peach crisp recipe is that it doesn’t require a lot of specialized kitchen equipment. Here’s what you’ll need to get started:
- Large Mixing Bowls: Two are ideal – one for the peach filling and one for the oat topping.
- 9×13-inch Baking Dish: A ceramic or glass baking dish works wonderfully for baking the crisp evenly and for easy serving.
- Sharp Knife and Cutting Board: For slicing the peaches.
- Measuring Cups and Spoons: For accurate ingredient measurements.
- Whisk or Fork: For combining dry ingredients for the topping.
- Pastry Blender (Optional): While your hands work perfectly fine, a pastry blender can make quick work of cutting the butter into the flour for the topping.
- Rubber Spatula or Wooden Spoon: For stirring the peach mixture and folding the topping ingredients.
- Parchment Paper (Optional): For lining the baking dish for easier cleanup, though not strictly necessary if you butter the dish well.
- Wire Cooling Rack: Essential for allowing the crisp to cool evenly after baking, preventing a soggy bottom.
Professional Tips for Crafting the Perfect Peach Crisp
- Embrace the Boldness of Freshly Grated Ginger: As a professional chef, I wholeheartedly advocate for using the freshest ingredients whenever possible. While ground ginger works, taking the risk to use freshly grated ginger will elevate this crisp to an entirely new level of aromatic warmth and vibrant flavor. Its pungent, bright notes complement the sweet peaches beautifully, creating a more dynamic and memorable taste experience. If you’re feeling adventurous, don’t hesitate to reach for that fresh ginger root!
- Integrate Some Crisp Topping into the Peaches: For those truly magical bites, don’t just sprinkle the topping on top. Gently press some of the crumbly oat mixture directly into the peach filling before baking. These bits will absorb the sweet, tangy peach juices as they bake, transforming into tender, flavor-infused pockets of crispness that add an incredible dimension to the dessert. This simple trick ensures a more cohesive and delicious outcome.
- The Golden Rule for a Thick, Luscious Filling: Bake It Long Enough! This recipe deliberately avoids using added thickeners like cornstarch, relying instead on the natural thickening that occurs as the peach juices reduce and meld with the sugars. This means the flavor is purer and more intense. The key to achieving that perfectly thick, syrupy filling is patience. Do not remove the crisp from the oven until you see the fruit filling actively bubbling around the edges and even in the center, and the top is a beautiful, deep golden brown. If it still looks watery, give it another 5-10 minutes. The slight caramelization from longer baking also deepens the overall flavor.
- Master the Art of Peeling Peaches: While some prefer leaving the skins on, I find that peeling the peaches creates a smoother, more refined texture in the crisp. If you’re new to peeling peaches, a blanching method (briefly boiling, then shocking in ice water) makes the skins incredibly easy to remove. This small effort truly enhances the eating experience.
- Don’t Rush the Cooling Process: It can be tempting to dive right into a warm crisp, but allowing it to cool for at least 20 minutes (or even longer) on a wire rack allows the filling to set properly. This prevents a runny crisp and ensures you get distinct layers of fruit and topping, which is crucial for the best texture.
Key Ingredients for an Unforgettable Peach Crisp
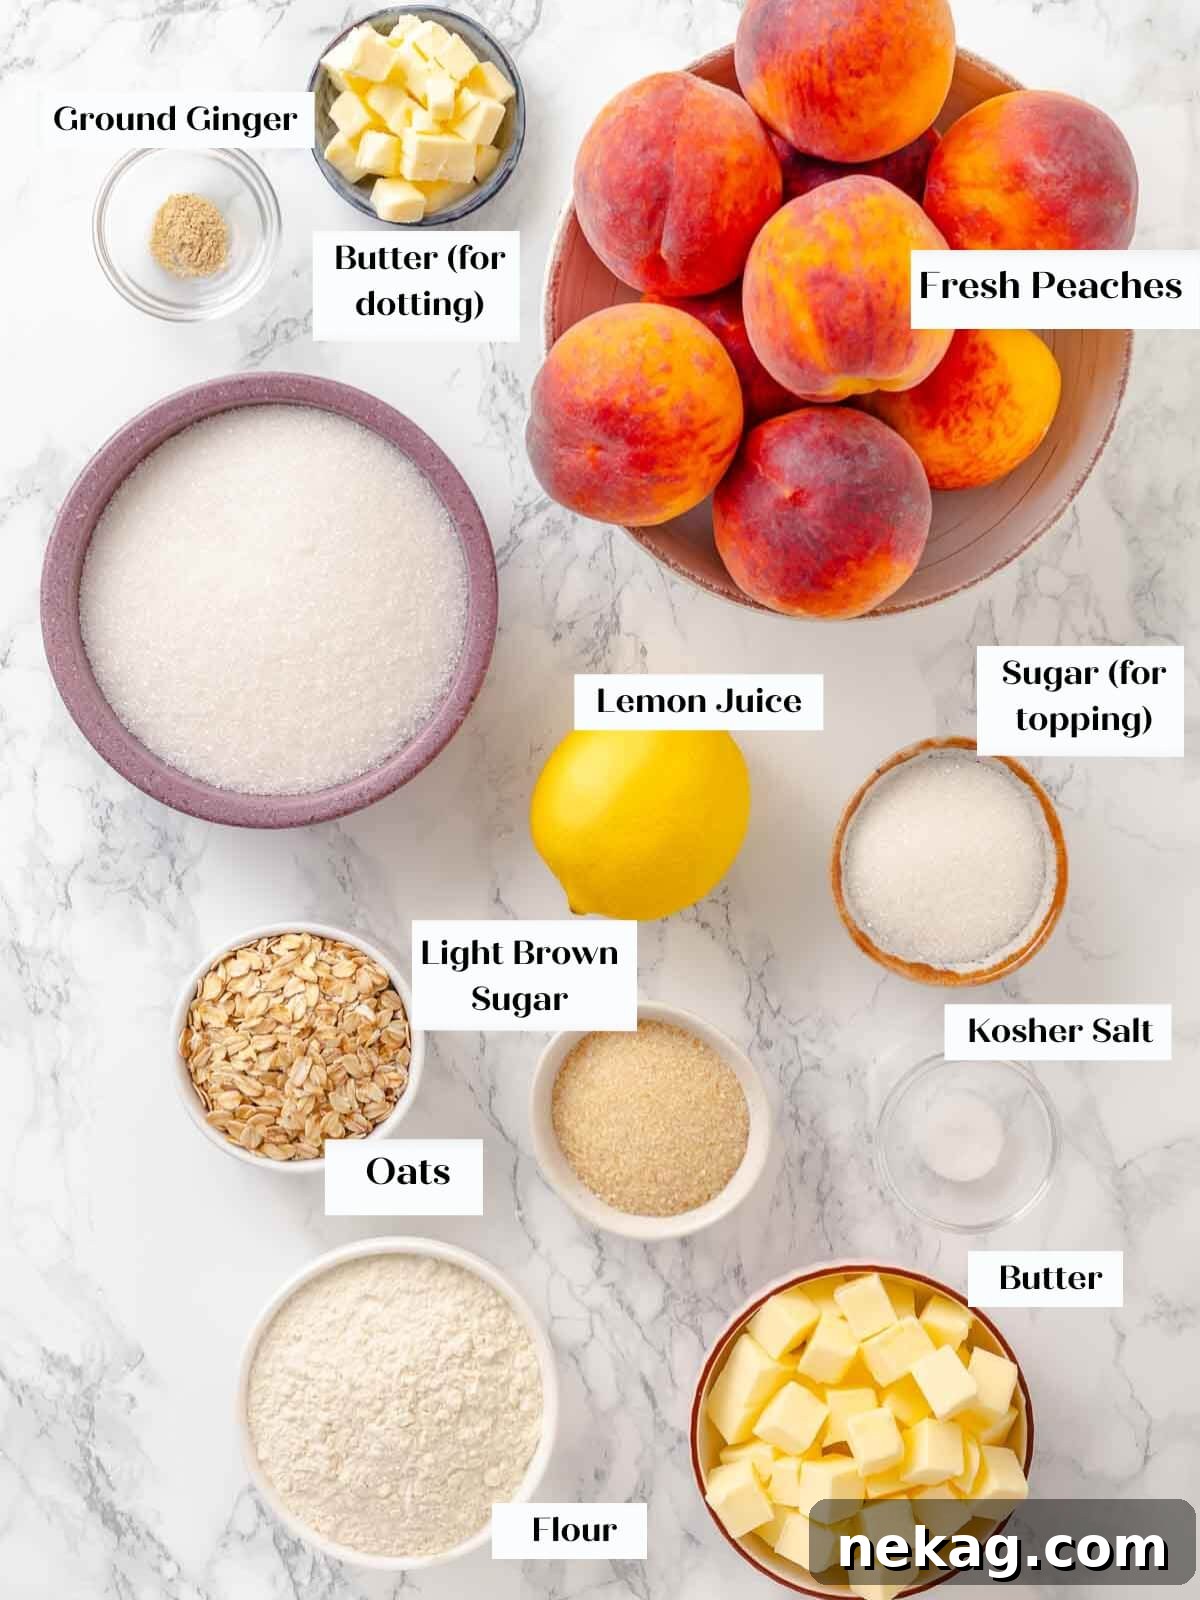
- Fresh Peaches: The star of the show! Opt for ripe but relatively firm peaches. Peaches that are overly ripe or too soft tend to break down excessively during baking, resulting in a mushy filling. Firmer peaches, on the other hand, will better retain their shape, texture, and natural moisture, contributing to a more satisfying crisp. Peak season peaches will offer unparalleled flavor, making all the difference. Check out local peach growers for the best quality.
- Granulated Sugar: Provides essential sweetness to both the peach filling and contributes to the crispness of the oat topping.
- Lemon Juice: Freshly squeezed lemon juice is paramount here. It brightens the flavor of the peaches, balances the sweetness, and prevents the crisp from tasting overly heavy. If fresh lemons aren’t available, seek out high-quality store-bought lemon juice, preferably a frozen option that’s made from freshly squeezed juice or found in the refrigerated section for maximum flavor.
- Ground Ginger: This is my secret ingredient! Ground ginger adds a warm, spicy undertone that beautifully complements the peaches without overpowering them. For an extra kick, consider using freshly grated ginger as a “frisky” alternative, as mentioned in my professional tips.
- All-Purpose Flour: Forms the essential structure of the crisp topping. All-purpose flour provides just the right amount of gluten to create a tender yet cohesive crumb that bakes up golden and crunchy.
- Old-Fashioned Rolled Oats: Crucial for that characteristic “crisp” texture. I exclusively use old-fashioned rolled oats in my crisp toppings because they hold their shape and structure exceptionally well after baking. This ensures a delightful chewiness and hearty texture, unlike quick oats which can become mushy.
- Light Brown Sugar: Beyond sweetness, light brown sugar introduces valuable moisture to the topping, preventing it from becoming too dry. More importantly, its molasses content imparts a wonderful, caramel-like depth and a richer flavor profile that pairs exquisitely with the oats and peaches.
- Kosher Salt: A pinch of kosher salt is vital in both the filling and the topping. It enhances and balances all the other flavors, preventing the dessert from tasting flat and bringing out the natural sweetness of the peaches and the richness of the butter.
- Unsalted Butter: I always use unsalted butter to have precise control over the salt content in my recipes. Cold, cubed unsalted butter is key for achieving that perfectly crumbly, tender, and rich oat topping. For those seeking a vegan or gluten-free alternative, a dairy-free fruit crisp made with coconut oil can also be wonderfully delicious.
For precise measurements and detailed quantities, please refer to the comprehensive recipe card below!
Exciting Variations to Customize Your Peach Crisp
- Dare to Explore Different Fruits or Creative Combinations: While peaches are undeniably fantastic, don’t hesitate to experiment with other fruits. Apples, pears, or a delightful peach-blueberry combination are excellent choices. My easy apple crisp, mixed berry crumble recipe, and blueberry cobbler are all fantastic starting points for inspiration. For an added touch of fruit sophistication, consider a peach blackberry pie hybrid. Other wonderful options include plums, cherries, or even a mix of stone fruits!
- Infuse Your Crisp with Unique Spices or Zesty Citrus Notes: Elevate your crisp’s flavor profile by incorporating different spices. Try a generous dash of pumpkin spice, apple pie spice, nutmeg, or even the warm, floral notes of cardamom, as I do in my exquisite cardamom pear crisp! Beyond spices, introduce layers of flavor with a drizzle of luscious salted caramel sauce in the filling, or add subtle nuances with almond extract, vanilla extract, or even orange extract. A dash of cinnamon is always a welcome classic.
- Transform the Topping for a Different Dessert Experience: The topping is what truly distinguishes a peach crisp from other fruit desserts like a cobbler or crumble. If you’re craving a cobbler, simply swap the oat topping for a tender biscuit topping. My killer old-fashioned peach cobbler recipe is ready and waiting! Alternatively, you could top this crisp recipe with my favorite streusel topping, which is what I use for my delightful peach crisp cupcakes! I’ve also experimented with variations on my streusel recipe, incorporating oats, chopped pecans, walnuts, or macadamia nuts for added crunch and richness. It’s equally delightful with seeds, much like my popular honey granola recipe, offering a different textural dimension and nutty flavor.
- Gluten-Free or Vegan Adaptations: For dietary considerations, you can easily make this crisp gluten-free by using a 1:1 gluten-free flour blend in the topping. For a vegan version, substitute the butter with a high-quality plant-based butter alternative or coconut oil (as referenced in the ingredient section). Ensure all other ingredients are also vegan-friendly.
How to Best Serve Your Homemade Peach Crisp
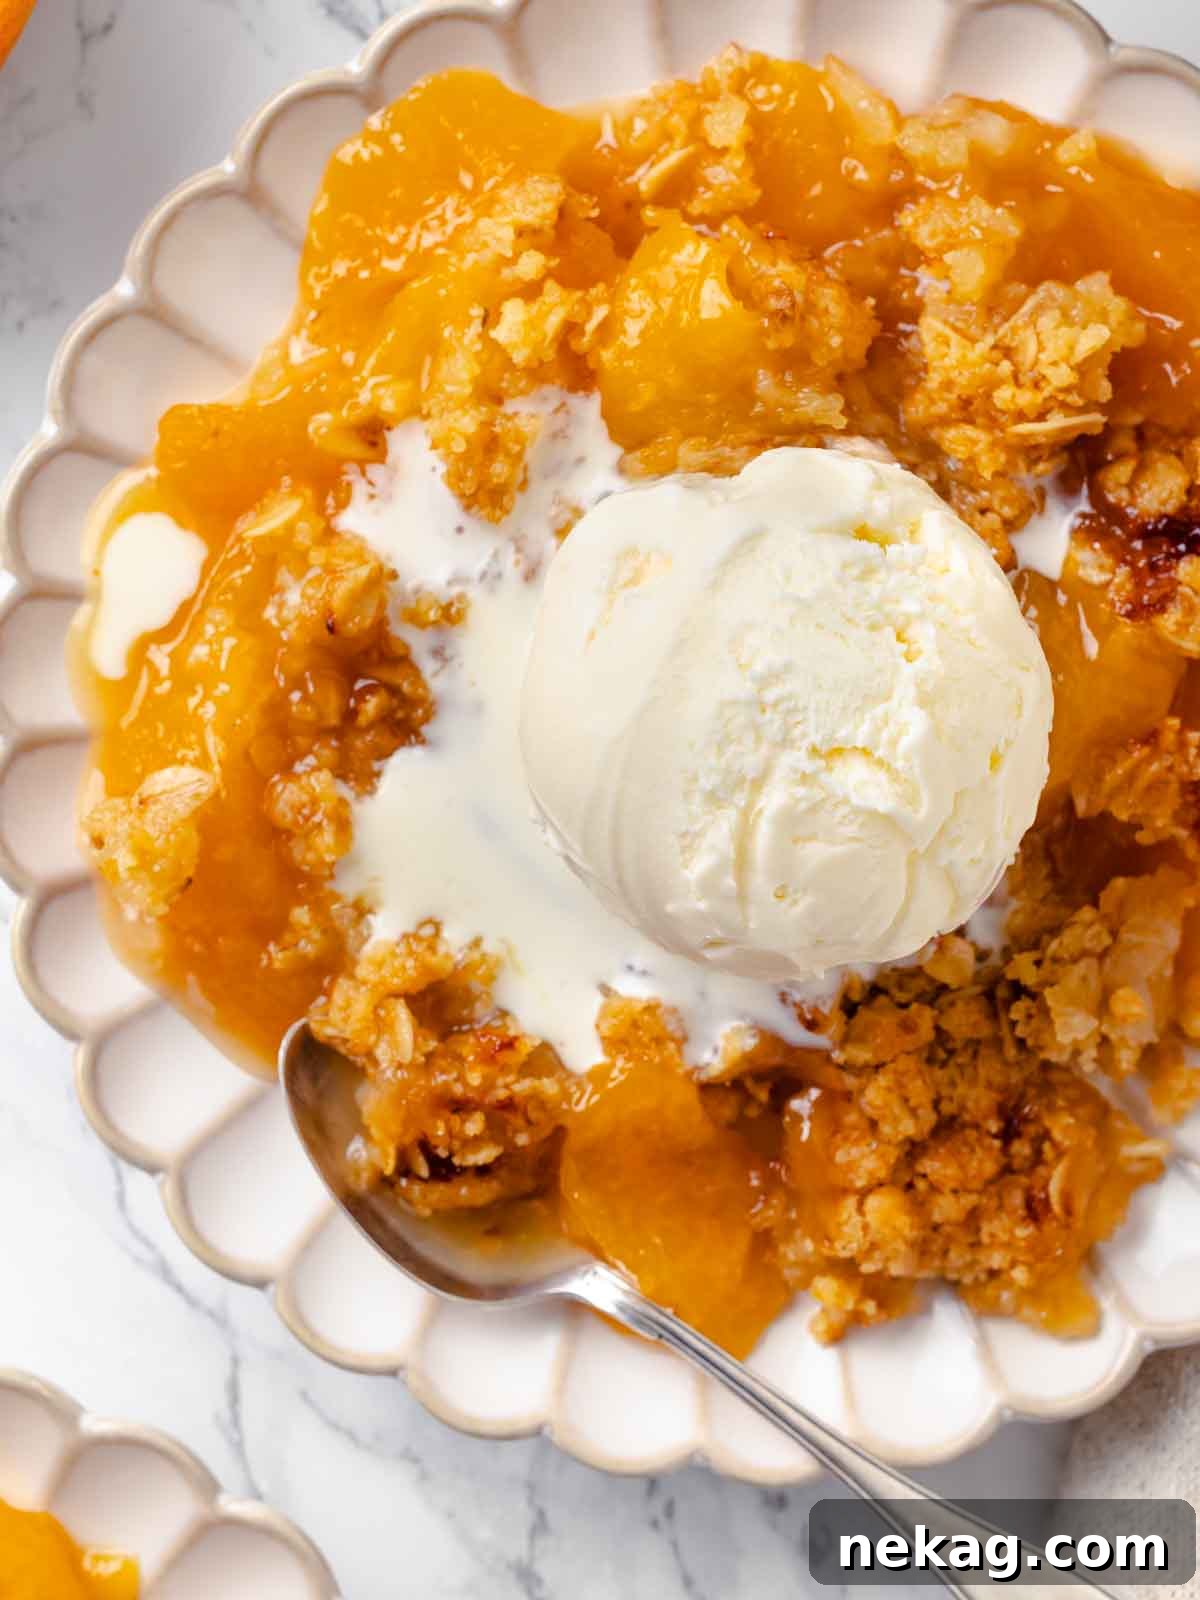
The beauty of a warm peach crisp lies in its versatility and how it pairs with an array of delectable accompaniments. While it’s utterly divine on its own, adding a topping elevates the experience to pure bliss. My top recommendation is to serve peach crisp with a generous scoop of creamy vanilla bean ice cream. The contrast between the warm, fruity crisp and the cold, smooth ice cream is simply heavenly, creating a dance of temperatures and textures. For a touch of refined elegance, consider a luscious drizzle of homemade crème anglaise, a delicate vanilla custard sauce that adds a silken richness. Alternatively, a pour of rich butterscotch sauce or genuine Vermont maple syrup will introduce an added layer of buttery, caramel depth that complements the peaches beautifully. To round out the flavors with a bright, tangy note, serve your crisp with a dollop of homemade lemon curd or even some light and airy lemon curd whipped cream. For those who crave even more richness and crunch, finely crumble some homemade pecan pralines over the top. Honestly, with a dessert this delightful, it’s hard to go wrong no matter how you choose to serve it!
Step-by-Step Guide: How to Make Peach Crisp
Creating this irresistible peach crisp is a straightforward and rewarding process. Follow these detailed steps to achieve a perfectly baked, flavorful dessert. Further details and precise measurements can be found in the recipe card below!
Make the Filling and Topping:
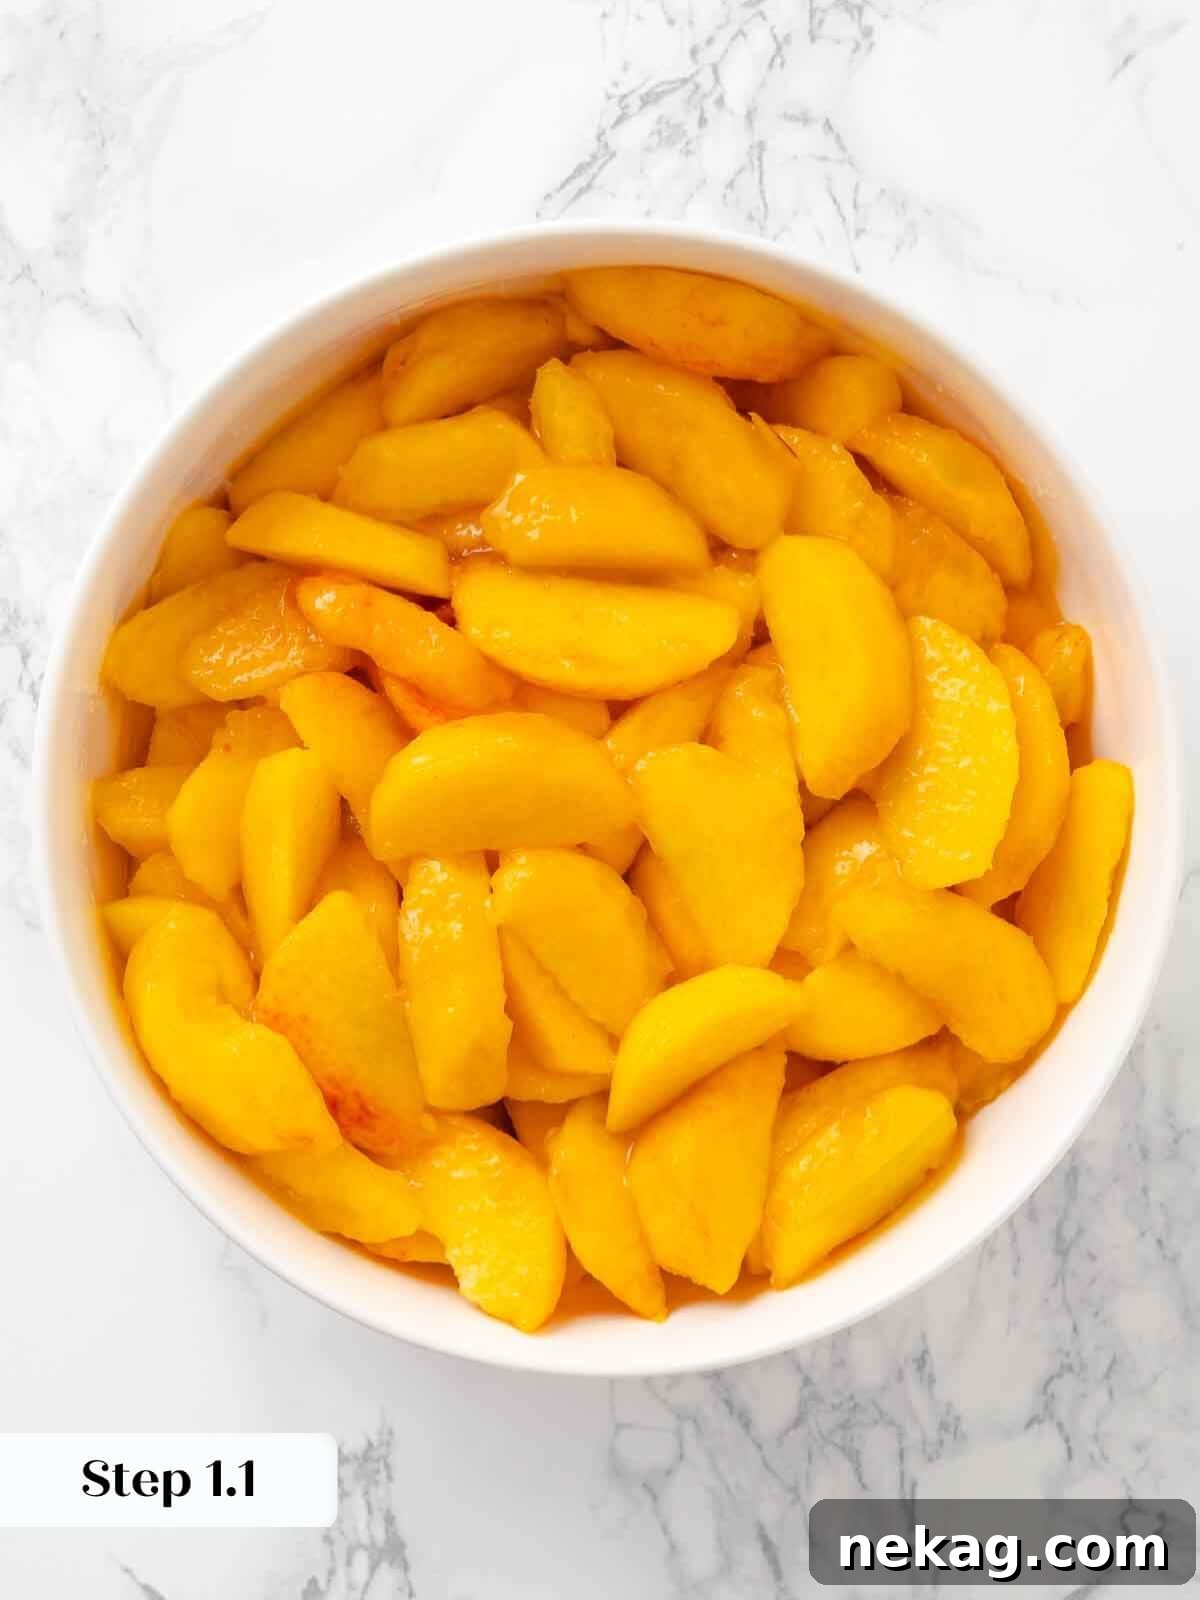
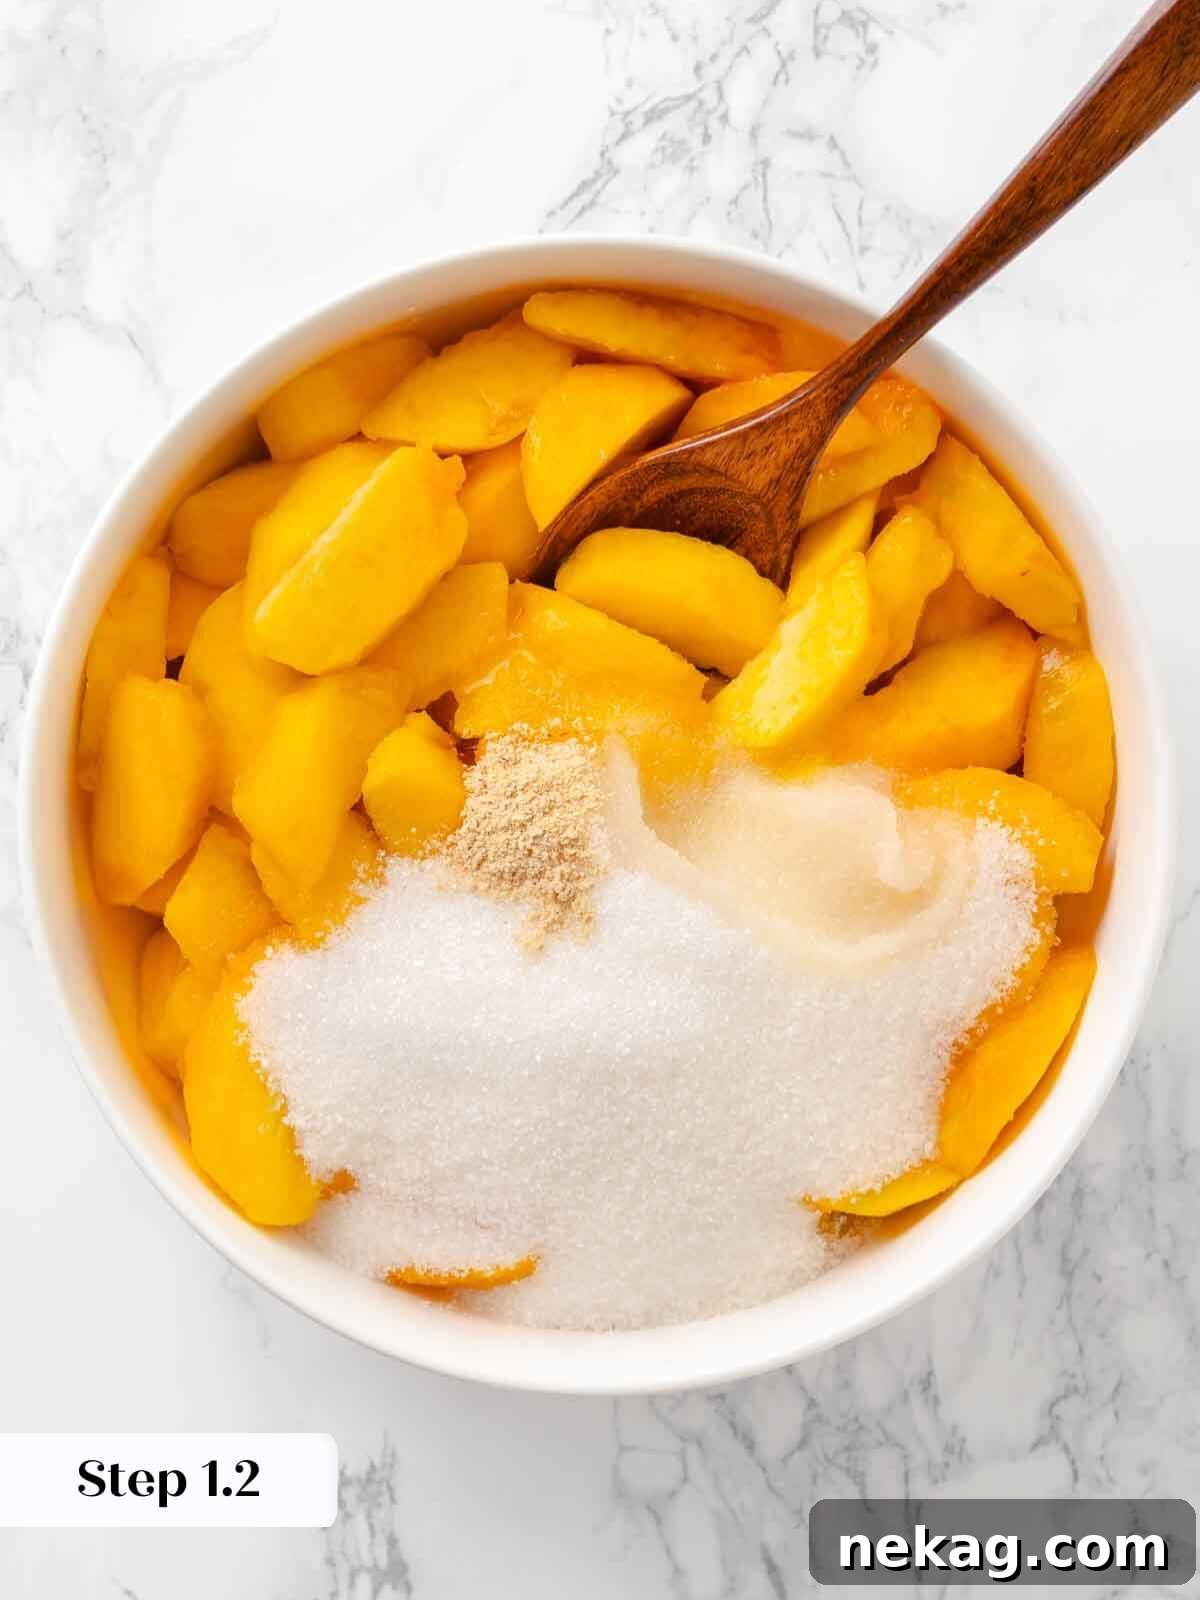
Step 1: Prepare the Peach Filling. In a spacious medium bowl, combine your peeled, pitted, and evenly sliced peaches with granulated sugar, fresh lemon juice, and ground ginger. Gently stir the mixture until all the peach slices are thoroughly and evenly coated with the sugar and spices. Allow the peaches to sit for about 10-15 minutes while you prepare the topping; this maceration process helps draw out their natural juices, creating a richer filling.
Chef’s Note on Peeling Peaches: I promise you, peeling the peaches is absolutely worth the effort for a superior texture. If you’re unsure how, you can watch my video on how to peel peaches three ways! Find the option that works best for your comfort and speed.
Step 2: Preheat Your Oven. Adjust your oven rack to the middle position. Preheat your oven to 350°F (175°C) using the conventional setting (no fan/convection, as convection can sometimes over-brown the topping too quickly). This ensures even baking and a perfectly golden crisp.
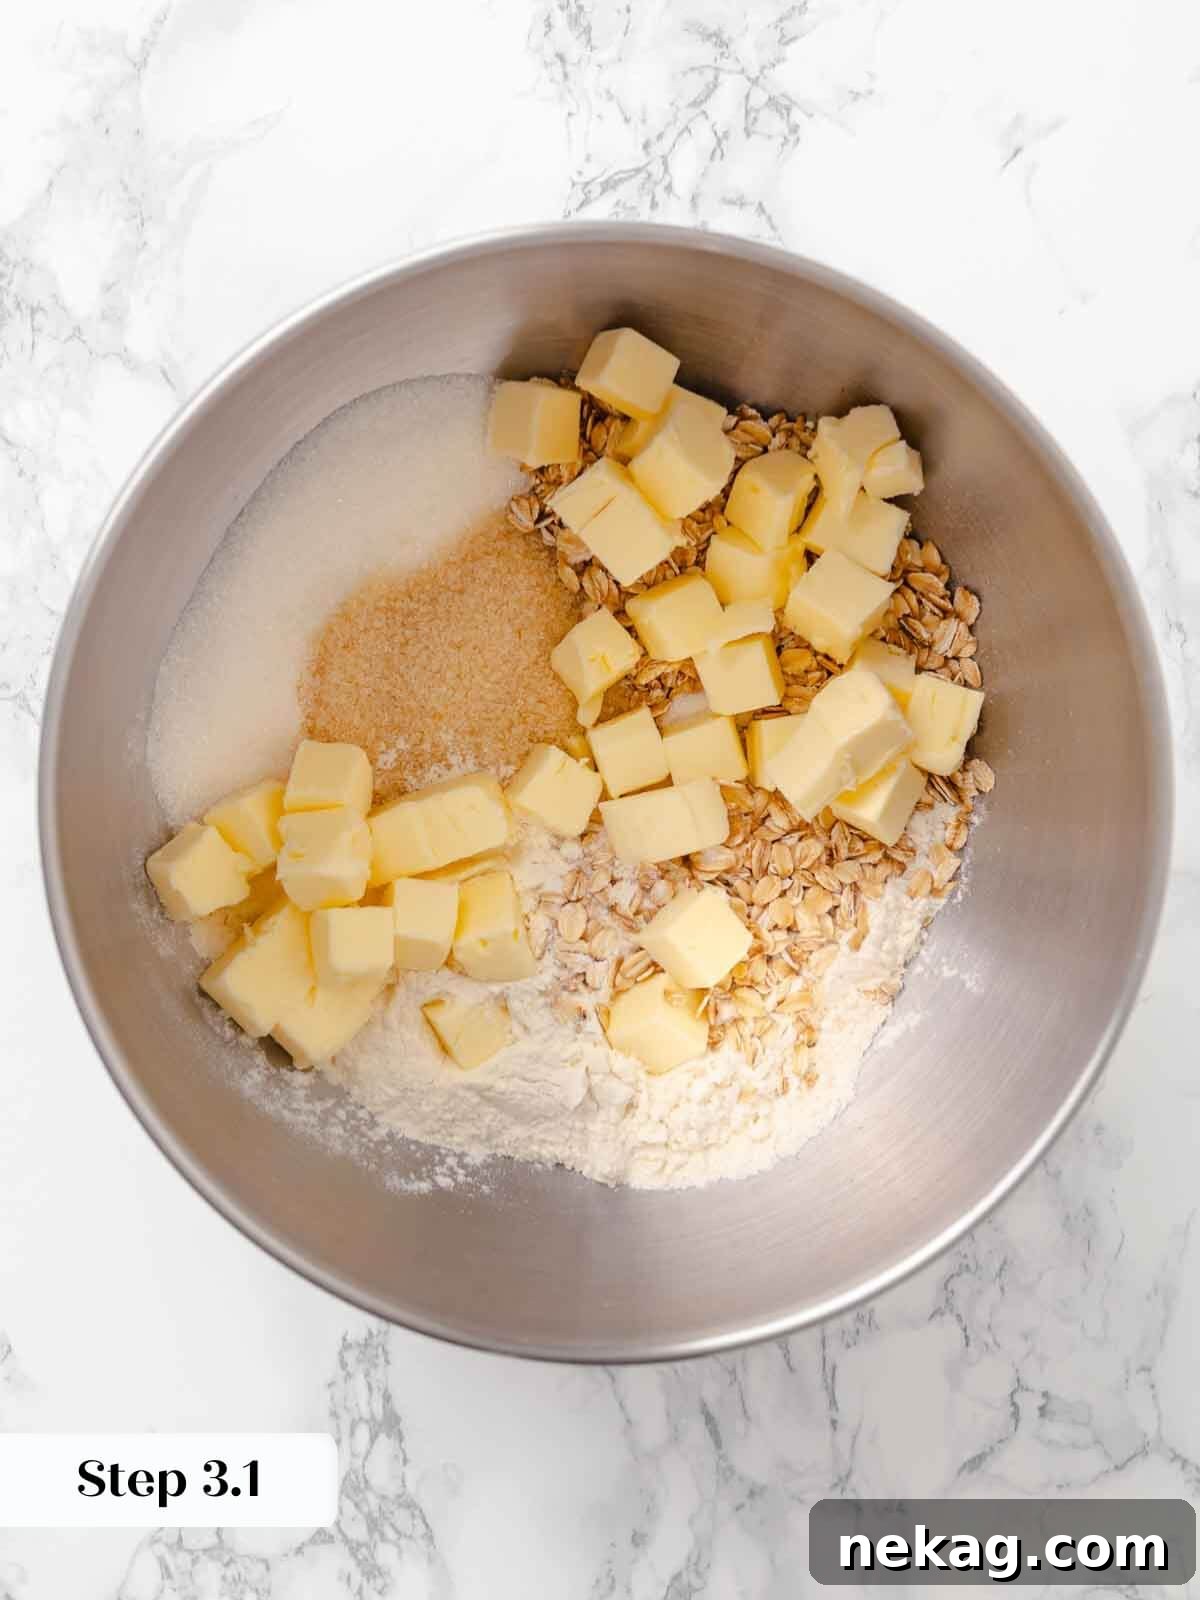
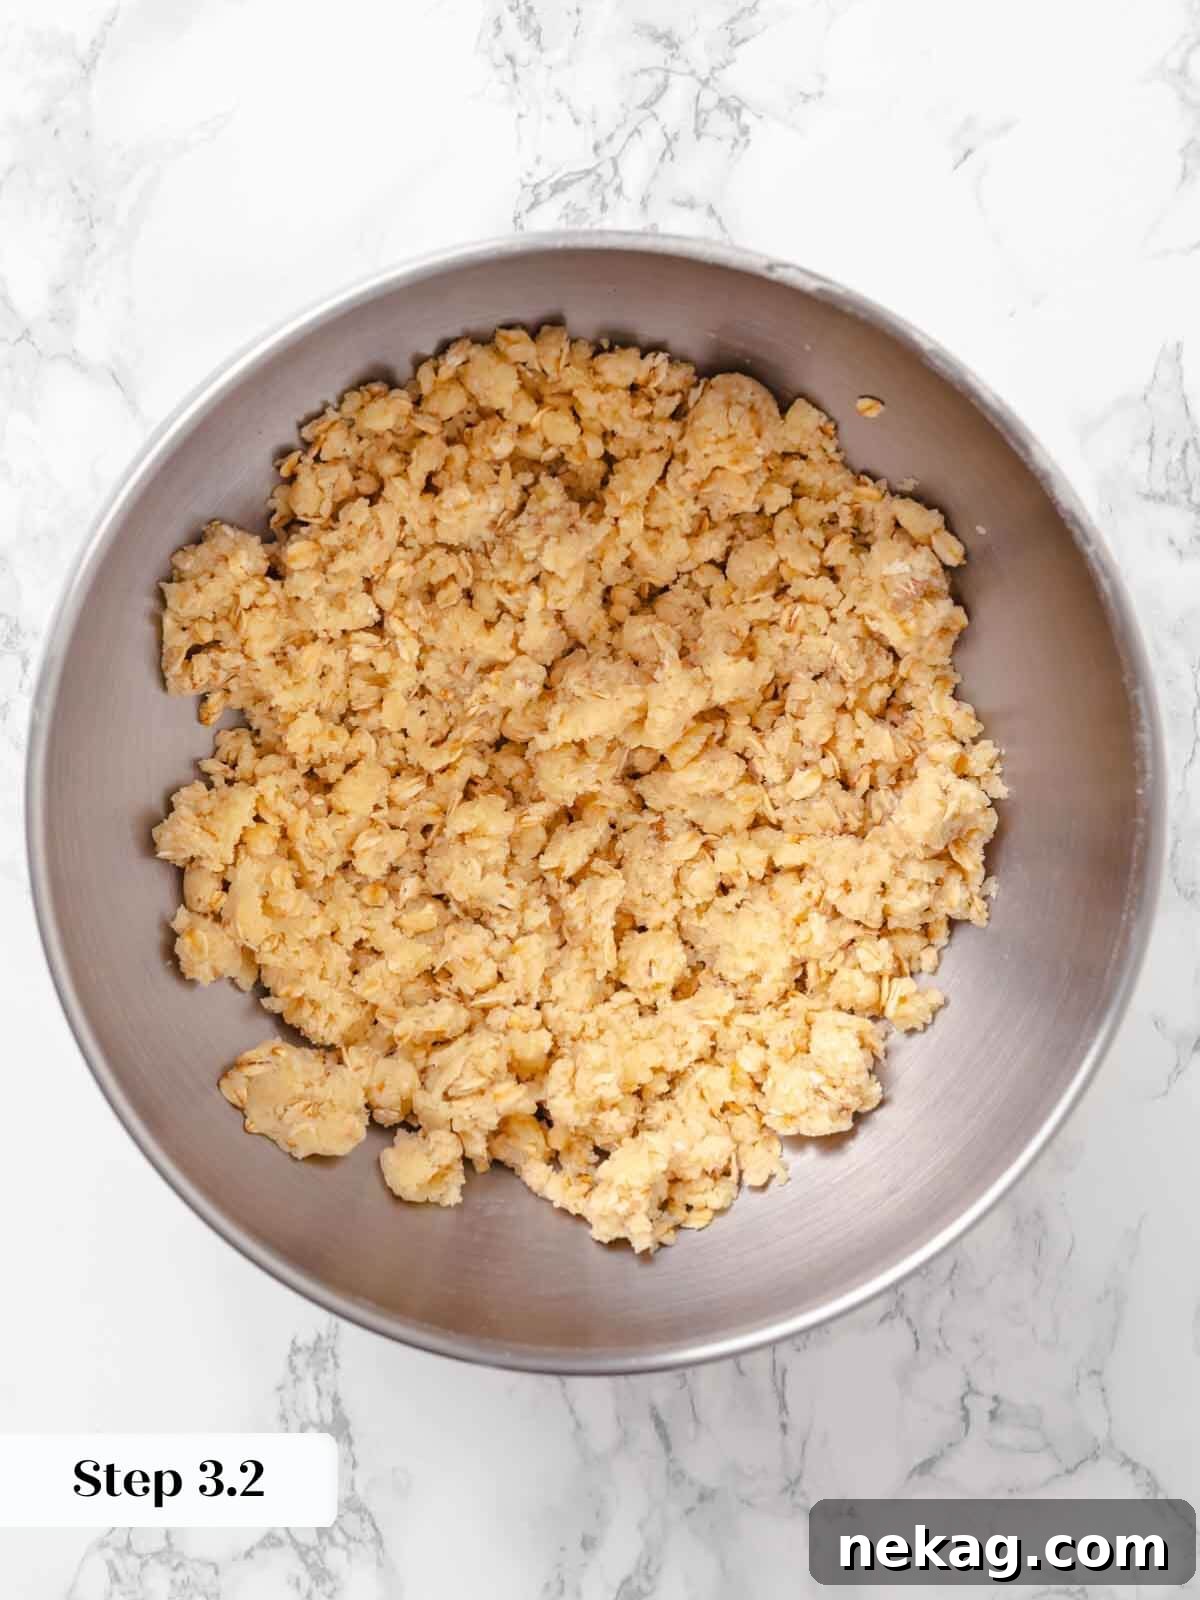
Step 3: Create the Golden Oat Topping. In a large mixing bowl, or the bowl of your stand mixer fitted with the paddle attachment, combine all your topping ingredients: granulated sugar, light brown sugar, all-purpose flour, rolled oats, and kosher salt. Give them a quick whisk to combine. Then, add your cold, cubed unsalted butter. Mix on low speed until a cohesive, crumbly dough forms, resembling coarse meal with some larger pea-sized clumps.
Alternatively, if mixing by hand, you can use your fingertips or a pastry blender to work the cold butter into the dry ingredients. Grab handfuls of the mixture, squeezing and mashing the butter against your palm with your fingers. Repeat this motion until the mixture comes together in chunks, with only a few small lumps of butter remaining. Work as quickly as possible to prevent the butter from melting, as keeping it cold is essential for a truly crisp topping.
Expert Butter Tip: This is one of those rare (but fantastic!) baking circumstances where using cold butter works to your distinct advantage. The cold butter creates steam during baking, contributing to the crispiness and flakiness of the topping. So, make sure your butter is well-chilled and wait until you are absolutely ready to make your topping before removing it from the refrigerator.
Assemble & Bake the Crisp:
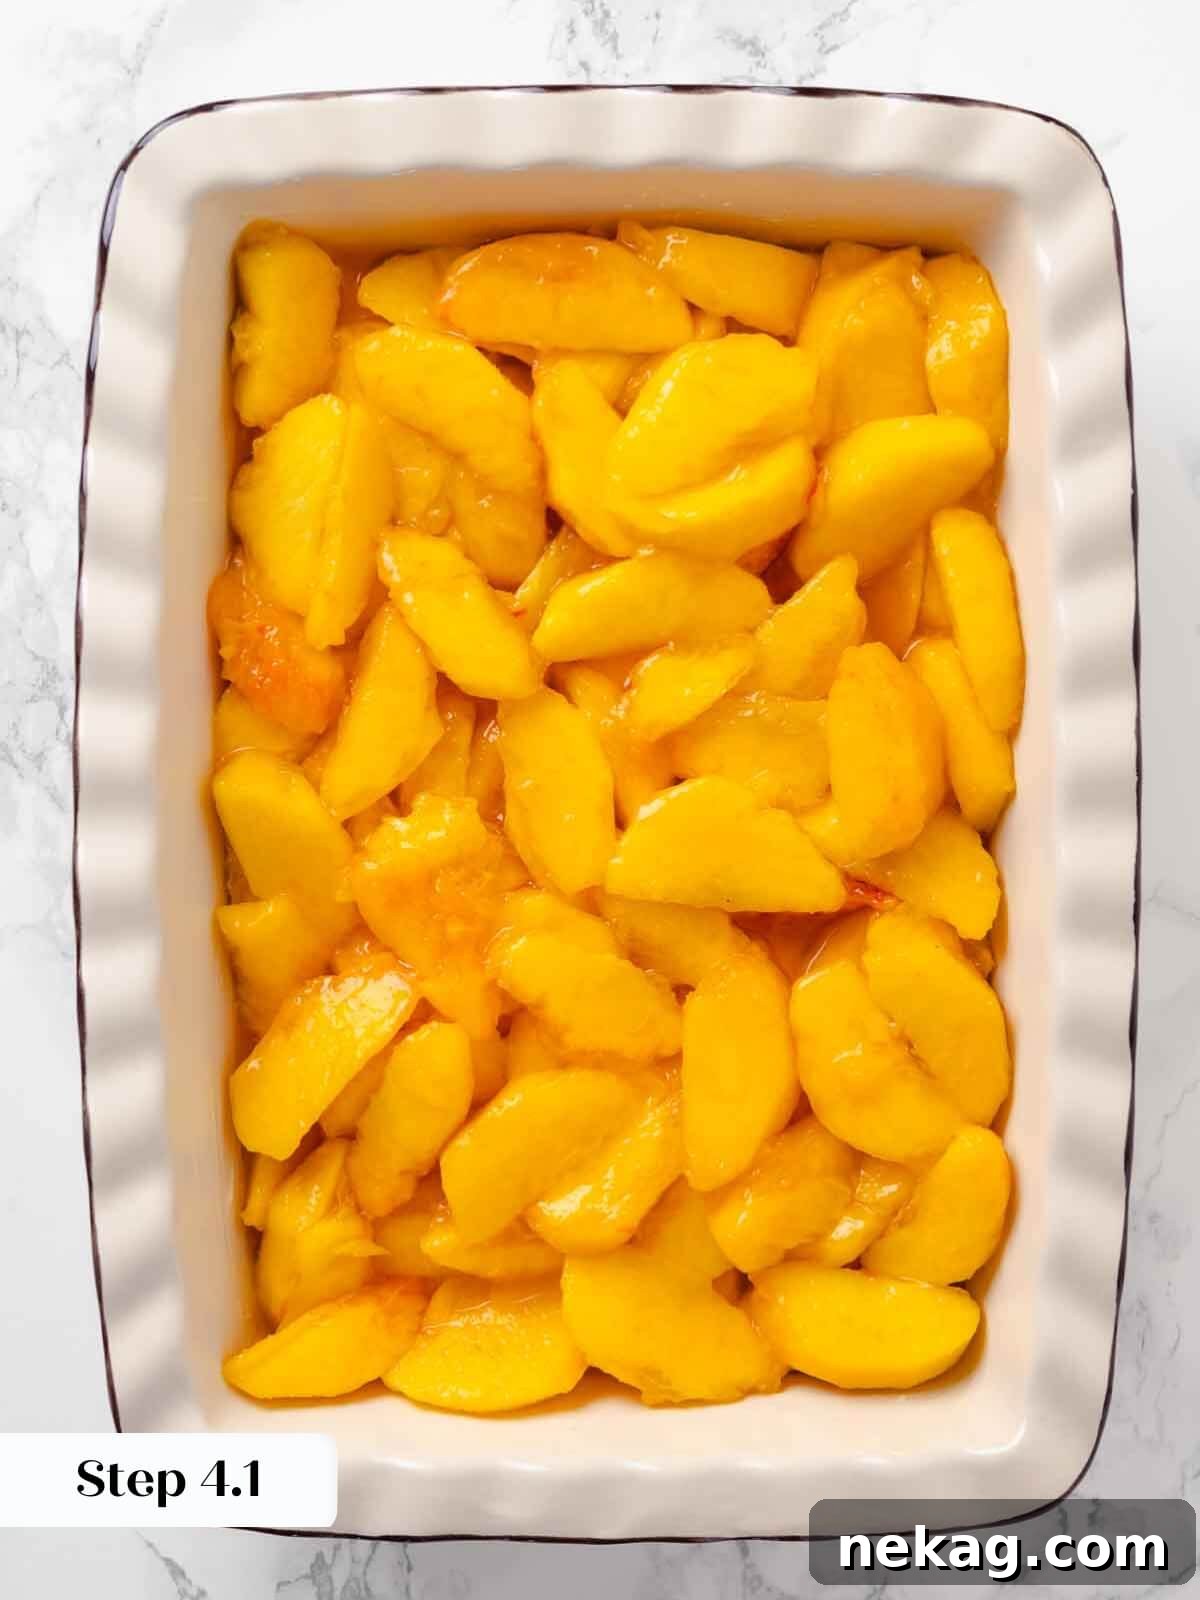
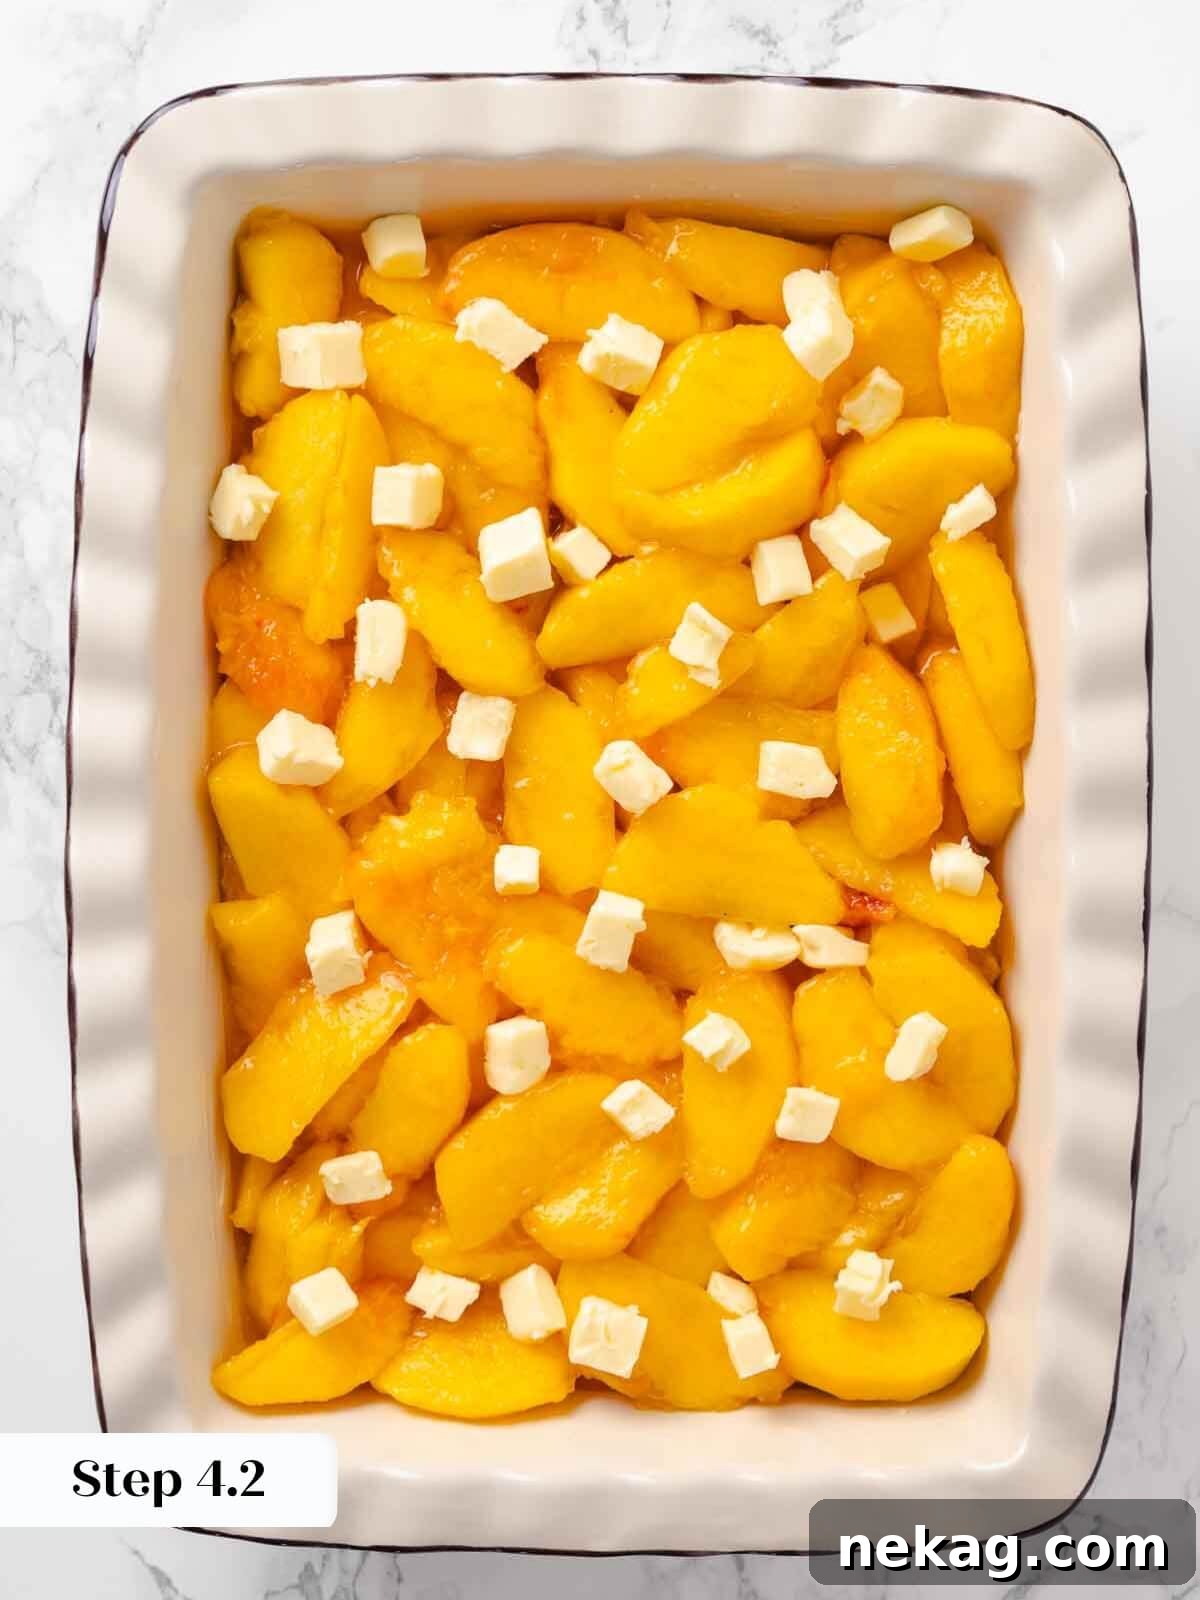
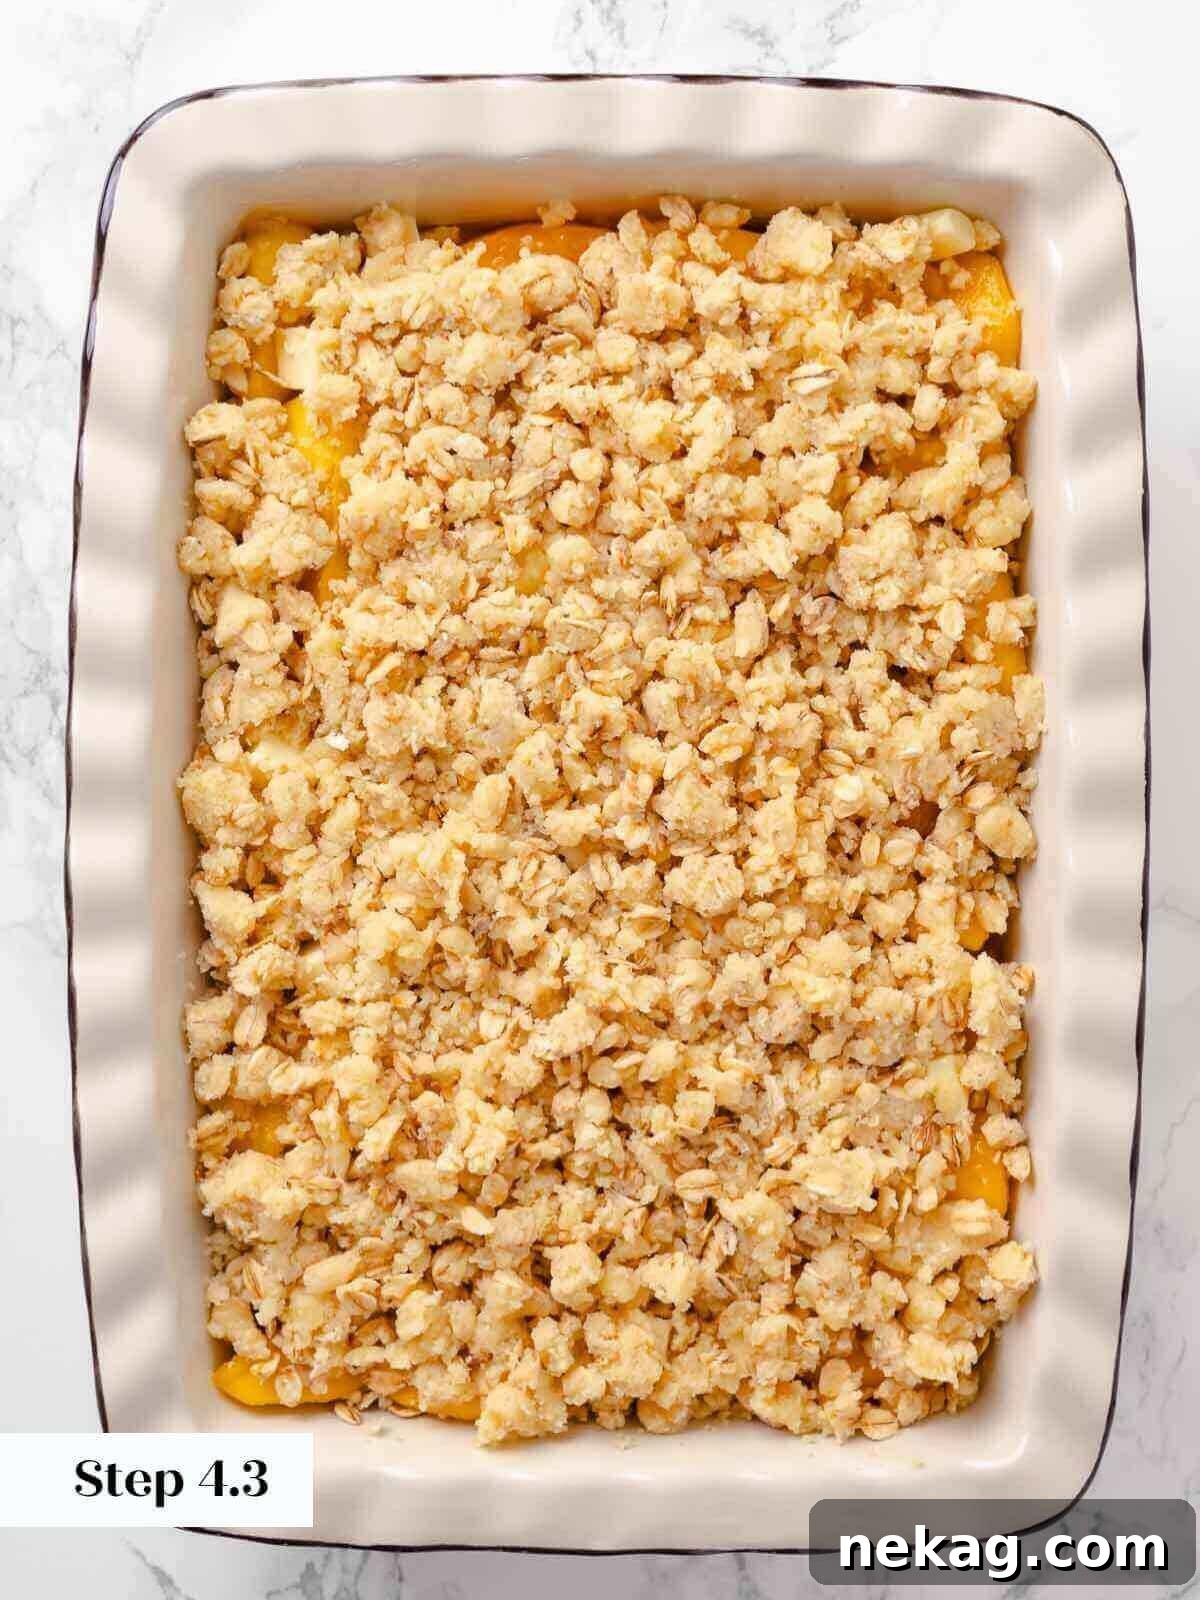
Step 4: Assemble the Crisp. Generously butter a 9×13-inch baking dish to prevent sticking and add flavor. Pour the prepared peach filling into the buttered dish, spreading it evenly. Next, take the small pieces of butter reserved for the filling and dot them across the peach mixture. Gently press some of these butter dots and even a few pinches of the oat topping down into the peaches for those delightful, juice-infused bites. Finally, cover the entire peach layer with your oat topping, distributing it as evenly as possible. You can use as much or as little topping as you prefer for your desired crisp-to-fruit ratio.
Pro-Tip for Flavor Distribution: Before pouring the peaches into the baking dish, give them one last good stir in their bowl. This ensures that the accumulated liquids and spices are evenly redistributed throughout the fruit, leading to a consistently flavored filling!
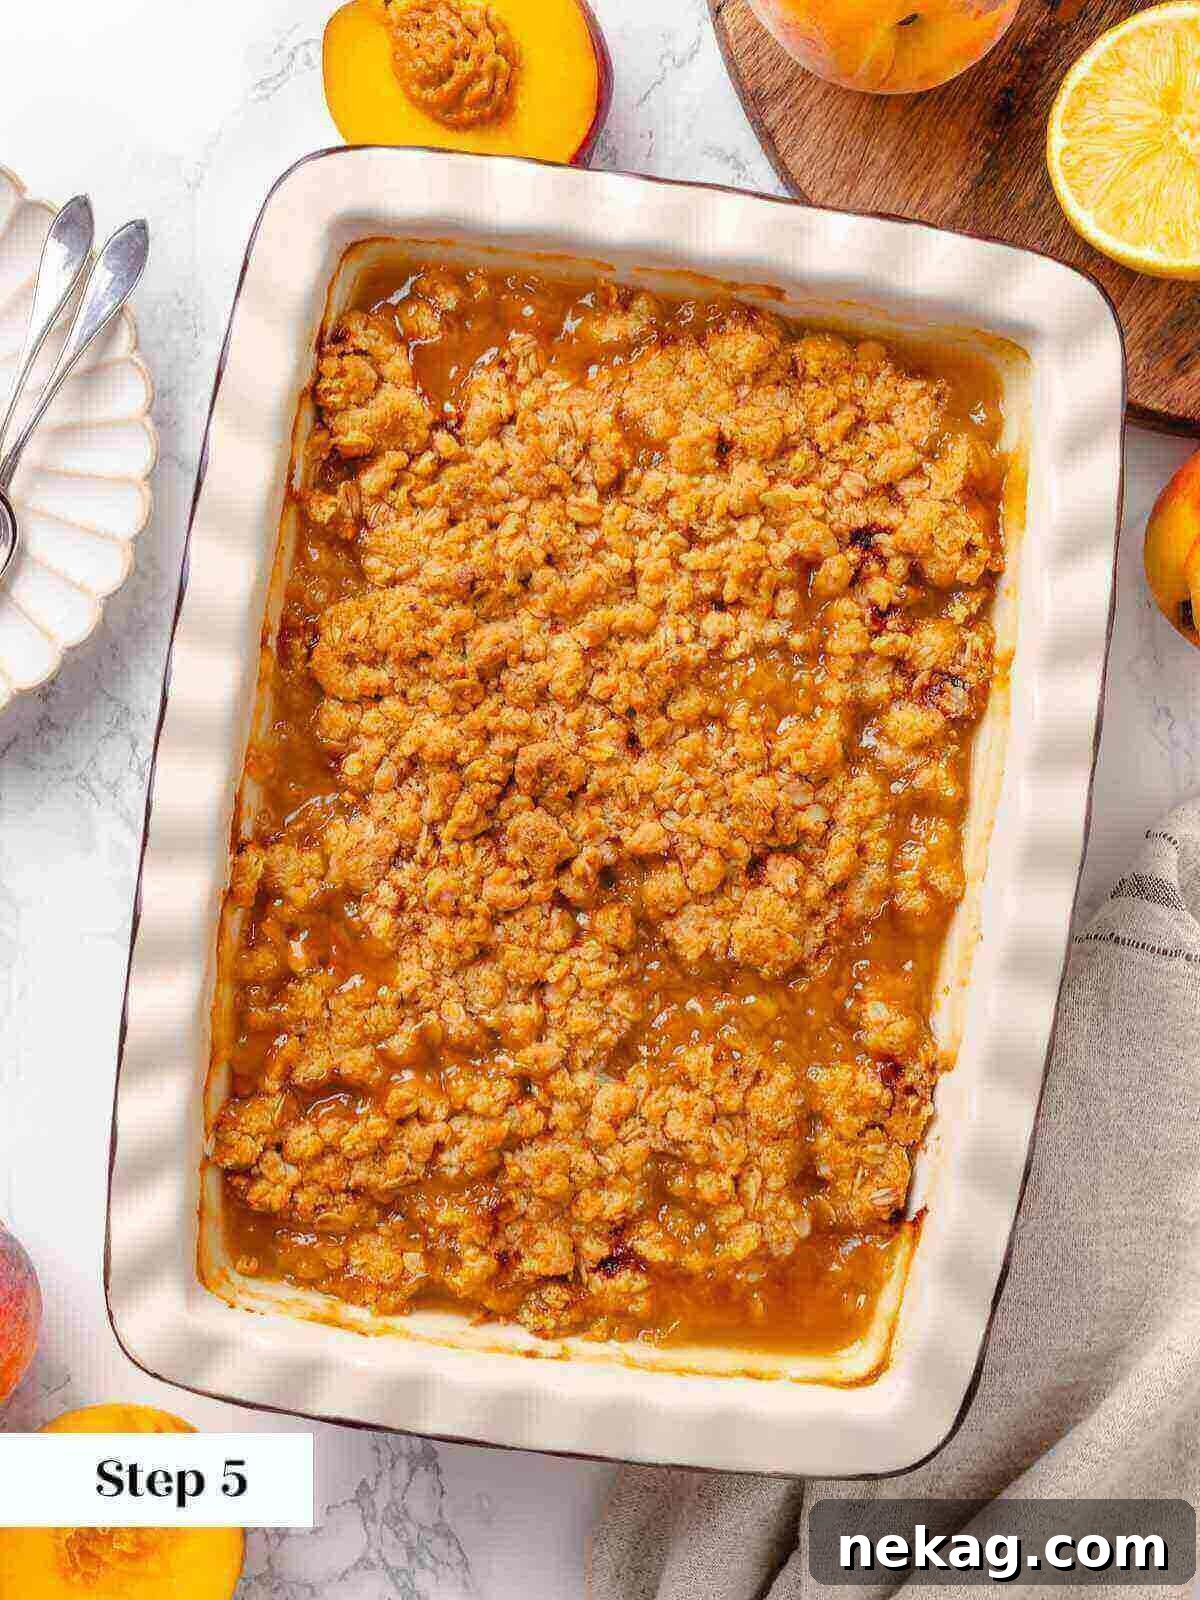
Step 5: Bake to Golden Perfection. Place the assembled crisp in your preheated oven and bake for approximately 50 minutes. The crisp is fully baked and ready when the topping is a beautiful golden brown and, most importantly, when you can clearly see the fruit filling bubbling vigorously out the sides and even through the topping. This bubbling indicates that the juices have thickened adequately. If it looks too wet or the topping isn’t golden enough, continue baking for another 5-10 minutes, checking frequently.
Step 6: Cool and Serve Warm. Once baked, carefully remove the crisp from the oven and place it on a wire rack in the pan. Allow it to cool for at least 20 minutes. This cooling period is crucial as it allows the fruit filling to set and thicken further, preventing a watery, runny crisp. Serve your warm, delightful peach crisp with a scoop of rich vanilla bean ice cream. While it cools, you can even whip up this easy crème anglaise recipe for an extra touch of decadence. Enjoy!
Chef Lindsey’s Expert Recipe Tip: The Secret to Perfect Peaches
In simple, ingredient-focused recipes like this peach crisp, the quality of your core ingredients truly makes all the difference. The most crucial factor here? Your peaches. Ripe, peak-season peaches will impart an unparalleled depth of flavor, sweetness, and aroma to your crisp that flavorless peaches simply cannot match. A sad crisp often starts with sad peaches!
Don’t shy away from peaches with a few minor bruises; often, these are signs of natural ripeness and will transform into an incredible, tender filling. No peaches compare to those ripened on the tree, bursting with natural sugars and fragrance. However, if your peaches aren’t quite ready, you can easily ripen them at home by placing them in a brown paper bag for a few days. The ethylene gas they release will help them soften and sweeten. Placing them near bananas, which also release ethylene, can accelerate this process even further.
When fresh peaches are out of season, you still have options! You can use frozen or canned peaches. If opting for frozen, ensure you thaw them completely before incorporating them into the recipe; excess ice crystals can lead to a watery crisp. If using canned peaches, always choose those packed in water, not syrup, to avoid an overly sweet and artificially flavored result. Drain them thoroughly before use. Remember, investing in the best quality peaches you can find, whether fresh, frozen, or canned, is the foundational secret to an unforgettable peach crisp.
Frequently Asked Questions About Peach Crisp
Allow any leftover peach crisp to cool completely to room temperature. Once cooled, cover it tightly with plastic wrap or transfer it to an airtight container, and then refrigerate it for up to a week. For longer storage, you can freeze peach crisp for up to two months. To reheat, place the frozen or refrigerated crisp in a 350°F (175°C) oven until warmed through and the topping is crisp again. I do not suggest using the convection setting for reheating, as the topping tends to burn before the center is fully warm.
In my professional experience, peach crisps are significantly more enjoyable with peeled peaches. While it does take a little extra time, the effort is well worth it for two primary reasons: First, the crisp will bake more evenly without the varying thickness of the peach skins affecting the texture. Second, the overall eating experience is far more appealing and smooth when you don’t encounter tough peach skins in your spoonfuls. I highly recommend peeling them for the best results.
Absolutely! While oats are traditional for a crisp, you can definitely make this recipe without them if you prefer a different texture or have dietary restrictions. If you’re looking for an alternative that still provides a delightful crunch, I suggest using the topping from my mini apple pecan crumble pies. This topping typically includes flour, sugar, butter, and pecans, offering a wonderful nutty crunch. You can also experiment with other chopped nuts like walnuts or almonds, or even use seeds for a unique twist.
The most common reason for a runny filling is not baking the crisp long enough. Ensure the filling is bubbling vigorously around the edges and even in the center before removing it from the oven. The bubbling indicates the juices have reduced and thickened. You can also allow the crisp to cool completely on a wire rack for at least 30-60 minutes, as the filling will continue to thicken as it cools. If you find your fruit is exceptionally juicy, you can toss the sliced peaches with a tablespoon or two of cornstarch or tapioca starch before adding them to the baking dish to help absorb excess moisture.
Yes, you can! You can assemble the entire crisp (filling and topping) in the baking dish, cover it tightly with plastic wrap, and refrigerate it for up to 24 hours before baking. When ready to bake, add about 10-15 minutes to the baking time since it will be starting from a cold temperature. You can also prepare the oat topping separately and store it in an airtight container in the refrigerator for up to 3-4 days, or freeze it for up to 2 months. Then, simply prepare the peaches, assemble, and bake.
If you tried this recipe and absolutely loved it, please take a moment to leave a 🌟 star rating and share your experience in the comments below. I genuinely love hearing from you; your feedback and comments truly make my day!

Classic Peach Crisp
Comment
Print Recipe
Ingredients
Filling:
- 9 ½ cups peaches peeled, pitted & sliced into similar sizes
- 1 ½ cups granulated sugar
- 1 lemon juiced (about ¼ cup)
- ¼ teaspoon ground ginger or ½ teaspoon freshly grated ginger for a stronger flavor
- ¼ cup unsalted butter cut into small pieces (for dotting over peaches)
Oat Streusel Topping:
- ¼ cup granulated sugar
- ¼ cup light brown sugar packed
- 1 ¼ cups all-purpose flour
- ⅔ cups old-fashioned rolled oats
- ¼ teaspoon kosher salt
- 11 tablespoons unsalted butter cold, cut into small cubes
Instructions
Make the filling and topping:
-
Prepare the Peach Filling: In a medium bowl, combine the peeled and sliced peaches, granulated sugar, fresh lemon juice, and ground ginger. Stir thoroughly to ensure all the peach slices are evenly coated. Let this mixture sit while you prepare the topping.
-
Preheat Oven: Preheat your oven to 350°F (175°C) conventional (no fan) with the oven rack positioned in the middle.
-
Prepare the Oat Topping: In a large bowl (or the bowl of a stand mixer), combine the granulated sugar, light brown sugar, all-purpose flour, rolled oats, and kosher salt. Mix these dry ingredients briefly. Add the cold, cubed unsalted butter. Using your hands (or a stand mixer on low speed, or a pastry blender), work the butter into the flour mixture until a cohesive, crumbly dough forms, resembling coarse crumbs with some larger, pea-sized chunks. Work quickly to keep the butter cold.
Assemble & bake the crisp:
-
Assemble the Crisp: Butter a 9×13-inch baking dish generously. Give the peach mixture one last stir, then pour it evenly into the prepared baking dish. Dot the ¼ cup of cut butter pieces over the peach filling. Scatter the oat topping over the peaches, spreading it evenly across the surface. Gently press some of the topping down into the fruit.
-
Bake: Bake in the preheated oven for 50 minutes, or until the top is golden brown and the fruit filling is bubbling vigorously around the edges and center. The bubbling indicates the filling has thickened properly.
-
Cool & Serve: Remove the crisp from the oven and let it cool on a wire rack in the pan for at least 20 minutes (or longer for a firmer set). Serve warm with creamy vanilla bean ice cream, a drizzle of crème anglaise, or your favorite topping!
Notes
Fruit Variations: Feel free to swap the peaches with an equal amount of other seasonal fruits such as blueberries, plums, strawberries, nectarines, or even apples and pears, if desired. Adjust sweetness slightly based on the fruit’s natural sugars.
Storage Instructions: To store, bake the crisp, allow it to cool completely to room temperature, then wrap it tightly in plastic wrap and either refrigerate for up to seven days or freeze for up to two months. The uncooked topping can also be made in advance and refrigerated for 7 days or frozen for up to two months. Reheat baked crisp in a 350°F (175°C) oven until warmed through.
Nutrition
Before You Go: Explore More Delicious Recipes
I sincerely hope you thoroughly enjoyed this professional chef-tested and perfected peach crisp recipe. It’s a true celebration of summer flavors, designed to bring joy and deliciousness to your kitchen. Don’t let your culinary adventure end here! I invite you to explore our extensive collection of other delightful, chef-developed recipes.
Discover more comforting and easy fruit desserts in our easy crisps and crumbles recipes section, perfect for any fruit imaginable. And if you’re looking for more ways to celebrate the sunshine, be sure to check out our hand-picked selection of 20 Easy Summer Desserts, guaranteed to make your warm-weather gatherings extra special. Happy baking!