
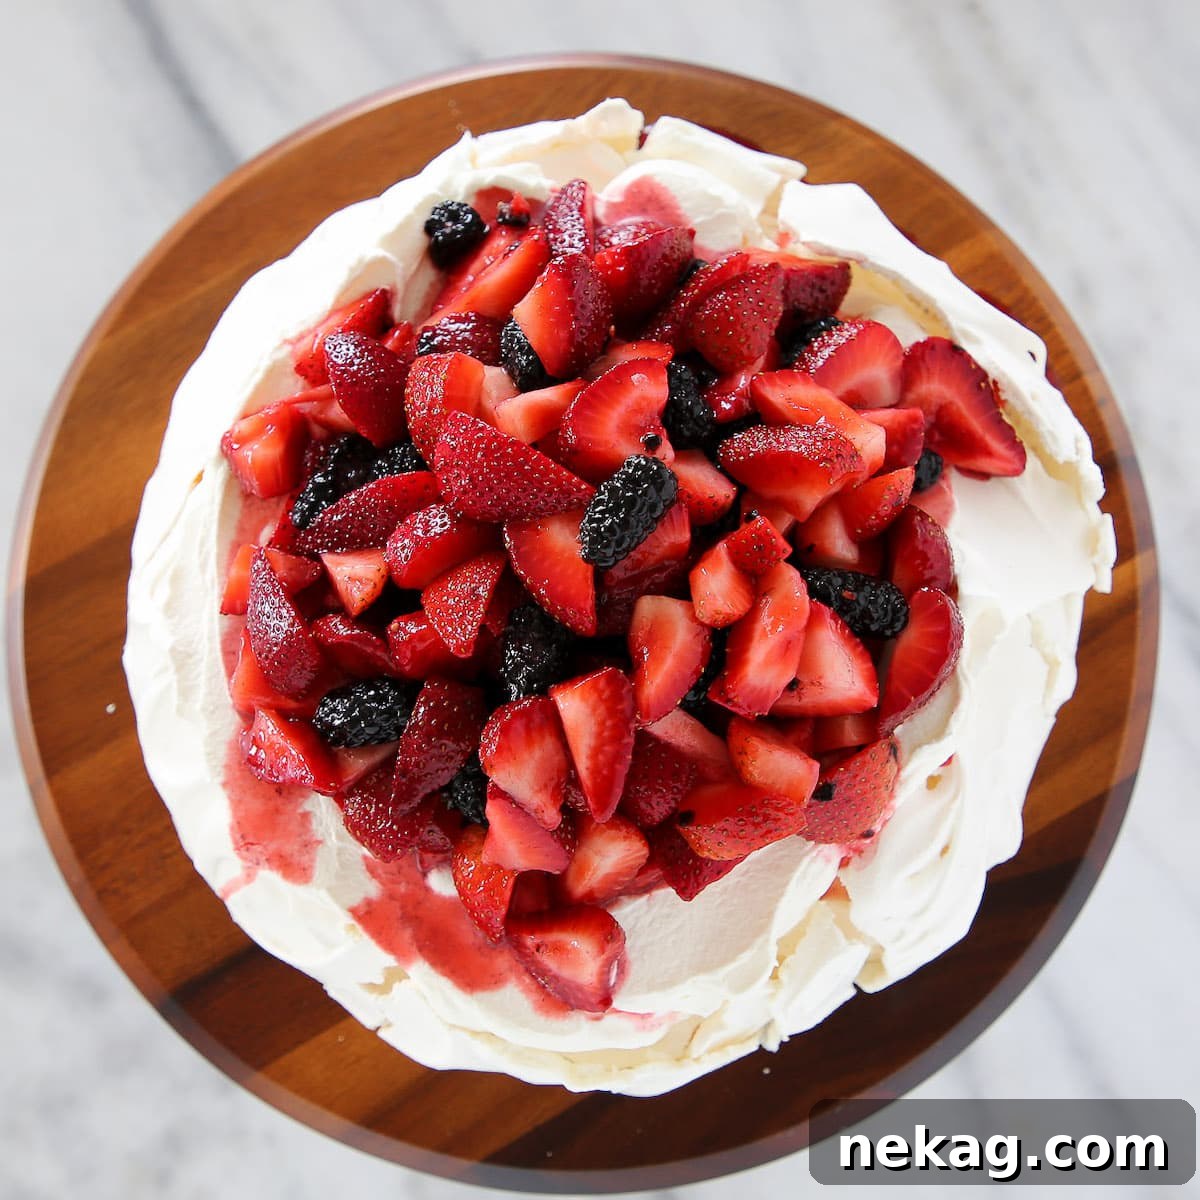
Welcome to the ultimate guide for creating a truly exquisite Lemon Berry Pavlova Cake, a dessert that promises to be the crown jewel of any gathering. This recipe delivers a mesmerizing balance of textures and flavors: a meringue that’s delightfully crispy on the outside, yielding to a marshmallow-soft, pillowy interior, perfectly complemented by the vibrant tartness of lemon curd and the luscious sweetness of macerated fresh berries. It’s not just a dessert; it’s a stunning culinary experience that captivates both the eyes and the palate.
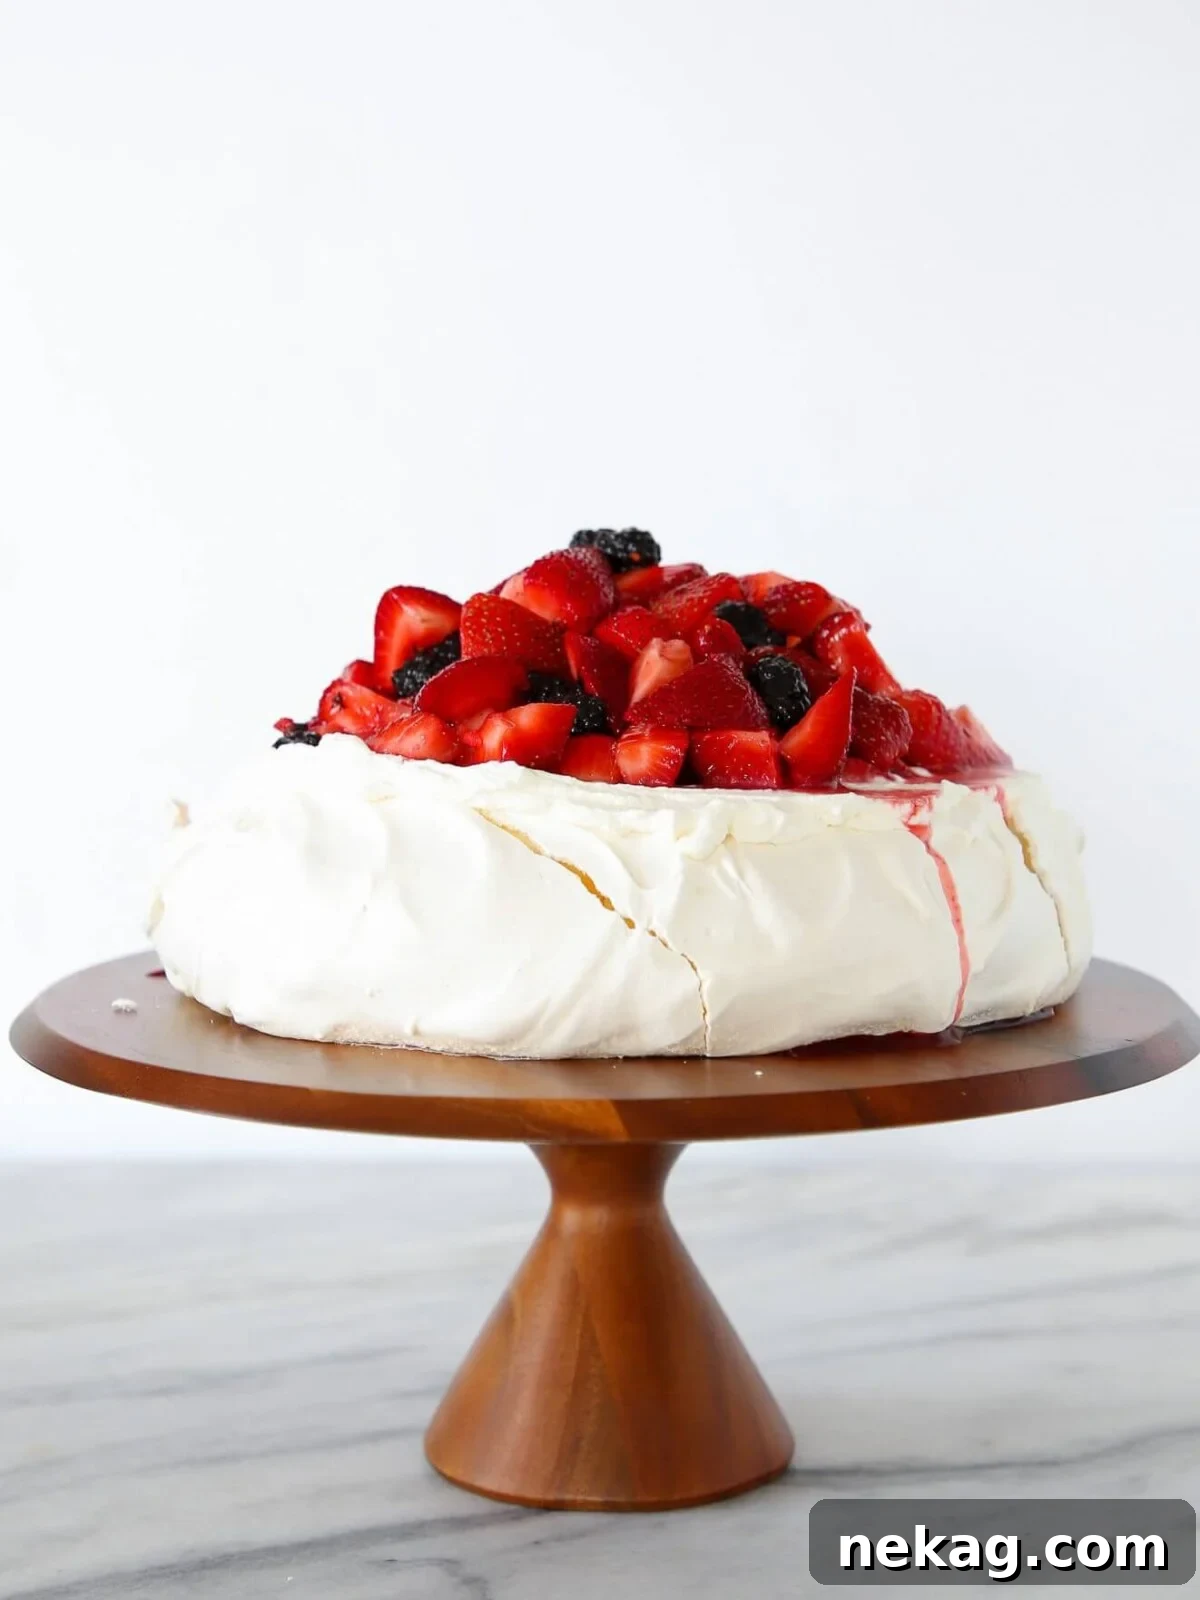
As a pastry chef, I often get asked to name my favorite dessert, a question as challenging as choosing a favorite child! But if pressed, pavlovas with lemon curd and macerated berries would undoubtedly be my top pick. There’s something truly magical about the way these simple components come together to form such a sophisticated and satisfying treat. And when transformed into a magnificent Lemon Berry Pavlova Cake, it earns instant bonus points for its sheer grandeur.
In professional kitchens, I’ve dedicated countless hours to conceptualizing and perfecting new pavlova creations for plated desserts, driven by an unwavering adoration for this classic. The allure lies in its perfect equilibrium. A well-made pavlova delivers that quintessential crunch followed by a delicate chewiness. The inherent sweetness of the meringue beautifully contrasts with the zingy lemon curd and the bright lemon juice infused into the berries. Visually, the pristine white meringue serves as an elegant canvas, allowing the rich yellows of the curd and the jewel-toned berries to truly shine. Once you experience this symphony of flavors and textures, you might find yourself exploring other lemon-berry pairings, perhaps my delectable lemon pound cake with strawberry icing.
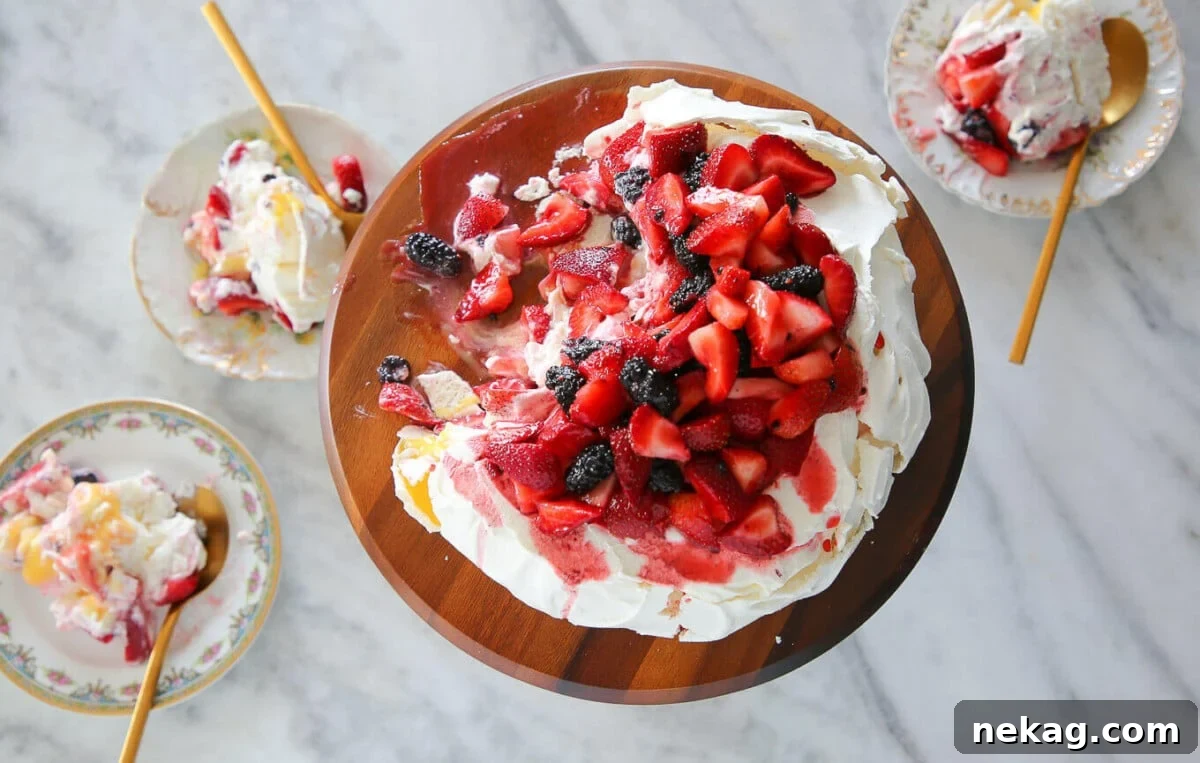
While pavlovas are often considered simple desserts, achieving perfection requires attention to detail and a few crucial techniques. Having spent innumerable hours troubleshooting and instructing aspiring cooks on the nuances of pavlova making, I’m here to guide you through every step, ensuring your success in crafting this ethereal dessert.
Mastering the Meringue: Expert Tips for Pavlova Perfection
Creating the perfect pavlova, with its signature crisp exterior and soft, cloud-like interior, hinges on understanding the role of each ingredient and mastering specific techniques. It’s a delicate dance of chemistry and finesse, and with these professional insights, you’ll elevate your pavlova from good to truly exceptional.
Essential Principles for Impeccable Meringue:
- Egg Whites: The Foundation of Structure. The purity of your egg whites is paramount. Eggs separate more easily when cold, but it is absolutely critical that not a speck of egg yolk finds its way into your whites. Yolk contains fat, and even the smallest amount of fat can prevent the egg whites from whipping up to their full potential, hindering the creation of those stable, voluminous peaks. While there’s no need for extreme measures like wiping down bowls with vinegar (unless you suspect grease), meticulous separation is key. I recommend a three-bowl method: one for yolks, one for the newly separated white, and a third larger bowl to transfer the pristine whites into after each successful separation. This minimizes the risk of a single broken yolk ruining an entire batch of whites, saving you from culinary heartbreak. For optimal volume, allow your separated egg whites to come to room temperature before whipping.
- Sugar: Sweetness and Stability. There’s a long-standing debate among bakers about the ideal time to add sugar to a meringue. I advocate for adding sugar earlier rather than later. My experience shows that incorporating sugar gradually as the egg whites begin to foam allows the sugar crystals ample time to dissolve completely into the egg proteins. This not only results in a smoother, more stable meringue but also prevents the common issue of undissolved sugar crystals caramelizing or “weeping” out like lava during baking, which can create a sticky, unsightly exterior. Using superfine (caster) sugar can also aid in quicker dissolution.
- Cream of Tartar: The Meringue’s Best Friend. Cream of tartar, a mild acidic salt, is a fantastic stabilizer for egg whites. It helps the egg proteins form a stronger, more elastic structure, enabling them to hold more air and create a more resilient meringue. This is particularly beneficial for pavlovas, especially if you plan on piping intricate shapes or designs. In combination with the sugar-to-egg-white ratio, cream of tartar provides crucial insurance against collapse, giving you a robust and dependable meringue.
- Distilled White Vinegar: The Unsung Hero. This might seem like a sneaky addition, but vinegar plays two vital roles. Like cream of tartar, it adds a touch of acidity, further contributing to the stability of the meringue. More importantly, it acts as a whitening agent. The vinegar helps to maintain the brilliant, pristine white color of your pavlova throughout the baking process, preventing it from browning prematurely. This professional secret ensures your pavlova emerges from the oven looking as magnificent as it tastes.
- Cornstarch: The Crispy-Soft Secret. Here’s another pro-tip for achieving that coveted pavlova texture. Cornstarch works by absorbing moisture from the egg whites during baking. This helps the meringue dry out more effectively, creating that wonderfully crispy, delicate crust on the outside, while still allowing the inside to remain soft, chewy, and marshmallow-like. Think of it as an extra layer of insurance to get that perfect textural contrast without having to risk overbaking.
- Baking and Cooling: The Patience Game. Achieving the perfectly baked pavlova involves a precise balance of baking time and temperature, followed by a crucial period of cooling inside the oven. Baking at a low temperature for an adequate duration ensures the meringue dries out slowly, forming a stable crust. Too much baking time, and your pavlova will be entirely crisp, losing its characteristic soft interior – a common tragedy. Conversely, too little baking time will leave you with a squishy, collapsed pillow lacking any desirable crunch. There’s a slight learning curve, as every oven behaves differently. The key is gentle testing for firmness and allowing the pavlova to cool completely within the turned-off oven. This gradual cooling prevents thermal shock, which can cause cracking and collapse, ensuring the meringue sets properly.
- Whipping: The Path to Stiff Peaks. Your pavlova meringue needs to be whipped to stiff, glossy peaks. This process requires patience, especially if you start with cold egg whites (which can be initially slower to whip, but more stable once they get there). Don’t rush it; allow the mixer to work its magic until the meringue holds its shape firmly when the whisk is lifted. If, after 10-15 minutes, your whites aren’t reaching sufficient volume or even soft peaks, it’s a strong indication that a tiny bit of fat (from yolk or a greasy bowl) has contaminated your meringue, preventing it from whipping. In such a scenario, it’s best to start over with fresh, carefully separated egg whites. Under-whipped meringue will spread and won’t puff up nicely in the oven, while over-whipping can lead to a dry, brittle texture and a weird, bumpy-looking crust on the outside. Aim for smooth, shiny, and perfectly firm peaks.
- Be Nice to Your Meringue: Delicate Handling. Meringues are surprisingly delicate. Visualize those countless tiny air bubbles trapped within its intricate structure. Treat your meringue with care: avoid banging bowls, slamming oven doors, or vigorous handling once the air has been incorporated. Give it the gentle love and stable environment it needs to expand and set beautifully in the oven.
- “Umm, you said pavlovas were easy, but that was a lot?!” Indeed, while the basic concept of a pavlova is straightforward, these detailed tips are what elevate it from a good dessert to a truly perfect one. They provide the professional edge needed for consistently stunning results. The good news is, even if your pavlova isn’t absolutely perfect – perhaps it cracks a little, or the texture isn’t spot-on – it will almost certainly still taste delicious. Unless it refuses to whip up at all, your guests are unlikely to know the difference… unless, of course, they’ve read this post!
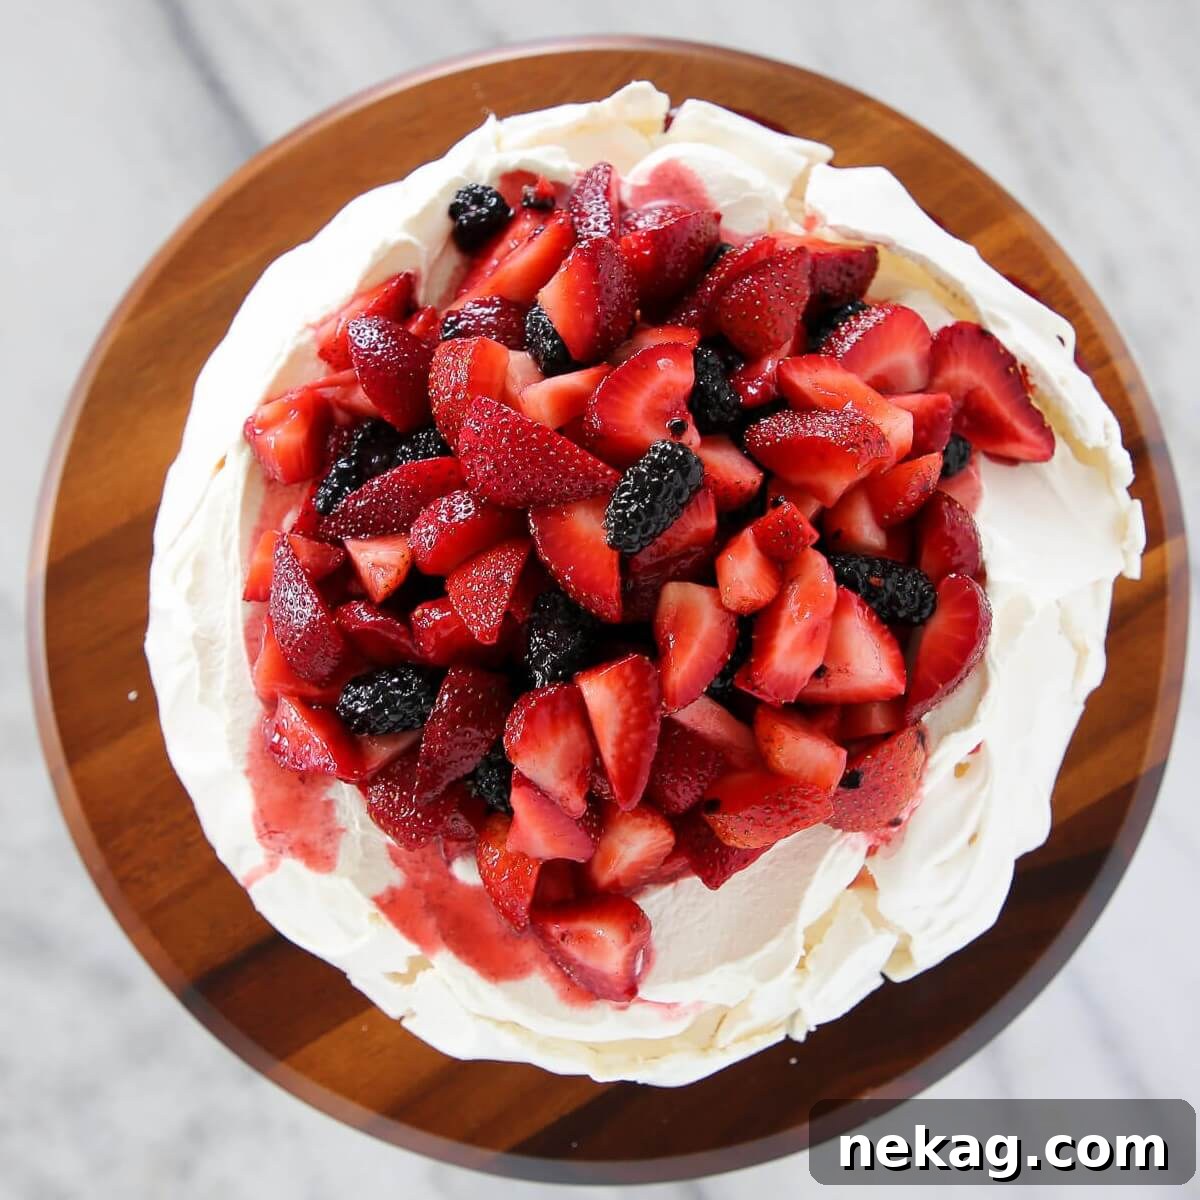
When it comes to the macerated berries and whipped cream, there’s a delightful license to improvise. While precision is often paramount in pastry, these components allow for personal flair. Feel free to adjust quantities to your liking. If you’re keen on exploring all the nuanced details for an exceptionally rich and zesty topping, you can always refer to my comprehensive lemon curd whipped cream recipe.
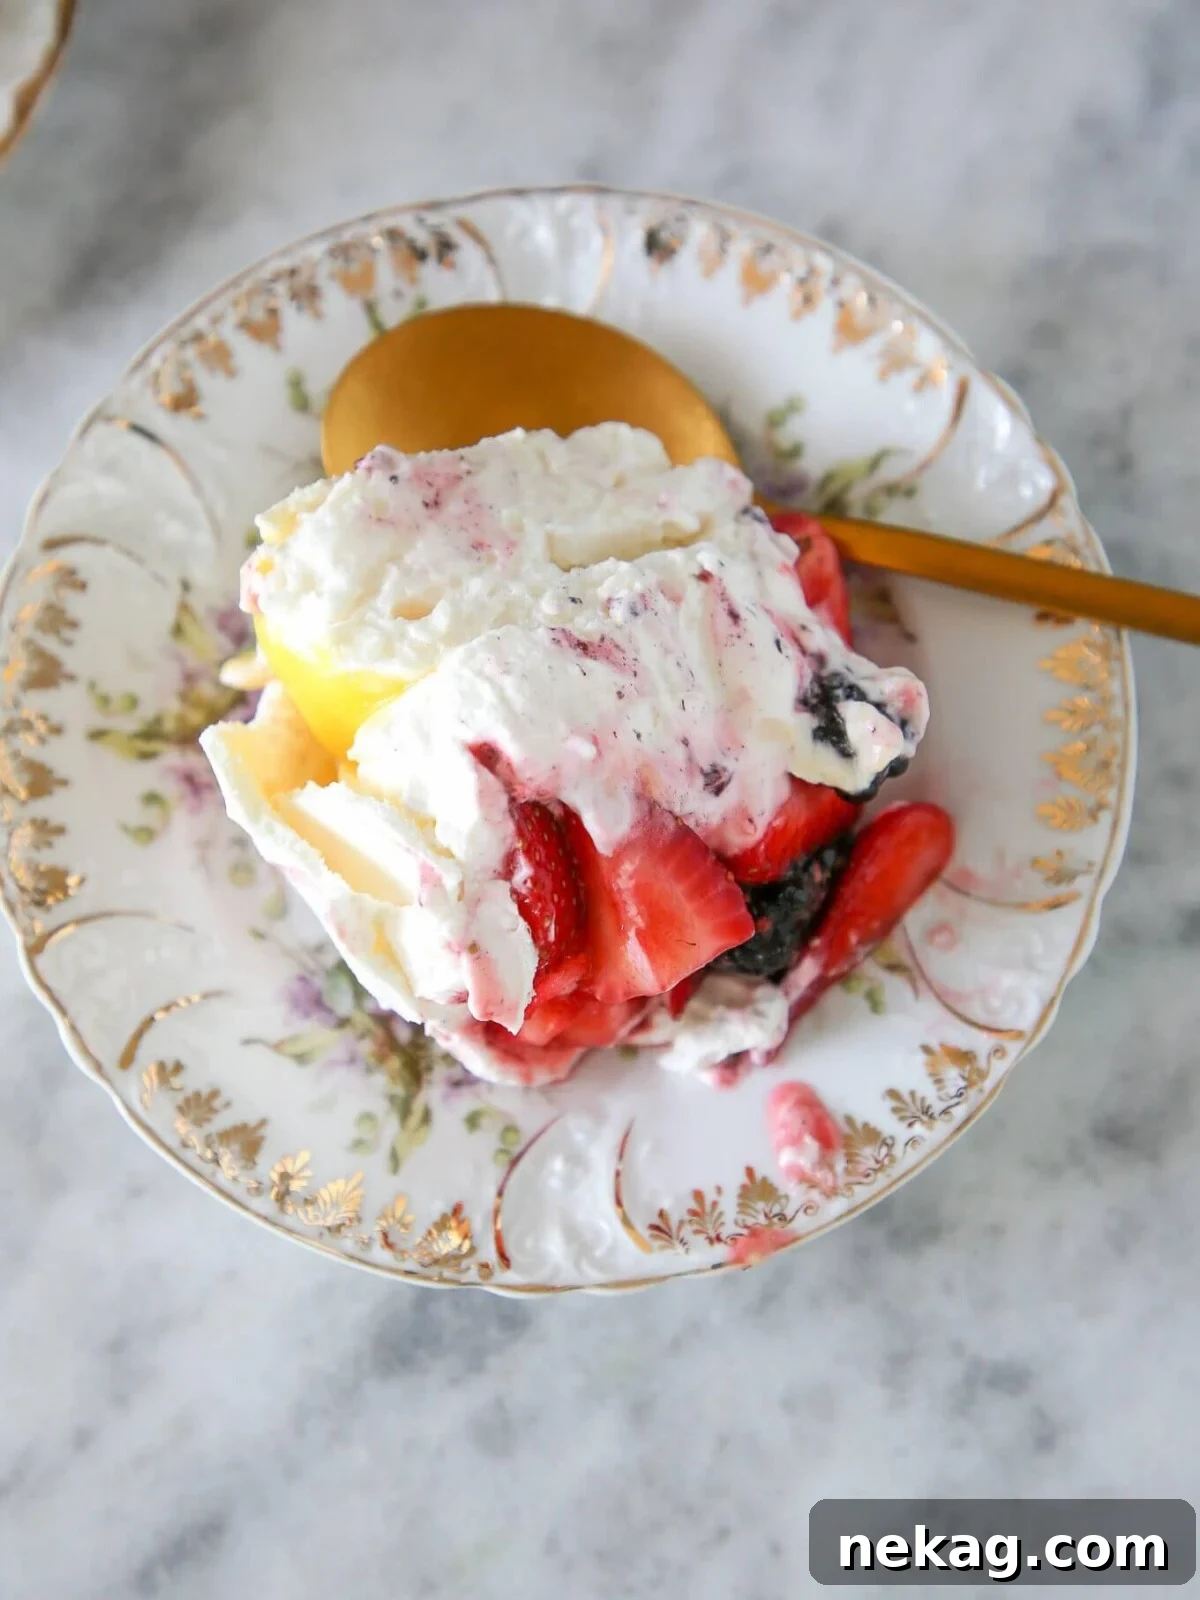
Berries naturally vary in sweetness depending on the season and variety. Therefore, it’s always a good practice to taste your macerated berries and adjust the sugar and lemon juice as needed. The same applies to the whipped cream – some days, you might crave a slightly sweeter dessert, while on others, a more subtle sweetness is preferred. Trust your palate and customize to your heart’s content; the result will always be glorious.
Ingenious Uses for Leftover Egg Yolks: Don’t Let Them Go to Waste!
After separating all those egg whites for your pavlova, you’ll find yourself with a surplus of beautiful egg yolks. Don’t discard them! Egg yolks are culinary gold and can be transformed into a myriad of delicious creations. Consider making a rich homemade ice cream, a silky custard, a decadent crème brûlée, or even a classic Hollandaise sauce to elevate your brunch. For a savory twist, they’re essential for a traditional pasta carbonara or a vibrant pastry cream. The possibilities are truly endless, ensuring no part of the egg goes to waste.
The Best Lemon Berry Pavlova Dessert Recipe
Comment
Print Recipe
Ingredients
For the Pavlova:
- 180 g Egg whites
- ¼ t Cream of tartar
- 260 g Sugar
- 1 t Vinegar
- 1 T Vanilla
- 2 t Cornstarch
For the Whipped Cream:
- 520 g Heavy whipping cream cold
- 20 g Confectioner’s sugar more to taste
- 1 t Vanilla extract or any other extract that suits your fancy!
For the Macerated Berries:
- 500 g Mixed berries I used strawberries, blackberries and blueberries
- 115 g Granulated sugar more or less to taste (my berries weren’t very sweet)
- 50 g Lemon juice more to taste
Lemon Curd
Instructions
For the Pavlova:
-
Prepare a baking sheet with parchment paper or a non-stick liner (like a silpat). Preheat oven to 200°F (95°C), ideally with convection.
-
In the bowl of a stand mixer fitted with the whisk attachment, add your egg whites, vinegar, and cream of tartar. Begin whisking on medium-low speed to gently break up the whites. As they start to foam, gradually begin adding your sugar, a significant amount at a time, ensuring it dissolves. Stop and scrape down the bowl frequently, as sugar tends to cling to the sides.
-
Once all the sugar has been added, increase the mixer speed to high and continue whipping until stiff, glossy peaks form. The meringue should be bright white and hold its shape firmly when the whisk is lifted.
-
Reduce the mixer speed to low and add the vanilla extract. Briefly increase the speed to high just until the vanilla is fully incorporated, taking care not to overwhip at this stage.
-
Stop the mixer and carefully remove the bowl. Gently tap the whisk against the side of the bowl to release any trapped meringue. Sift the cornstarch directly over the meringue. Using a spatula, gently fold in the sifted cornstarch until just combined. Over-folding can deflate the delicate air bubbles within the meringue, so work quickly and with a light hand.
-
Carefully spread or pipe your meringue onto the prepared baking sheet in your desired shape and size. Bake in the preheated 200°F (95°C) oven for 40 minutes to 1 hour. The pavlova is done when the outside feels firm and dry to the touch. If it still feels squishy, gently close the oven door and continue baking for a short period. Baking time will vary based on the size and thickness of your pavlova.
-
After baking, turn off the oven and leave the pavlova inside to cool completely for at least 1 hour, or even several hours. This gradual cooling prevents cracking and helps maintain the perfect crispy-soft texture. Remove from the oven only when fully cooled.
For the Macerated Berries:
-
At least one hour before you plan to serve the pavlova, combine all the ingredients for the berries in a large bowl. Stir gently to coat the berries with sugar and lemon juice. You can also prepare this the night before; be aware that the longer the berries macerate, the more juice they will release, creating a lovely syrup. Taste and adjust sugar or lemon juice as desired to suit the sweetness of your berries.
For the Whipped Cream:
-
In a large, chilled bowl, combine the cold heavy whipping cream, confectioner’s sugar, and vanilla extract. Whip with a whisk (or electric mixer) until medium peaks form. Stiff peaks are also acceptable, depending on your preference. This can also be prepared ahead of time and stored in the refrigerator.
Video Guide
Chef’s Notes
Nutrition Facts
Calories: 310kcal | Carbohydrates: 40g | Protein: 3g | Fat: 16g | Saturated Fat: 10g | Polyunsaturated Fat: 1g | Monounsaturated Fat: 4g | Cholesterol: 49mg | Sodium: 38mg | Potassium: 105mg | Fiber: 1g | Sugar: 38g | Vitamin A: 656IU | Vitamin C: 3mg | Calcium: 34mg | Iron: 1mg
Like this? Leave a comment below!