
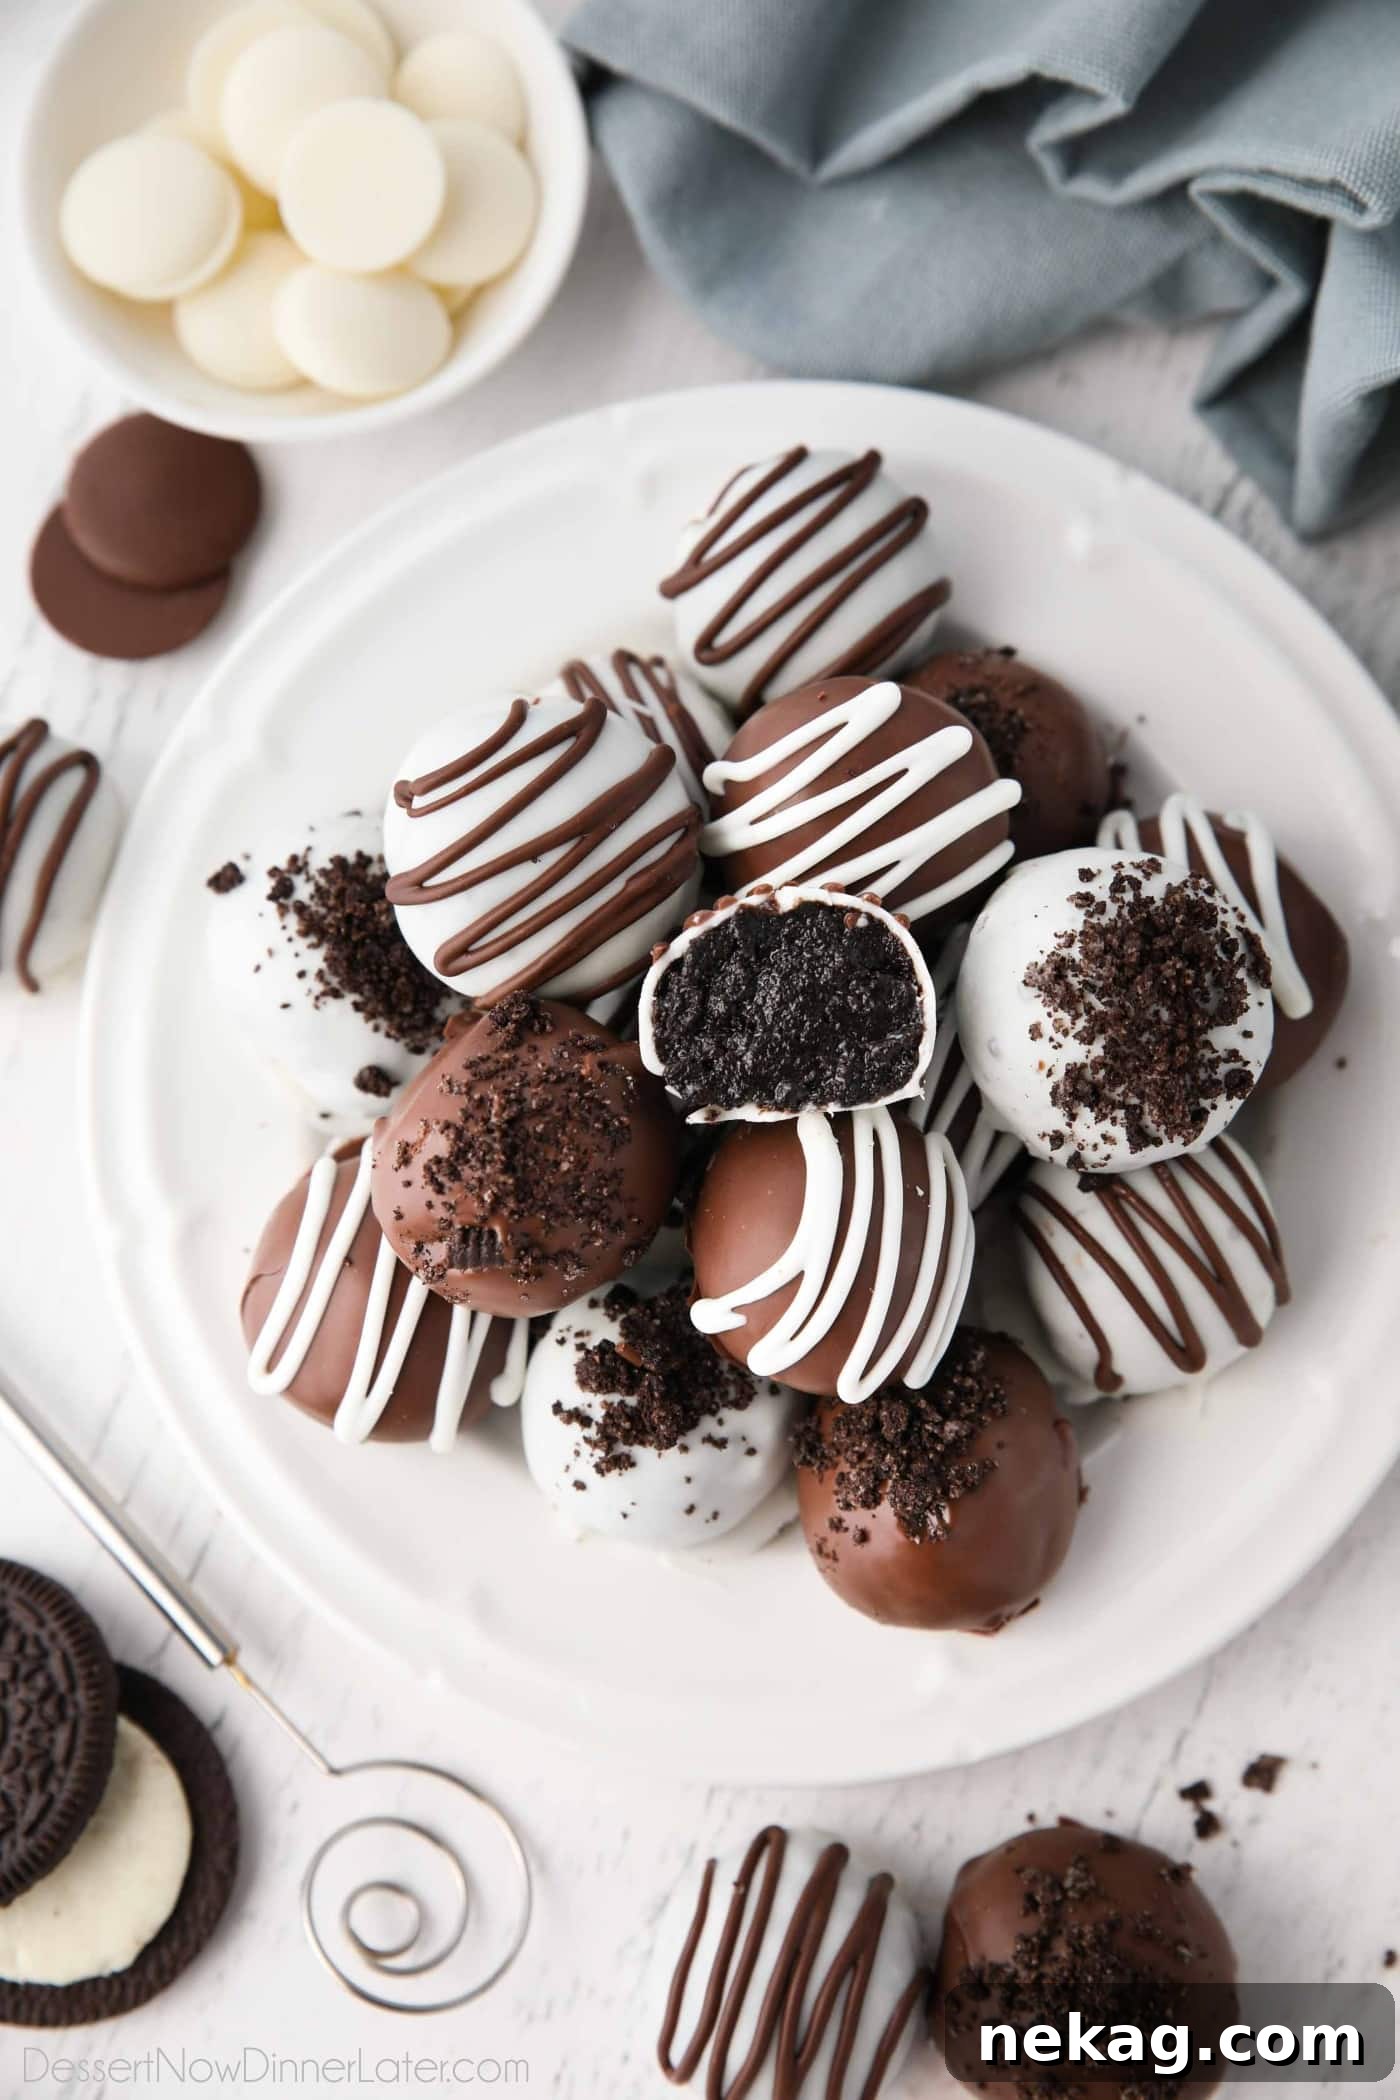
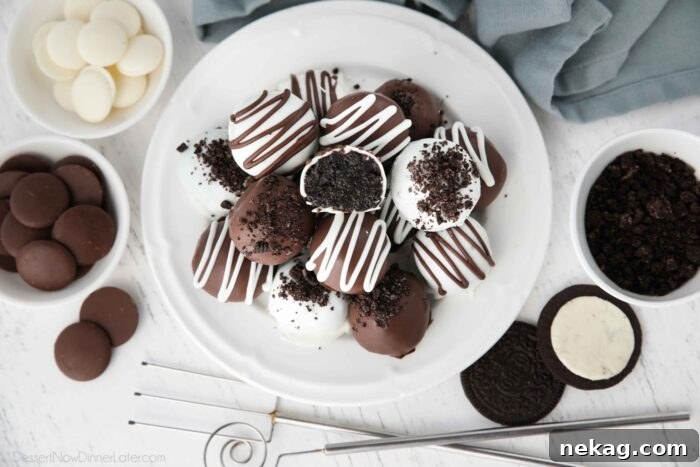
This Oreo Balls Recipe is an easy no-bake treat made with just 3 ingredients: Oreos, cream cheese, and chocolate. Also called Oreo Truffles, these bite-sized candies are perfect for holiday gifting, parties, or anytime you want a crowd-pleasing sweet.
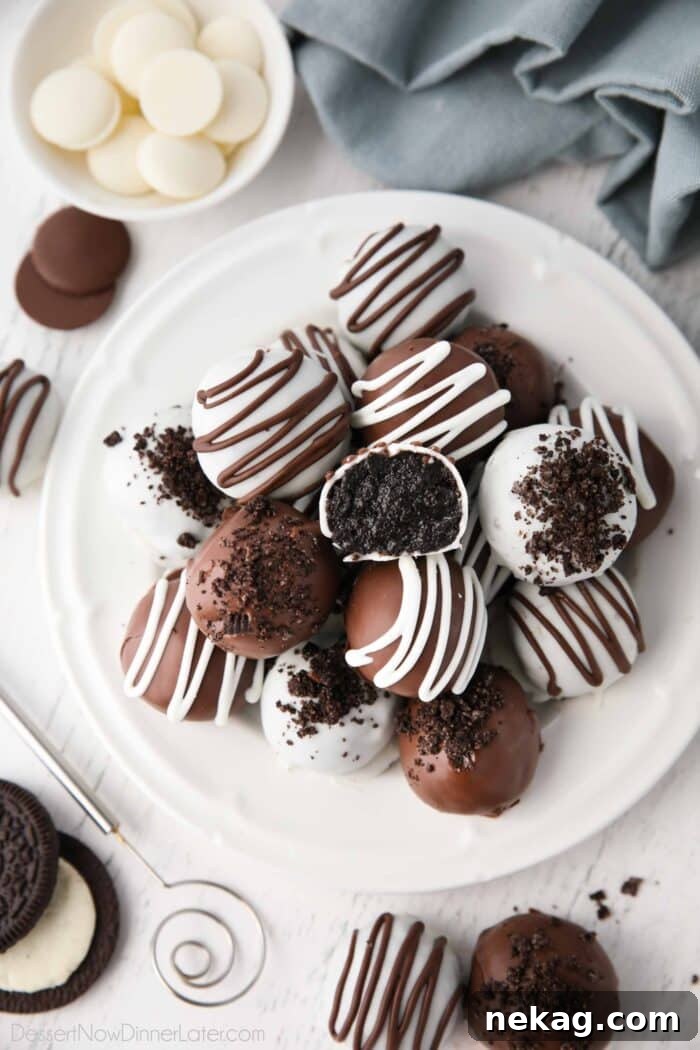
A Favorite Treat
Oreo Balls are a favorite at gatherings, especially during the holidays. My family makes them every Christmas and they always vanish quickly.
A simple 3-ingredient no-bake recipe is ideal when life is busy. These truffles look like a special homemade candy but are surprisingly easy to assemble.
Even if you’re not experienced with candy-making, you can make these: a chocolate drizzle, crushed cookies, or sprinkles will disguise any imperfections and make them look professional.
Oreo Truffles
These candies are also known as Oreo Truffles because they resemble classic truffles, but the center is a rich Oreo-and-cream-cheese mixture. If you love Oreos, these will be a hit.

Oreo Balls Recipe
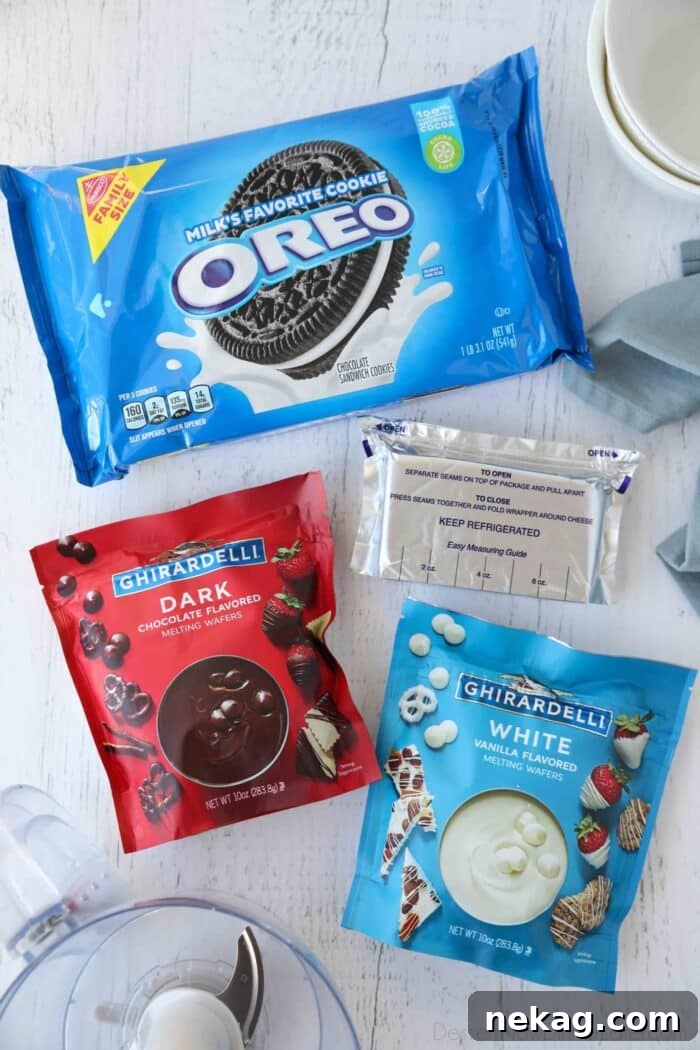
What are Oreo balls made of? This recipe uses three simple ingredients.
Oreos – 36 original Oreos are needed. Package counts vary by weight, so choose a family-size bag if you want extra cookies for topping.
Cream Cheese – One 8-oz brick of full-fat cream cheese, softened so it mixes easily with the cookie crumbs.
Chocolate – 10–12 oz of coating chocolate. Melting wafers, baking chocolate, good-quality chips (thinned with a little neutral oil), candy melts, or almond bark all work. Choose milk, dark, white, or a combination.
Now that you know the ingredients, here’s how to make Oreo Balls.
Make the Filling
Start by preparing the filling:
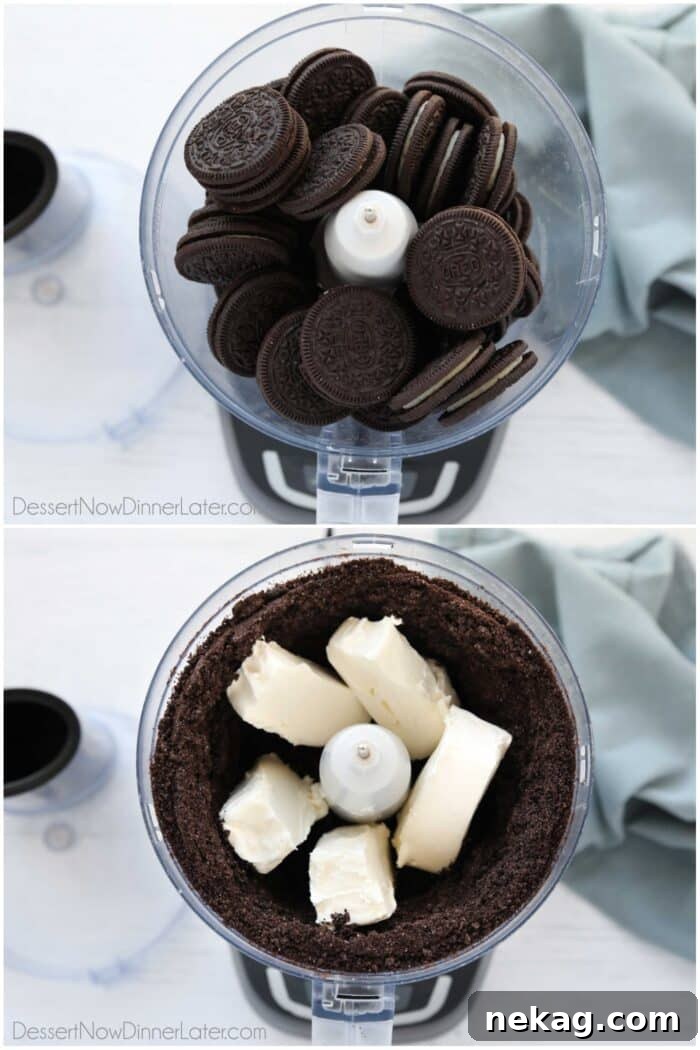
- Crush the Oreos: Place whole cookies (filling included) in a food processor or blender and pulse until you have fine crumbs with no large pieces.
- Mix with cream cheese: Add the softened cream cheese and pulse until evenly combined. Cutting the cream cheese into smaller pieces helps it blend more easily.
Shape the Balls and Chill
Form the truffles and chill briefly:
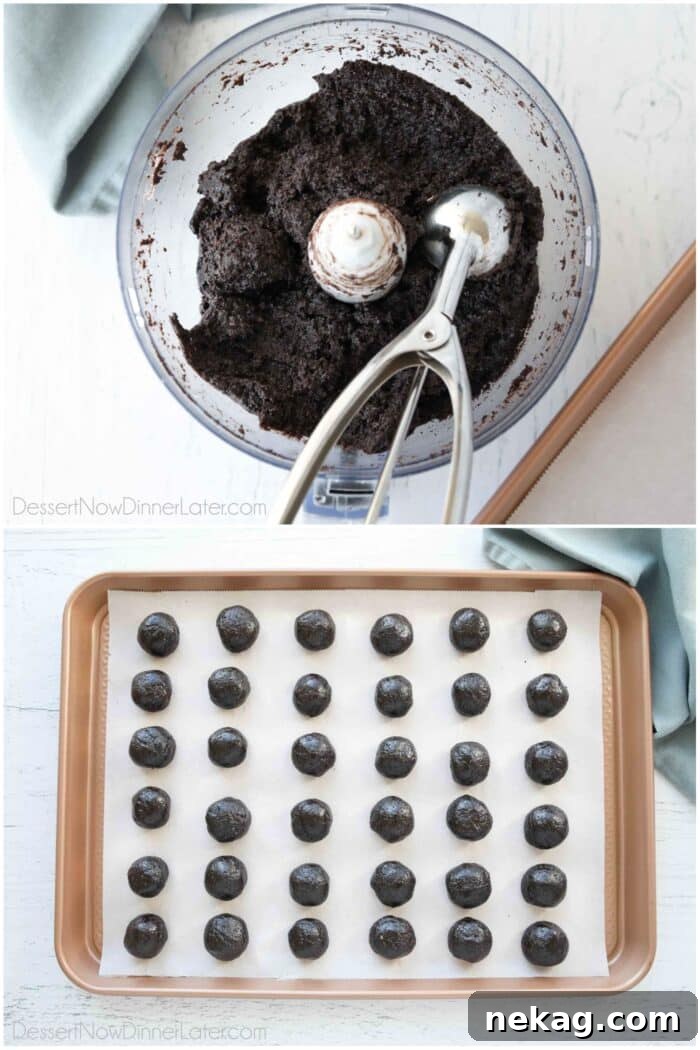
- Scoop: Use a small scoop (about 1 tablespoon or a #50 scoop) to portion the mixture into 36 balls. Place them on a parchment-lined half-sheet pan.
- Shape: Roll each portion between your palms into smooth, round balls.
- Chill: Freeze the formed balls for about 15 minutes to firm them up. This short chill helps when coating them in chocolate.
Coat with Chocolate
Dip and finish the truffles:
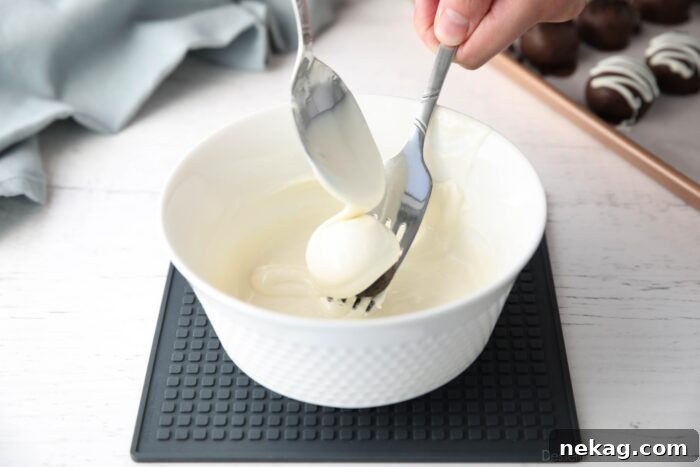
- Melt the chocolate: Melt your chosen coating according to package directions or gently in a double boiler until smooth.
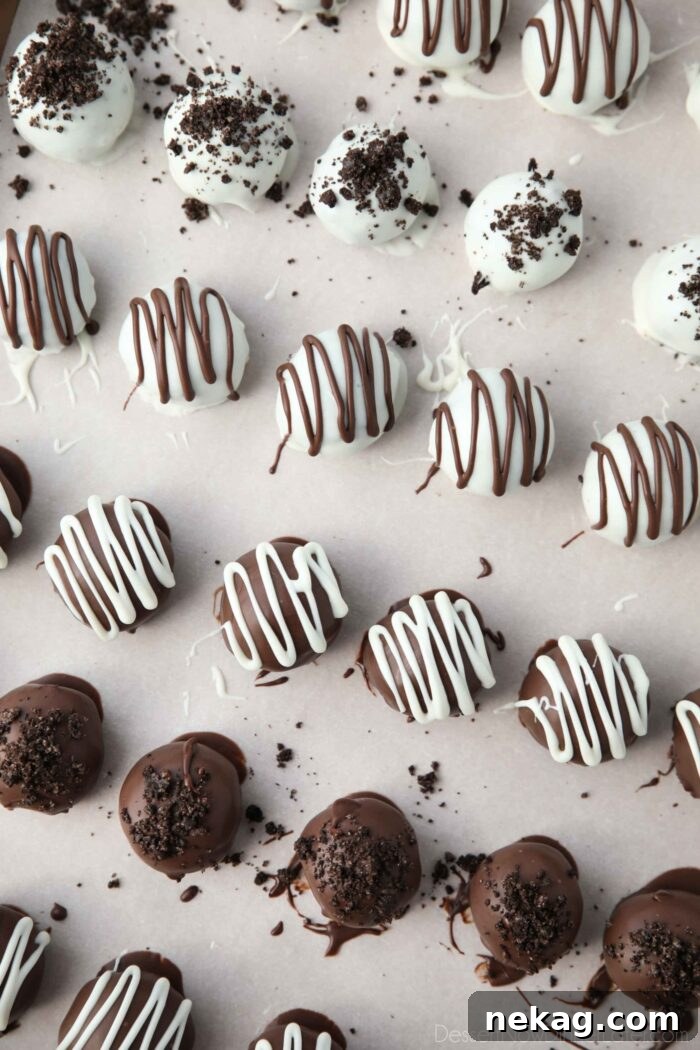
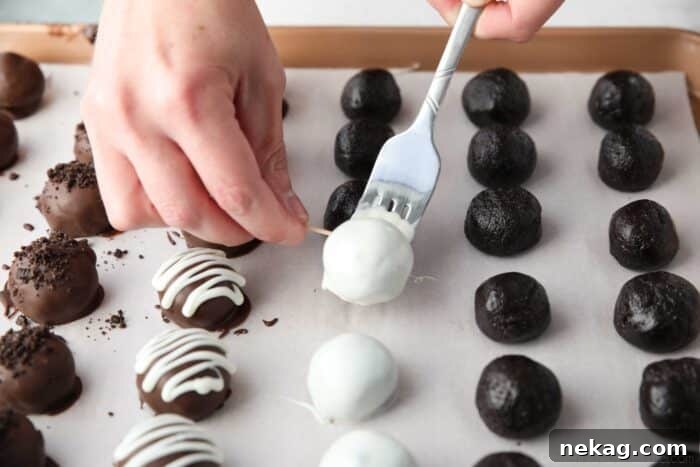
- Coat the truffles: Working from the freezer, place a truffle on the tines of a large fork, spoon melted chocolate over it, tap off excess, and transfer back to parchment using a toothpick. While the chocolate is still wet, add crushed cookie crumbs or sprinkles if desired.
- Set: Refrigerate the dipped truffles for 30–60 minutes, or until the chocolate is firmly set.
Toppings and Variations
Crushed cookies: Sprinkle extra crushed Oreos on top right after dipping so the crumbs stick. Colored sprinkles also work well.
Chocolate drizzle: For a decorative finish, drizzle contrasting melted chocolate over the set truffles using a small piping bag or a zip-top bag with a tiny corner cut off.
Peppermint variation: Use peppermint Oreos and top with crushed candy cane, or add 1½ teaspoons peppermint extract to the filling for an extra minty version.

Storing and Freezing
Refrigeration: Because the filling contains cream cheese, Oreo Balls must be refrigerated when not being served and should not sit out more than 2 hours at room temperature.
Shelf life: Store in an airtight container in the refrigerator for up to 2 weeks, layering with parchment paper between layers. Freeze for up to 3 months and thaw overnight in the fridge before serving.
Tips for Success
- Use whole Oreos: Include the cream filling and use original Oreos rather than extra-stuffed varieties to avoid an overly sticky mixture.
- Fine crumbs: Process the cookies until finely ground to ensure a smooth filling. If you don’t have a food processor, crush cookies in a bag with a rolling pin and mix by hand.
- Softened cream cheese: Room-temperature, full-fat cream cheese blends best and yields a richer texture.
- Chill just enough: Fifteen minutes in the freezer is usually ideal—too cold and the chocolate shell may crack, too soft and the balls can fall apart during dipping.

More Easy Christmas Treats
If you like this recipe, try other simple holiday treats for more variety and gifting ideas.
If you make this recipe, please leave a rating and review in the comments. Thanks!

Oreo Balls Recipe
Ingredients
- 36 Oreo cookies, Original (plus a few extra for topping, if desired)
- 8 oz (226 g) brick-style cream cheese, softened
- 10–12 oz (284–340 g) chocolate or melting wafers (milk, dark, white, or a combination)
Instructions
- Line an 18×13-inch half sheet pan with parchment paper and set aside.
- Crush the Oreos (filling included) in a food processor until fine crumbs. Add softened cream cheese and pulse until combined.
- Scoop the mixture into 36 balls (about 1 tablespoon each) and place on the prepared pan.
- Roll each scoop into a smooth ball, then freeze for 15 minutes.
- Melt the chocolate according to package directions. Remove balls from the freezer and coat in chocolate, tapping off excess. Place back on parchment and add toppings while the chocolate is wet, or drizzle after setting.
- Refrigerate the dipped truffles for 30–60 minutes, or until the chocolate is set.
Notes
- Oreos: Choose a larger package to ensure you have enough cookies, especially if you want extra for topping.
- Chocolate: Substitute melting wafers with baking chocolate, quality chips (thinned with a little neutral oil), candy melts, or almond bark if preferred.
- Chill time: Chill filling just long enough (about 15 minutes) so the chocolate coating doesn’t crack but the balls are firm enough to dip.
- Storage: Refrigerate up to 2 weeks or freeze up to 3 months. Separate layers with parchment. Do not leave truffles at room temperature for more than 2 hours.
Nutrition
| Calories: 118 kcal
Disclaimer: Nutritional values are estimates.
Sharing this recipe with a link is encouraged. Content and photographs are copyright protected.
Did you make this?
Leave a rating below and share your results. Enjoy!