

Stabilized Whipped Cream made with gelatin is an easy way to create long-lasting whipped cream. It’s ideal for frosting cupcakes, decorating cakes, topping pies and cheesecakes, or as a homemade alternative to store-bought whipped topping.

What is stabilized whipped cream?
Stabilized whipped cream is regular whipped cream with a thickener—commonly unflavored gelatin—added so the cream holds its shape longer and resists deflating or weeping. Whether you need it depends on the application. If you want the cream to pipe, decorate, or maintain peaks for hours or days, stabilization is recommended.
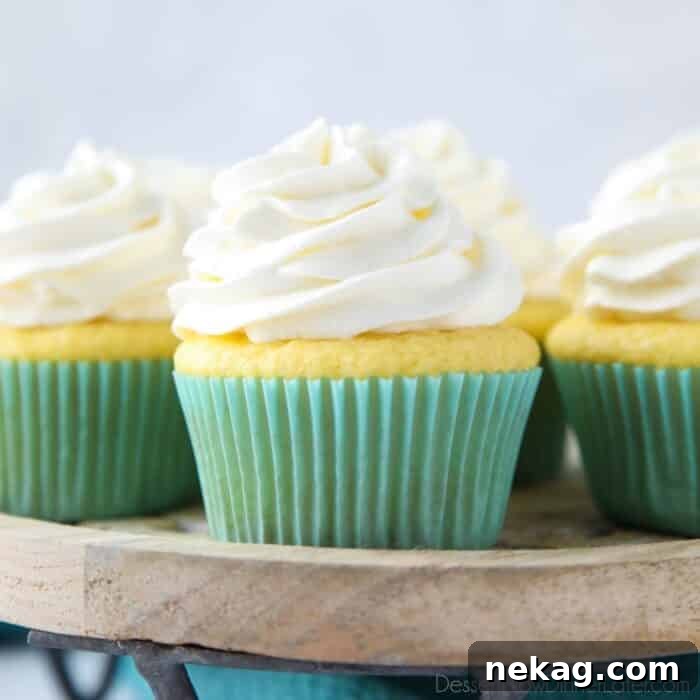
What is the difference between stabilized whipped cream and regular whipped cream?
The only real difference is the addition of a thickener. Homemade sweetened whipped cream usually contains heavy whipping cream, powdered sugar, and vanilla. Stabilized whipped cream adds unflavored gelatin (or another thickener) which makes the topping sturdy enough for piping and decorating. Properly stabilized whipped cream can hold its shape for days when refrigerated and remain relatively stable for short periods at room temperature if kept shaded.
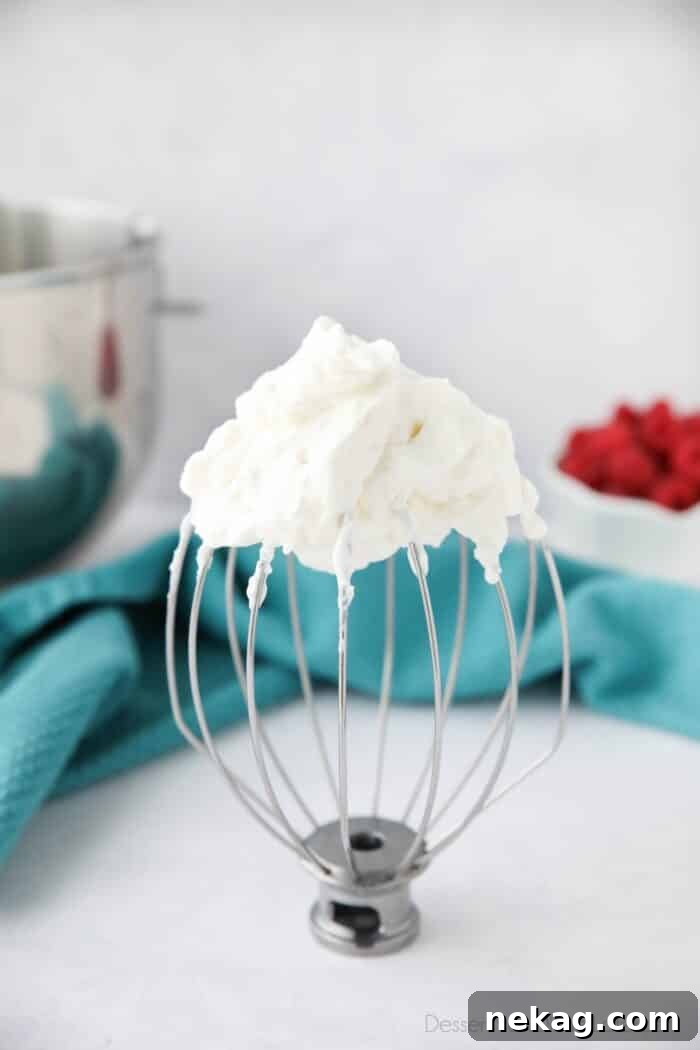
Alternative to Cool Whip
If a recipe calls for Cool Whip, you can use this stabilized whipped cream instead. You can technically omit the gelatin for a simpler whipped cream, but for layered desserts or any piping work, the stabilized version gives far better results. It takes one small extra step and yields a more dependable topping.

Ingredients
To make stabilized whipped cream you will need:
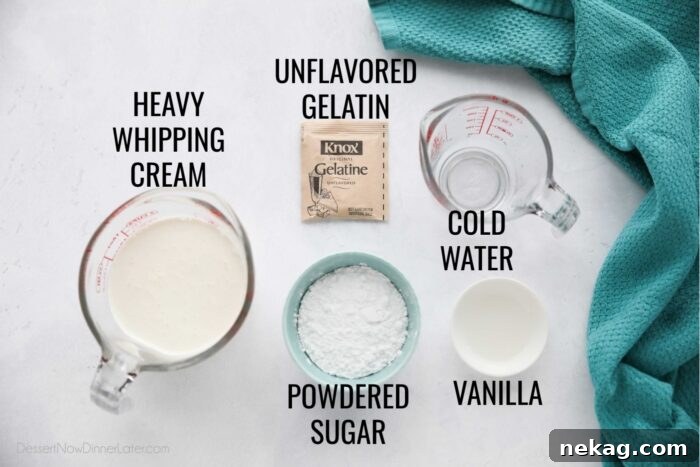
- Unflavored gelatin – available near gelatin and pudding mixes.
- Cold water – used to bloom the gelatin before melting.
- Heavy whipping cream – choose cream with at least 36% fat for best stability.
- Powdered sugar – sweetens and helps stabilize; adjust to taste.
- Vanilla extract – optional, for flavor.
Blooming the gelatin
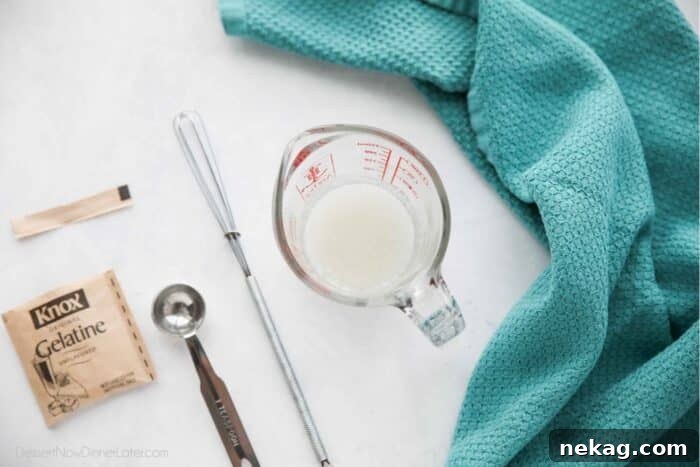
Sprinkle the gelatin over cold water in a small microwave-safe dish. Stir briefly and let it sit for about 5 minutes to absorb the water and bloom.
How to make stabilized whipped cream
Chill your mixing bowl and whisk or beaters in the refrigerator for 5–10 minutes—cold equipment helps the cream whip more easily.
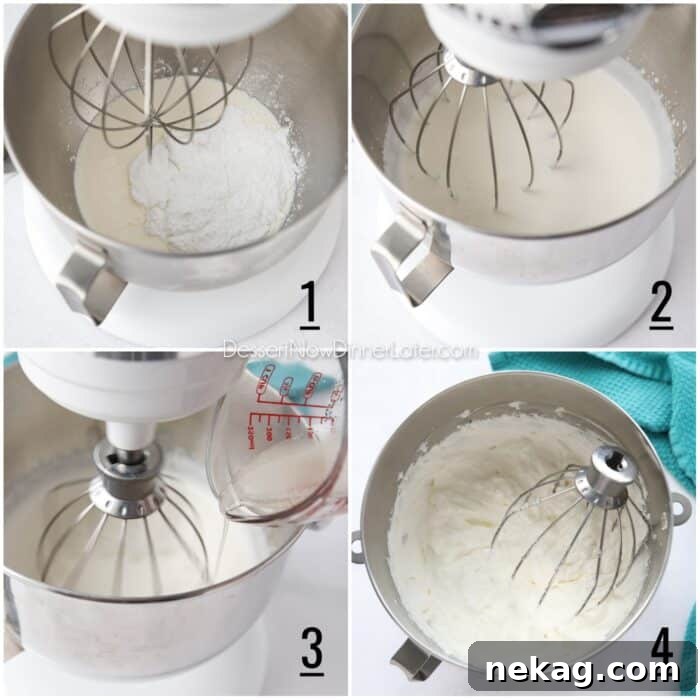
- Combine cold heavy cream, powdered sugar, and vanilla in the chilled bowl.
- Whip with the whisk attachment until the cream thickens and reaches just before soft peaks.
- Melt the bloomed gelatin in the microwave for 5–10 seconds until clear and liquid. It should be warm but not hot.
- With the mixer running on low, slowly drizzle in the melted gelatin to avoid lumps.
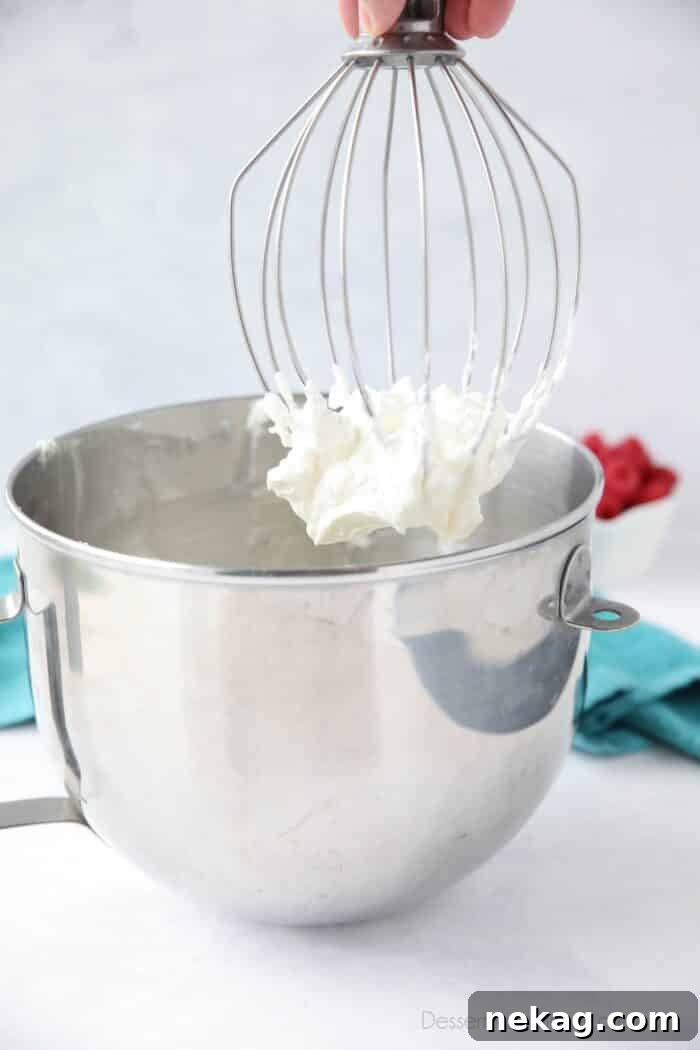
- Increase the mixer speed to medium-high and whip until stiff peaks form. Stop as soon as stiff peaks appear—overwhipping can turn cream into butter.
When melting gelatin, keep it just warm enough that it stays liquid when added to the cold cream; overheating can harm the texture, while adding it too cold may cause it to set prematurely.
Uses and storage
Once the cream reaches stiff peaks it’s ready for piping, frosting, or topping desserts. Stabilized whipped cream firms up as it sets, so using it right away gives the best piping results.
It’s excellent on cakes, cupcakes, pies, and cheesecakes. Note that whipped cream—stabilized or not—should not be used under fondant because it’s too light and moist to support the weight.
Storage: Refrigerated in an airtight container, stabilized whipped cream keeps for 4–5 days. You can freeze fully piped decorations for up to two months if they’re wrapped well, but frozen whipped cream won’t be suitable for re-piping or spreading after thawing.

More frosting recipes
- Pudding frosting (no whipped cream)
- Cream cheese frosting
- Chocolate cream cheese frosting
- Vanilla buttercream
- Chocolate buttercream
- Lemon cream cheese frosting
- Strawberry buttercream with jam

Stabilized Whipped Cream
Ingredients
- 1 tsp unflavored gelatin
- 4 tsp cold water
- 1 ½ cups (355 ml) heavy whipping cream, cold
- ½ cup (60 g) powdered sugar
- 1 tsp vanilla extract
Equipment
- Stand mixer or electric hand mixer
Instructions
- Chill bowl and whisk/beaters for 5–10 minutes.
- Bloom gelatin: sprinkle over cold water and let sit 5 minutes.
- Combine heavy cream, powdered sugar, and vanilla in the chilled bowl.
- Whip until nearly at soft peaks.
- Melt the bloomed gelatin 5–10 seconds until liquid and warm, not hot. Drizzle into cream on low speed.
- Increase speed and whip to stiff peaks. Do not overwhip.
- Use immediately for best piping results. Store airtight in the fridge up to 4–5 days.
Notes
- Yield: About 3 ¼ cups—roughly equal to an 8-oz tub of whipped topping. Enough to frost a two-layer 8–9 inch cake or generously frost 12 cupcakes.
- Gelatin should be warm and clear when added; avoid overheating.
Disclaimer: Nutritional values are estimates.
Sharing this recipe with a link is encouraged. Content and photographs are copyright protected.