
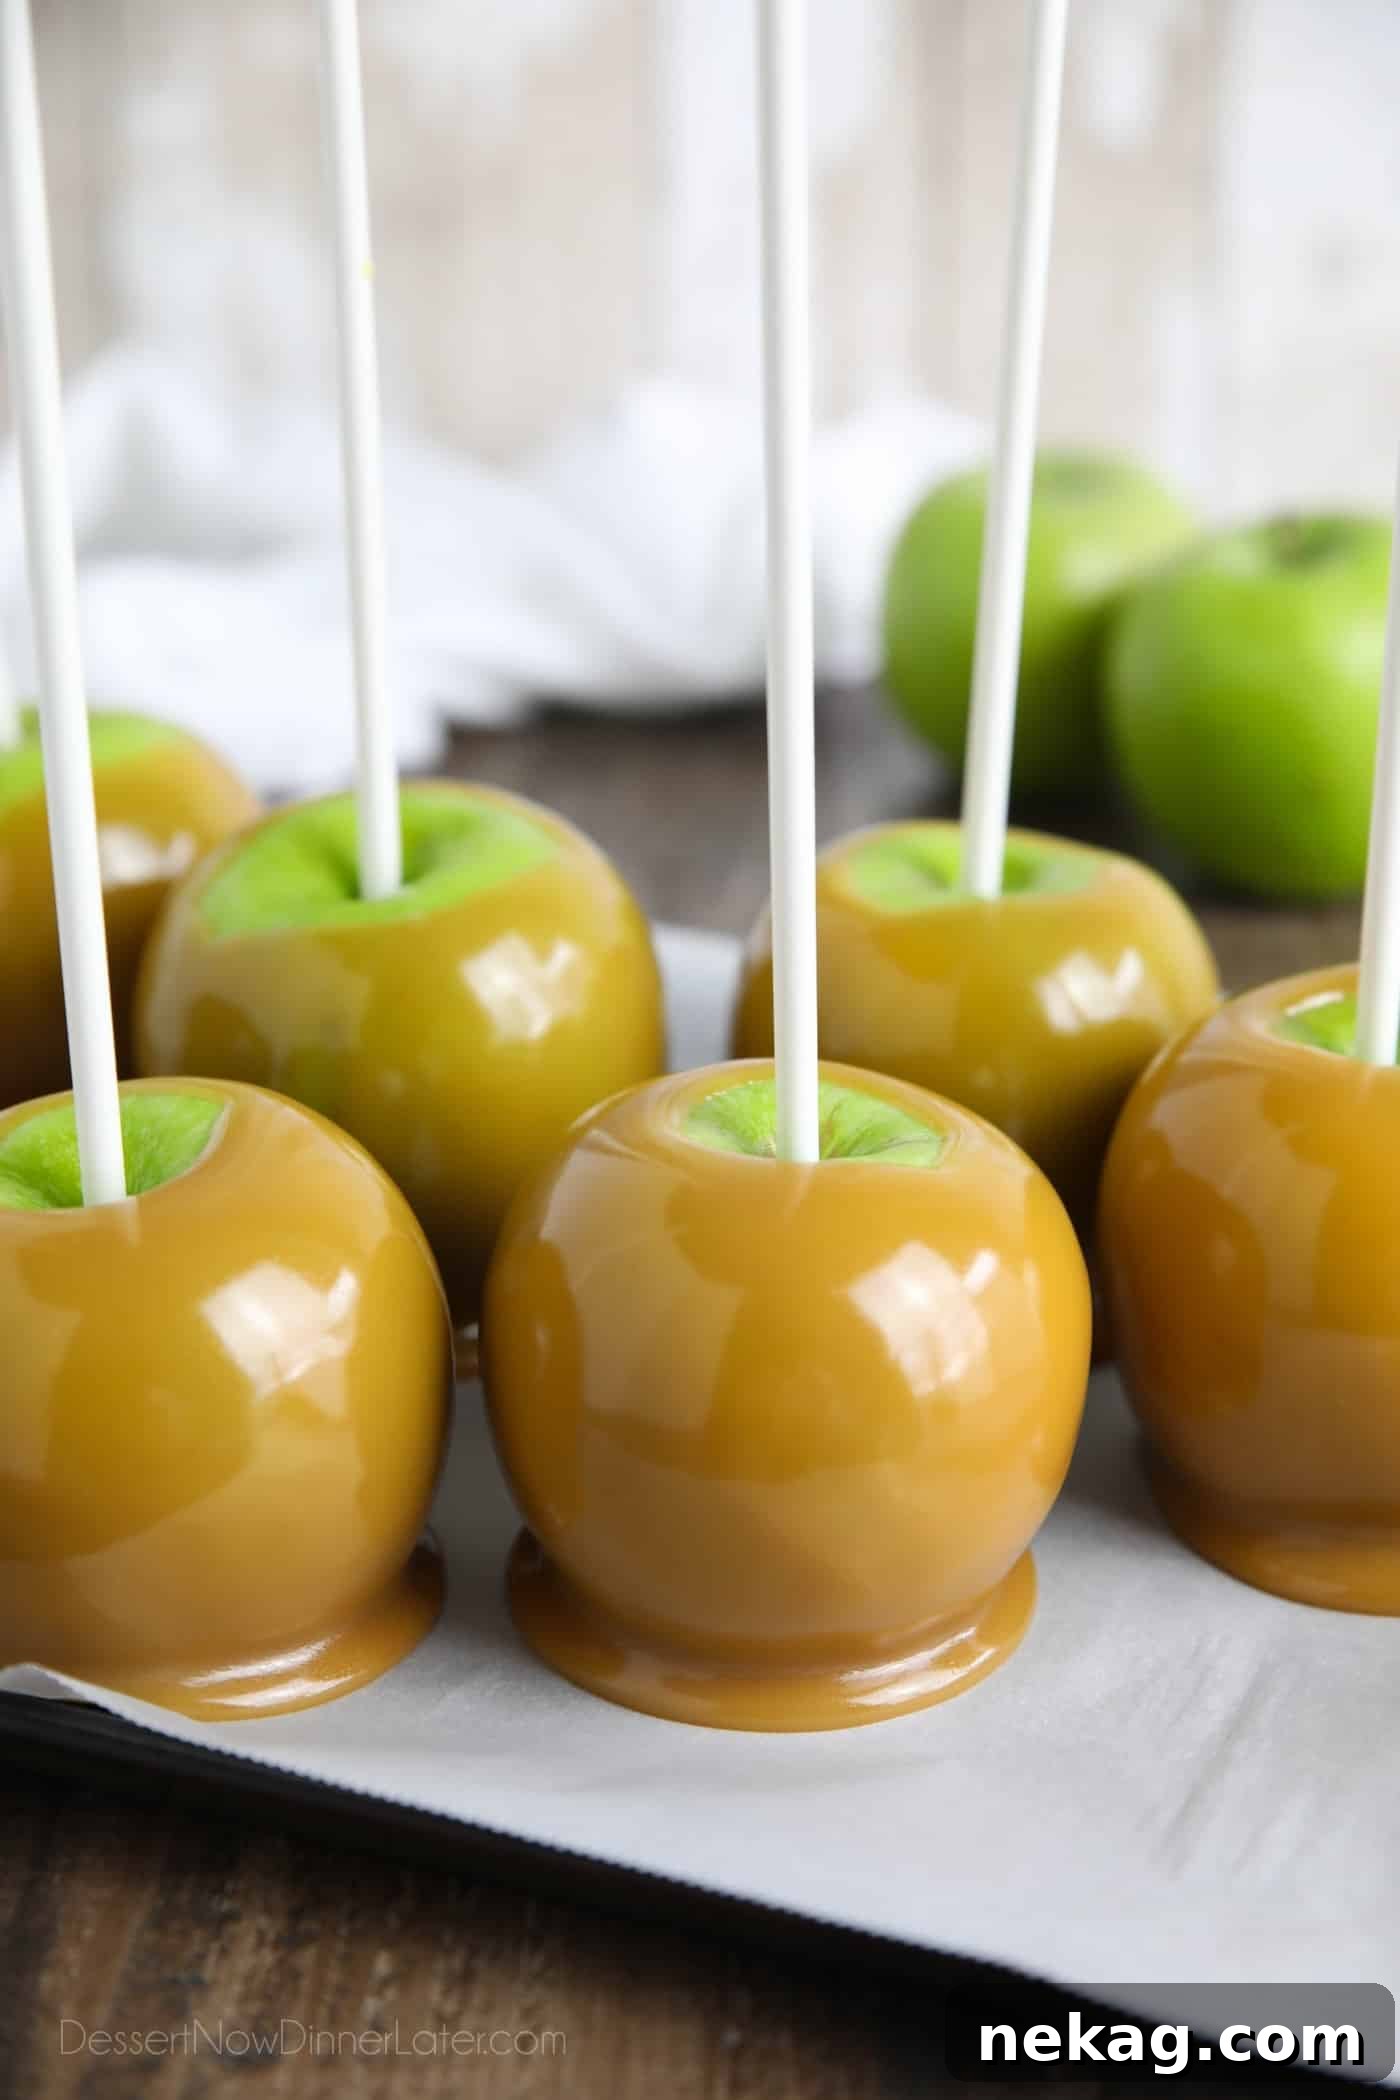
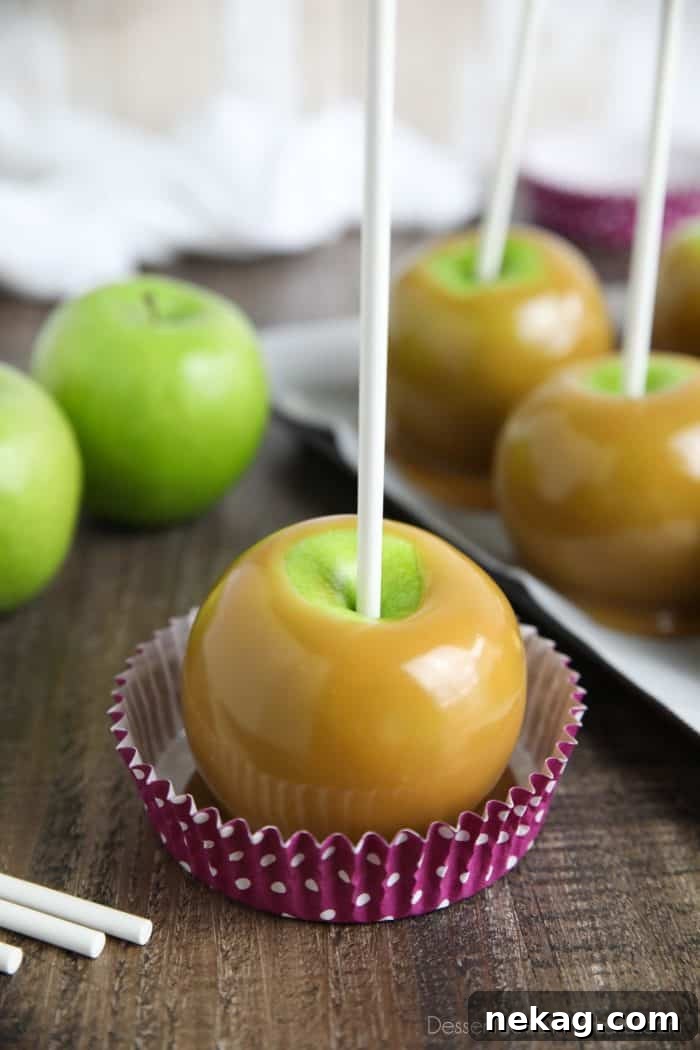
Classic homemade caramel apples are a fun project to make from scratch. Any leftover caramel can be cooled, cut, and wrapped as candies. Below are practical tips and techniques to produce professional-looking caramel apples at home.
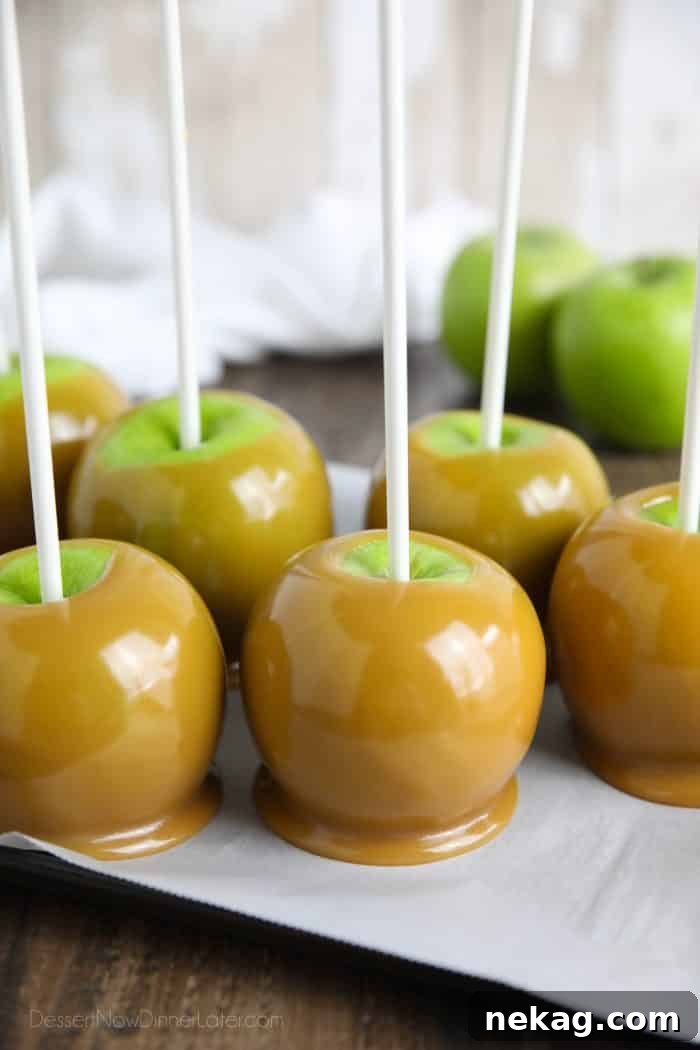
Making homemade caramel apples is a great fall activity for families and friends. Keep them simple or dress them up with chocolate drizzles and coatings of chopped nuts or candy. The combinations are endless and easy to customize.
We made this straightforward caramel apples recipe with friends and refined the steps. The tips below will help the caramel stick well and give your apples a clean, polished finish.
How do you keep caramel from sliding off apples?
The key to preventing caramel from sliding off is to remove the wax coating that most store-bought apples have. Wax prevents the caramel from adhering properly, so take the time to clean each apple thoroughly.
You can test for wax by running your fingernail over the skin—if wax transfers under your nail, the apples are coated. The goal is to soften and remove that wax without discoloring or damaging the fruit.
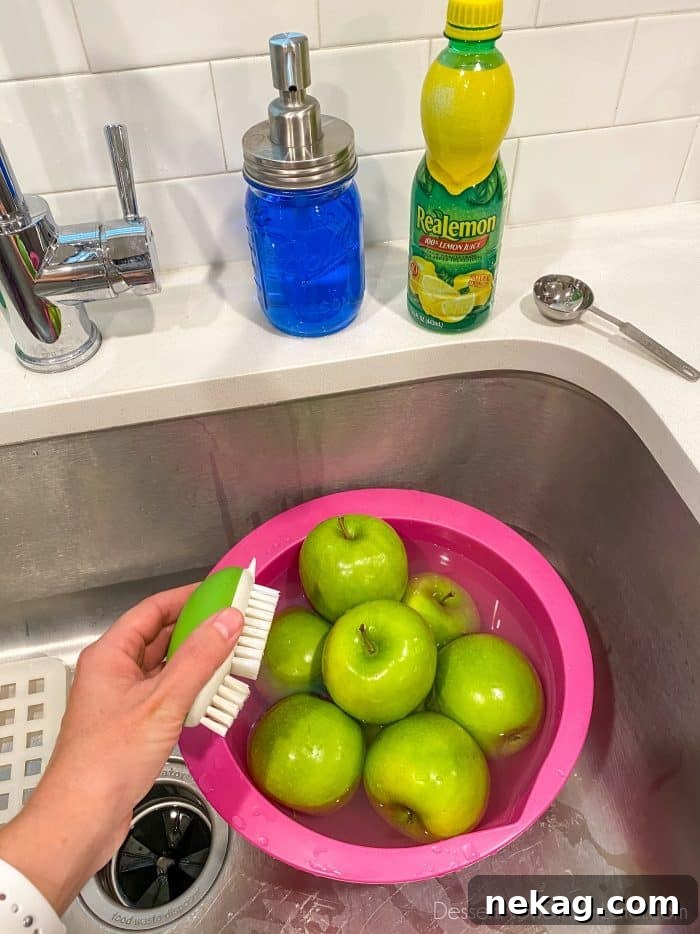
Remove the Wax From Apples
- Place the apples in a bowl of comfortably hot tap water (do not boil). Add 2 tablespoons of lemon juice or vinegar and let them soak for a minute or two. The acid brightens the apple and helps break down some of the wax.
- Use a vegetable scrub brush or a slightly abrasive cloth with a little dish soap to scrub each apple all around. If the brush scrapes the peel, switch to a gentler scrubber. A produce spray or wash can be used instead of dish soap.
- Rinse the apples thoroughly and dry completely before proceeding.
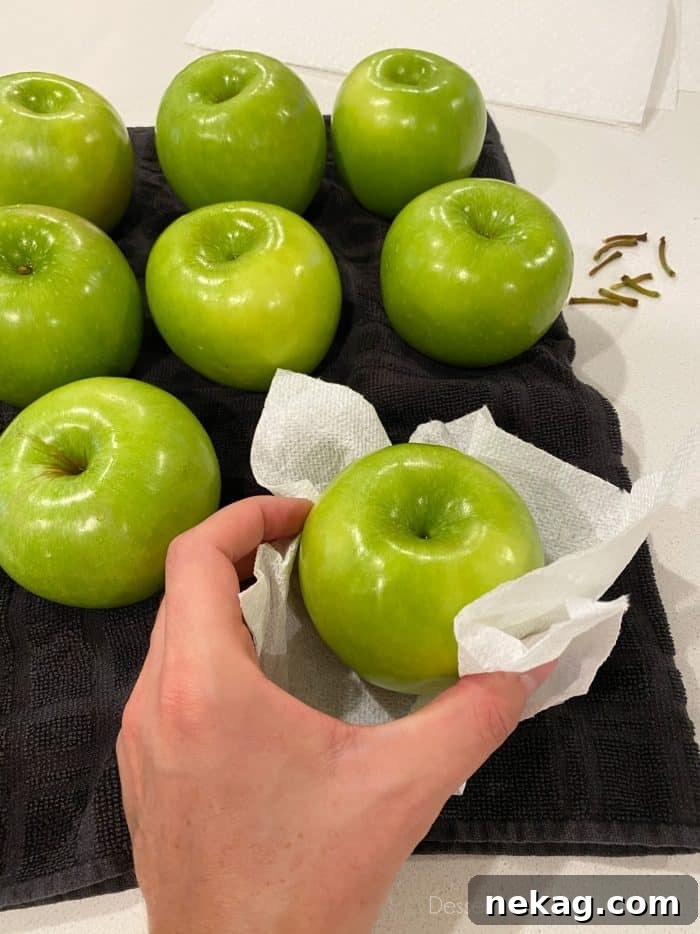
Prepare the Apples for Dipping in Caramel
- After removing the wax, remove the stems and dry the apples completely. Any residual moisture will interfere with the caramel setting and its ability to stick.
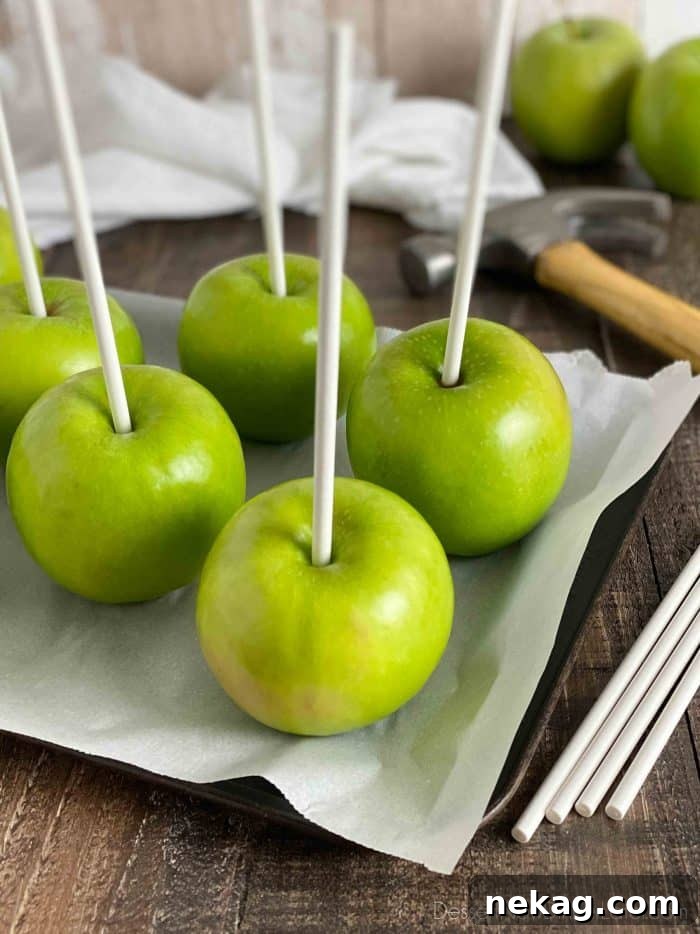
- Insert handles by gently tapping 6–8-inch cookie sticks or sturdy dowels 1/2 to 2/3 of the way into the center of each apple. Clean the hammer or mallet before use for food safety, and avoid pushing the stick through the bottom.
- Refrigerate the prepared apples until you’re ready to dip. Cold apples help the hot caramel set faster and adhere better.
Homemade Caramel for Dipping Apples
This caramel recipe is simple and reliable. It uses butter, light brown sugar, light corn syrup, sweetened condensed milk, and vanilla. Cooking the sweetened condensed milk with the other ingredients simplifies the process compared to recipes that add cream at the end.
How to Make Caramel Apples from Scratch
Use a heavy-duty saucepan with straight, high sides so the caramel can heat evenly. A candy thermometer that clips to the pot is essential to reach the proper soft-ball stage for dipping.
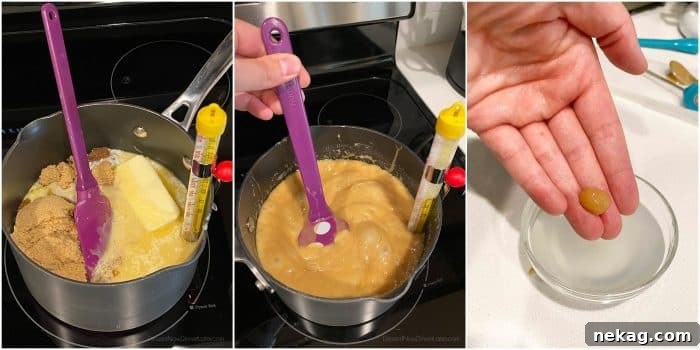
- Combine butter, brown sugar, corn syrup, and sweetened condensed milk in the saucepan over medium-high heat. Bring to a boil while stirring constantly, then reduce to medium.
- Cook until the candy thermometer reads between 230°F and 240°F. Depending on your stove and pan, this can take 15–30 minutes. The higher the temperature in that range, the firmer the caramel will be. At high altitude, check beginning around 230°F.
- Confirm doneness with a cold water test: spoon a little caramel into a bowl of very cold water. If it forms a soft ball that holds shape, it’s ready. Remove from heat and stir in vanilla (it may bubble).
Preparing to Dip the Apples
Line a baking sheet with parchment paper or a silicone baking mat for the dipped apples. Do not use wax paper with hot caramel—wax paper will stick. Cooking spray is unnecessary and can leave an oily film.
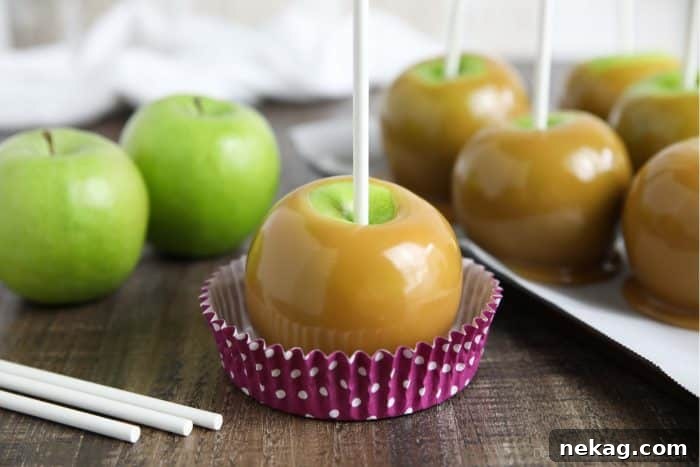
Small coated baking cups work nicely if you plan to wrap and gift individual apples.
How to Dip the Apples in Caramel
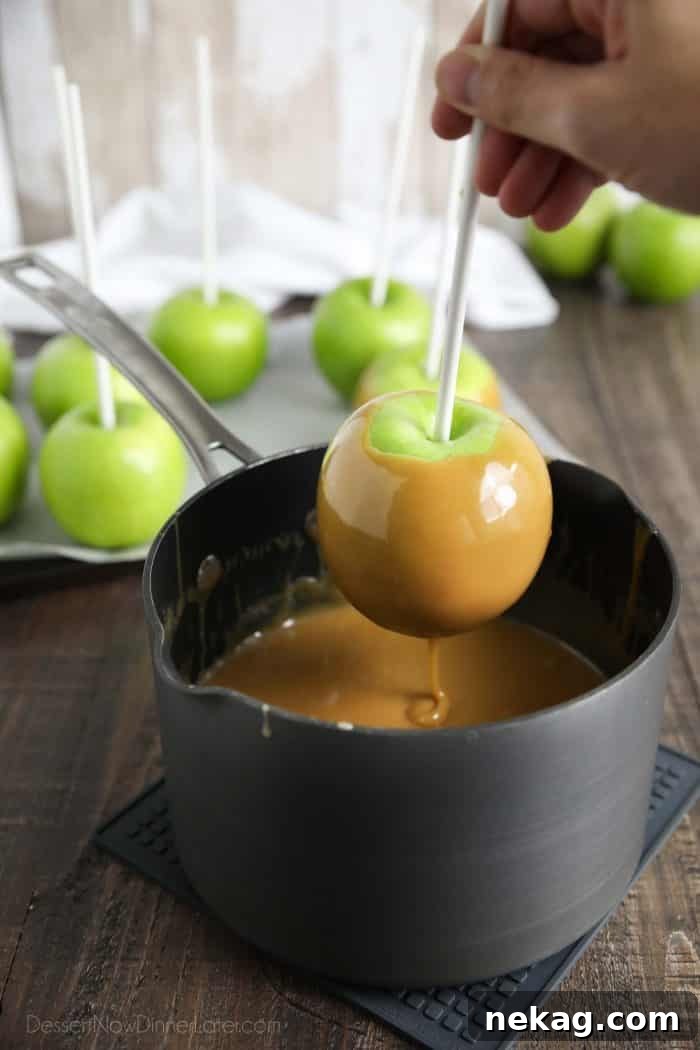
- Let the caramel cool to about 180°F–190°F before dipping so it’s thick enough to cling without running off. If it cools too much while you work, gently rewarm it.
- Tilt the pan, insert the apple, and slowly spin it to coat all sides. Let excess drip back into the pan, then scrape the bottom edge on the pan and set the apple on the prepared sheet. Minimize the amount of pooled caramel at the base.
- Work quickly and avoid over-stirring the caramel to prevent bubbles. Repeat until all apples are dipped.
Caramel Apple Toppings
Plain caramel apples are delicious, but you can make them gourmet with toppings. Right after coating, and before the caramel sets, roll apples in finely chopped nuts, crushed cookies, toffee bits, mini candies, or similar toppings. Finely chopped toppings adhere best.
If you want to add melted chocolate, wait until the caramel has firmed for 20–30 minutes in the refrigerator. Drizzle or dip in chocolate while it’s set but still cool enough for the chocolate to hold a pattern; then add any additional toppings to the chocolate.
Best Apples To Use For Homemade Caramel Apples
Because caramel is sweet, a tart crisp apple like Granny Smith works best. Honeycrisp or Pink Lady are also excellent choices. Select apples that are medium-sized, as round as possible, sit flat with the stem at the top, and have no soft spots or nicks.
How long do caramel apples last?
Store caramel apples in the refrigerator to keep the fruit crisp and the caramel firm. Properly stored, they will last up to one week. For gifting, place the apple in a clear bag and tie it at the stick, and remind the recipient to refrigerate it.
Leftover Caramel?
Pour any leftover warm caramel into a parchment-lined dish and let it set. Once firm, cut into squares and wrap each piece in wax paper for bite-sized caramels. Refrigerate if needed to keep them firm.
More Homemade Treats
- Pretzel Hugs
- Easy Buckeyes
- Chocolate Truffles
- Cracker Toffee
- Cookie Dough Pretzel Bites
- Soft Gooey Marshmallow Popcorn
- Peanut Butter Pretzel Balls

Homemade Caramel Apples
Ingredients
- 12 medium Granny Smith apples
- 2 Tbsp lemon juice or vinegar
- 12 Wilton cookie sticks (6 to 8-inches long)
- 1 cup salted butter (2 sticks)
- 2 cups light brown sugar, gently packed
- 1 cup light corn syrup
- 14 oz can sweetened condensed milk
- 2 tsp vanilla extract
Instructions
-
WASH APPLES: Place apples in comfortably hot tap water with 2 Tablespoons lemon juice or vinegar. Soak 1–2 minutes, scrub each apple with a vegetable brush and a little dish soap or produce wash, rinse, remove stems, and dry thoroughly.
-
INSERT HANDLES: Gently tap cookie sticks 1/2 to 2/3 of the way into each apple’s center. Clean the hammer or mallet before use.
-
PREPARE FOR DIPPING: Line a baking sheet with parchment paper or a silicone mat, place apples on it, and refrigerate until ready. Prepare toppings in advance.
-
MAKE CARAMEL: Stir butter, brown sugar, corn syrup, and sweetened condensed milk in a large saucepan over medium-high heat. Bring to a boil, stirring constantly, then reduce heat to medium.
-
Cook until a candy thermometer reads 230°F–240°F, about 20–30 minutes, stirring to prevent burning. Test by dropping a spoonful into very cold water—if it forms a soft ball, it’s ready. Remove from heat and stir in vanilla.
-
DIP APPLES: Let caramel cool to 180°F–190°F. Working quickly, tilt the pan and swirl each apple to coat. Let excess drip off, scrape the bottom on the pan edge, and place on the prepared sheet. Add toppings immediately if desired.
-
Repeat with remaining apples. If caramel cools too much, warm briefly and continue. Chill dipped apples in the refrigerator 20–30 minutes before serving.
-
Store covered in the refrigerator up to one week. Eat by slicing around the core or bite directly from the stick.
Notes
- Use parchment paper or a silicone baking mat on a baking sheet—do not use wax paper with hot caramel.
- Prepare toppings before dipping. Finely chopped toppings adhere better.
- Pour leftover caramel into a parchment-lined dish, allow to set, cut into squares, and wrap in wax paper for candies.
- For gifting, place apples in clear bags and tie at the stick. Remind recipients to refrigerate.
Nutrition
Disclaimer: Nutritional values are estimates.
Sharing this recipe with a link is appreciated. Content and photographs are copyright protected.