
Every June I often share cakes I’ve made. My two children were born two years and three days apart, so early June is always busy with birthdays. This year I had to prepare both celebrations and it worked out fine after a few late nights and some nap-time baking. It had been over a year since I’d done any elaborate cake work, but like riding a bike, the skills came back.
I decided not to make two large cakes to avoid feeling overwhelmed. Instead I made turtle-themed cupcakes for my son and a ladybug-style cake for my daughter.
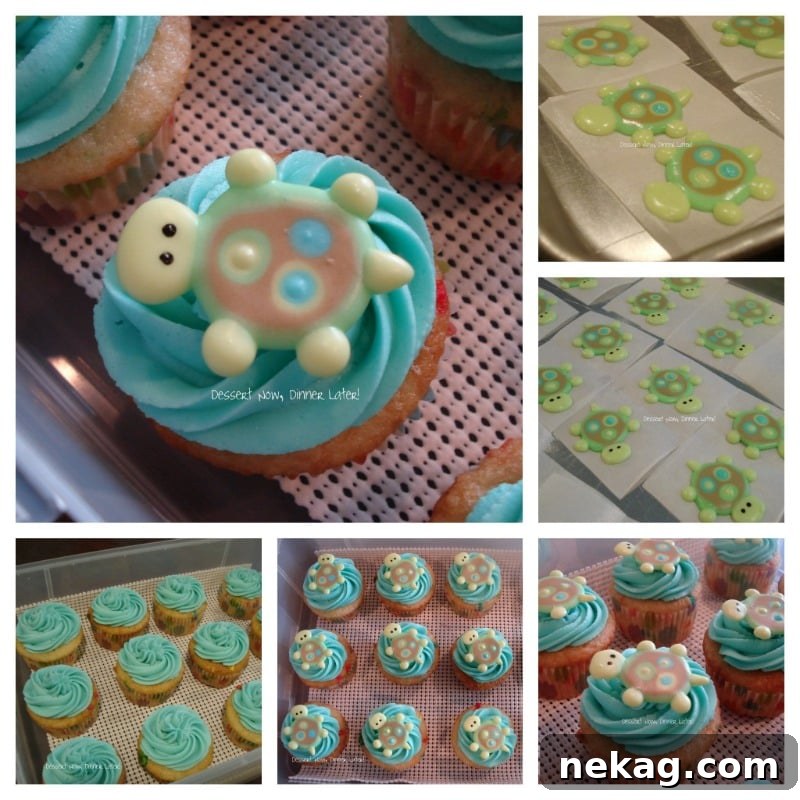
My son turned three and he loves turtles, so I adapted a turtle cupcake design I found on Pinterest. This was my first time working with royal icing. I read recipes and tutorials beforehand and, despite nerves about consistency and drying, it turned out well. I could have made the icing slightly stiffer and I didn’t always remove air bubbles, but decorating with royal icing was fun and satisfying. I’m likely to try it again on sugar cookies, since royal icing produces very neat, clean details.
From my research I learned a few practical things about royal icing and cupcake toppers. A couple of useful sources were cookie decorating tutorials that included royal icing recipes and tips for storing icing. The recipe I used made more icing than I needed, so next time I’ll scale back quantities.
Practical tips from my royal icing experience:
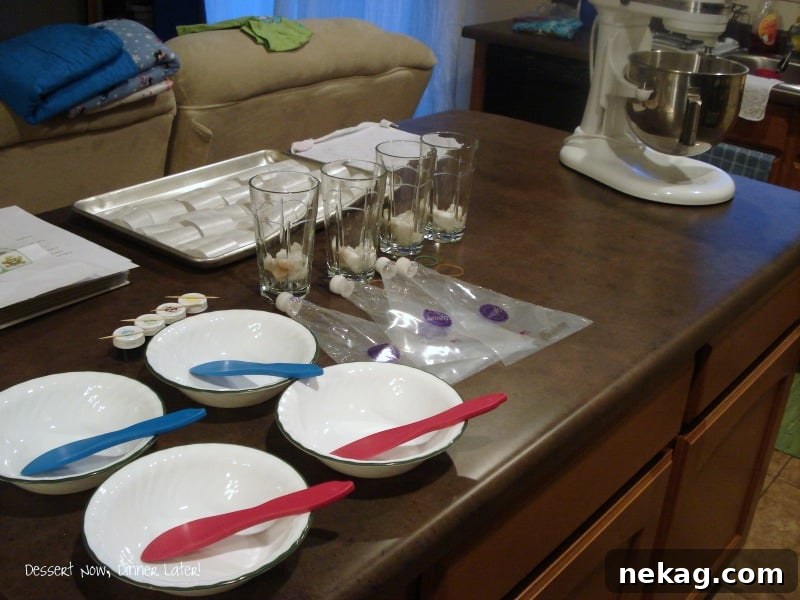
- Mise en place is essential: have bowls, spatulas, colors and other tools ready before you start.
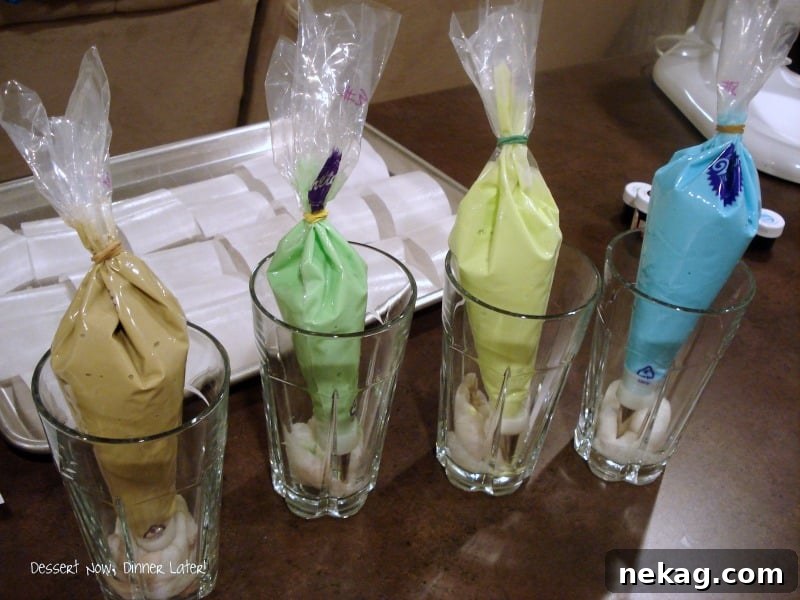
- Prepare piping bags and tips in advance; disposable clear bags help you see colors easily.
- Use rubber bands to seal bags to keep icing from drying out.
- Keep piping tips from hardening by placing bags upright in glasses with damp paper towels in the bottom. Wring the towels well so water doesn’t pool and dilute the icing.
- Work on small parchment squares lightly greased with shortening so decorations can dry flat. Flat parchment sheets are easier to use than rolls.
- Keep your mixer ready and cover bowls with a damp towel while you mix and bag different colors.
- Have a reference image or your own drawn design to follow.
- Allow royal icing decorations 24 hours to dry completely before adding details with a food marker.
- Important: If you make royal icing toppers for cupcakes, do not put them on the cupcakes until just before serving. Toppers will absorb moisture, soften and can smear or break if placed too early.
Once everything is organized, decorating flows smoothly and you don’t waste time searching for tools or worrying about drying icing.
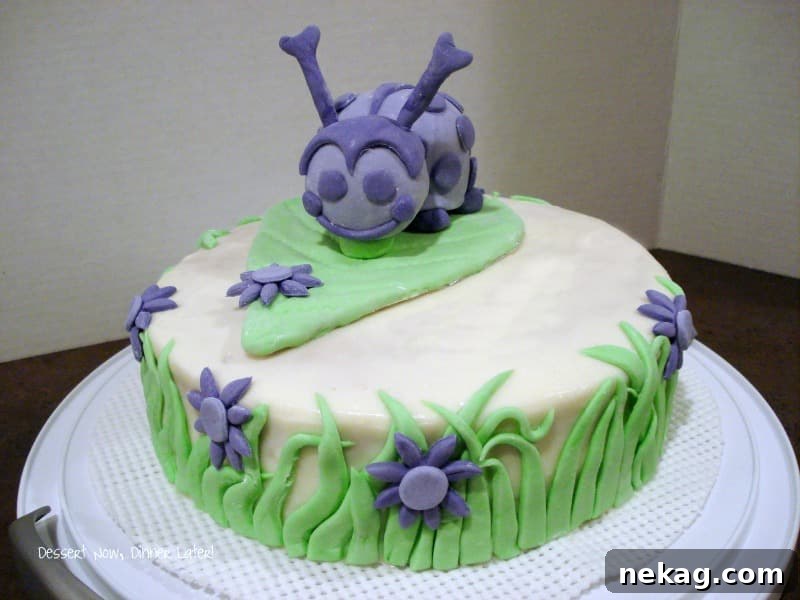
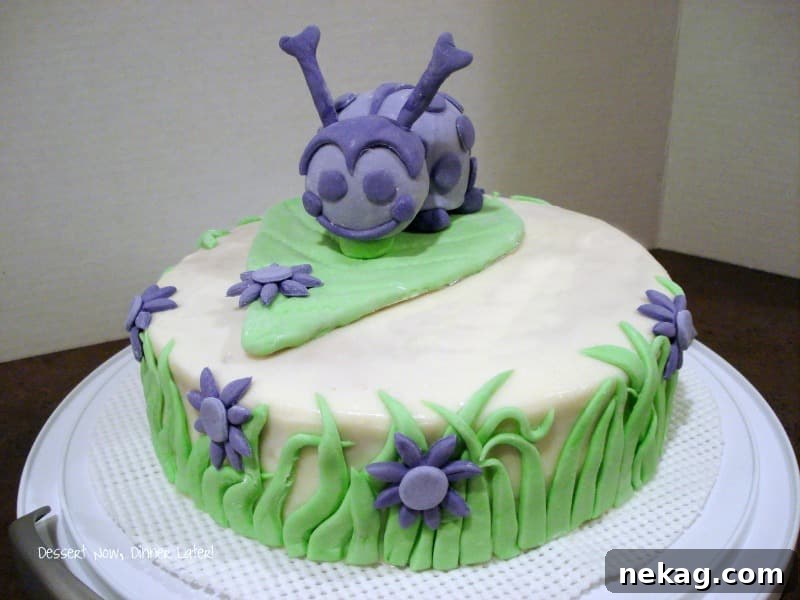
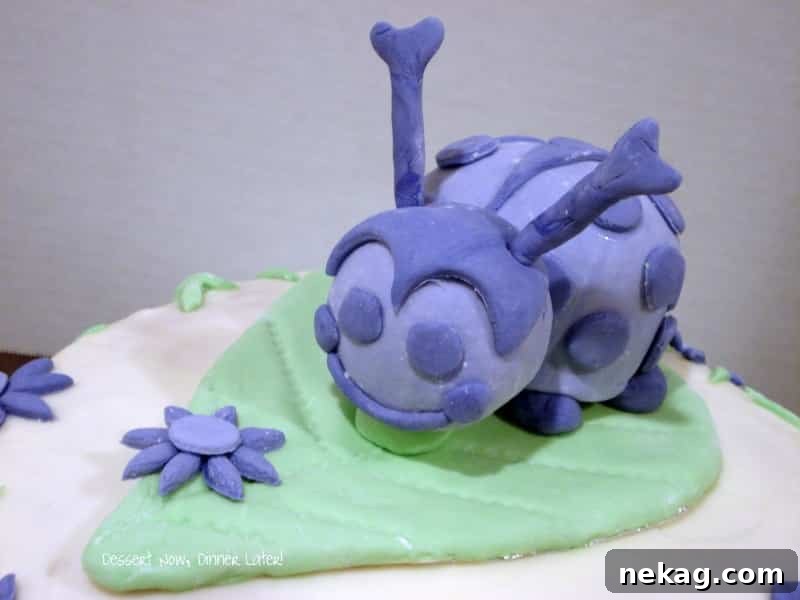
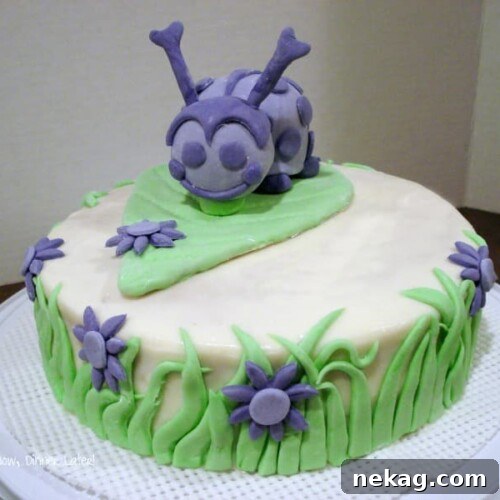
For my daughter’s first birthday I made a ladybug-themed cake. I prefer purple for her, so I made a purple ladybug. The cake was strawberry with cream cheese frosting for both filling and a thin outer coat so the fondant decorations would stick easily. I removed her name from photos for privacy, so where her name was is a plain patch in the photograph.
Notes on the ladybug cake construction:
- The leaf was placed on a separate cardboard piece so I could remove it for my daughter’s smash cake.
- The antennae were molded around toothpicks for structure.
- The ladybug’s head and body were made from cupcakes:
- The head used a mini cupcake.
- The body used one and a half regular cupcakes attached together.
- I secured the head with a toothpick and put a small ball of green fondant under the chin for support.
I learned in school that you can make fondant from marshmallows—it’s inexpensive and works well. Below is the marshmallow fondant recipe I used, adapted from a reliable source.
Marshmallow Fondant
Ingredients
- 16 oz mini marshmallows, (100 mini marshmallows = 10 large marshmallows)
- 2 Tbsp. water, *If using large marshmallows add 1 tsp more water.
- Up to 2 lbs. confectioner’s powdered sugar, (approximately 8 cups)
- Crisco shortening, as needed
Instructions
-
Grease a large microwave-safe bowl with shortening on a paper towel. Add marshmallows and water. Microwave in 20–30 second intervals until marshmallows soften and become soupy, stirring after each interval with a greased spoon.
-
Sift powdered sugar over the melted marshmallows one or two cups at a time. Fold until incorporated and the mixture is no longer sticky. This can be done in a mixer with a bread-hook attachment if preferred.
-
When the mixture comes together, take it out of the bowl and dust your work surface with powdered sugar. Knead by hand until it becomes stiff (about 5–7 minutes). Don’t add too much powdered sugar or it will dry out. Form into a ball and keep covered until ready to use.
-
Coat the cake with a light layer of buttercream. Roll the fondant on a powdered-sugar-dusted surface to about 1/8-inch thickness, drape it over the cake and smooth. Trim below the cake board so the final length is correct. To repair small tears, rub a tiny bit of Crisco into the fondant until it adheres.
Notes
- Yield: Enough fondant for one 9-inch cake and decorations.
- To color the fondant, add food coloring drops and knead until evenly mixed. You can also color portions of the marshmallow mixture before adding powdered sugar, but this may require reheating any leftover mixture to work with it.
- You can make fondant ahead and store it in an airtight container for 5–7 days. Wrap it in plastic wrap (if not sticky) and place in a container. To soften before use, warm briefly in the microwave for about 5 seconds at a time—do not overheat because it can melt, burn your hand, or become too soft.
Making my kids’ birthday cakes is something I look forward to each year. It’s a creative outlet I enjoy and something other people can try too. With practice and patience anyone can make fun themed cakes and decorations—so enjoy the process and have fun!