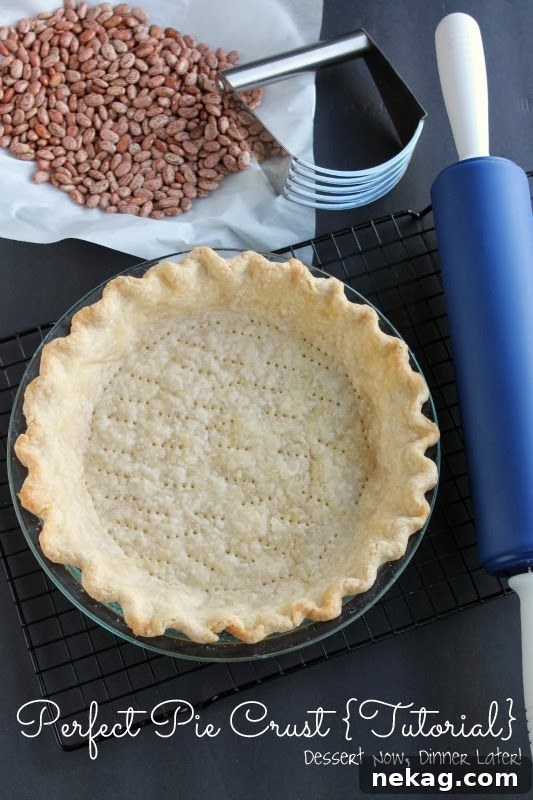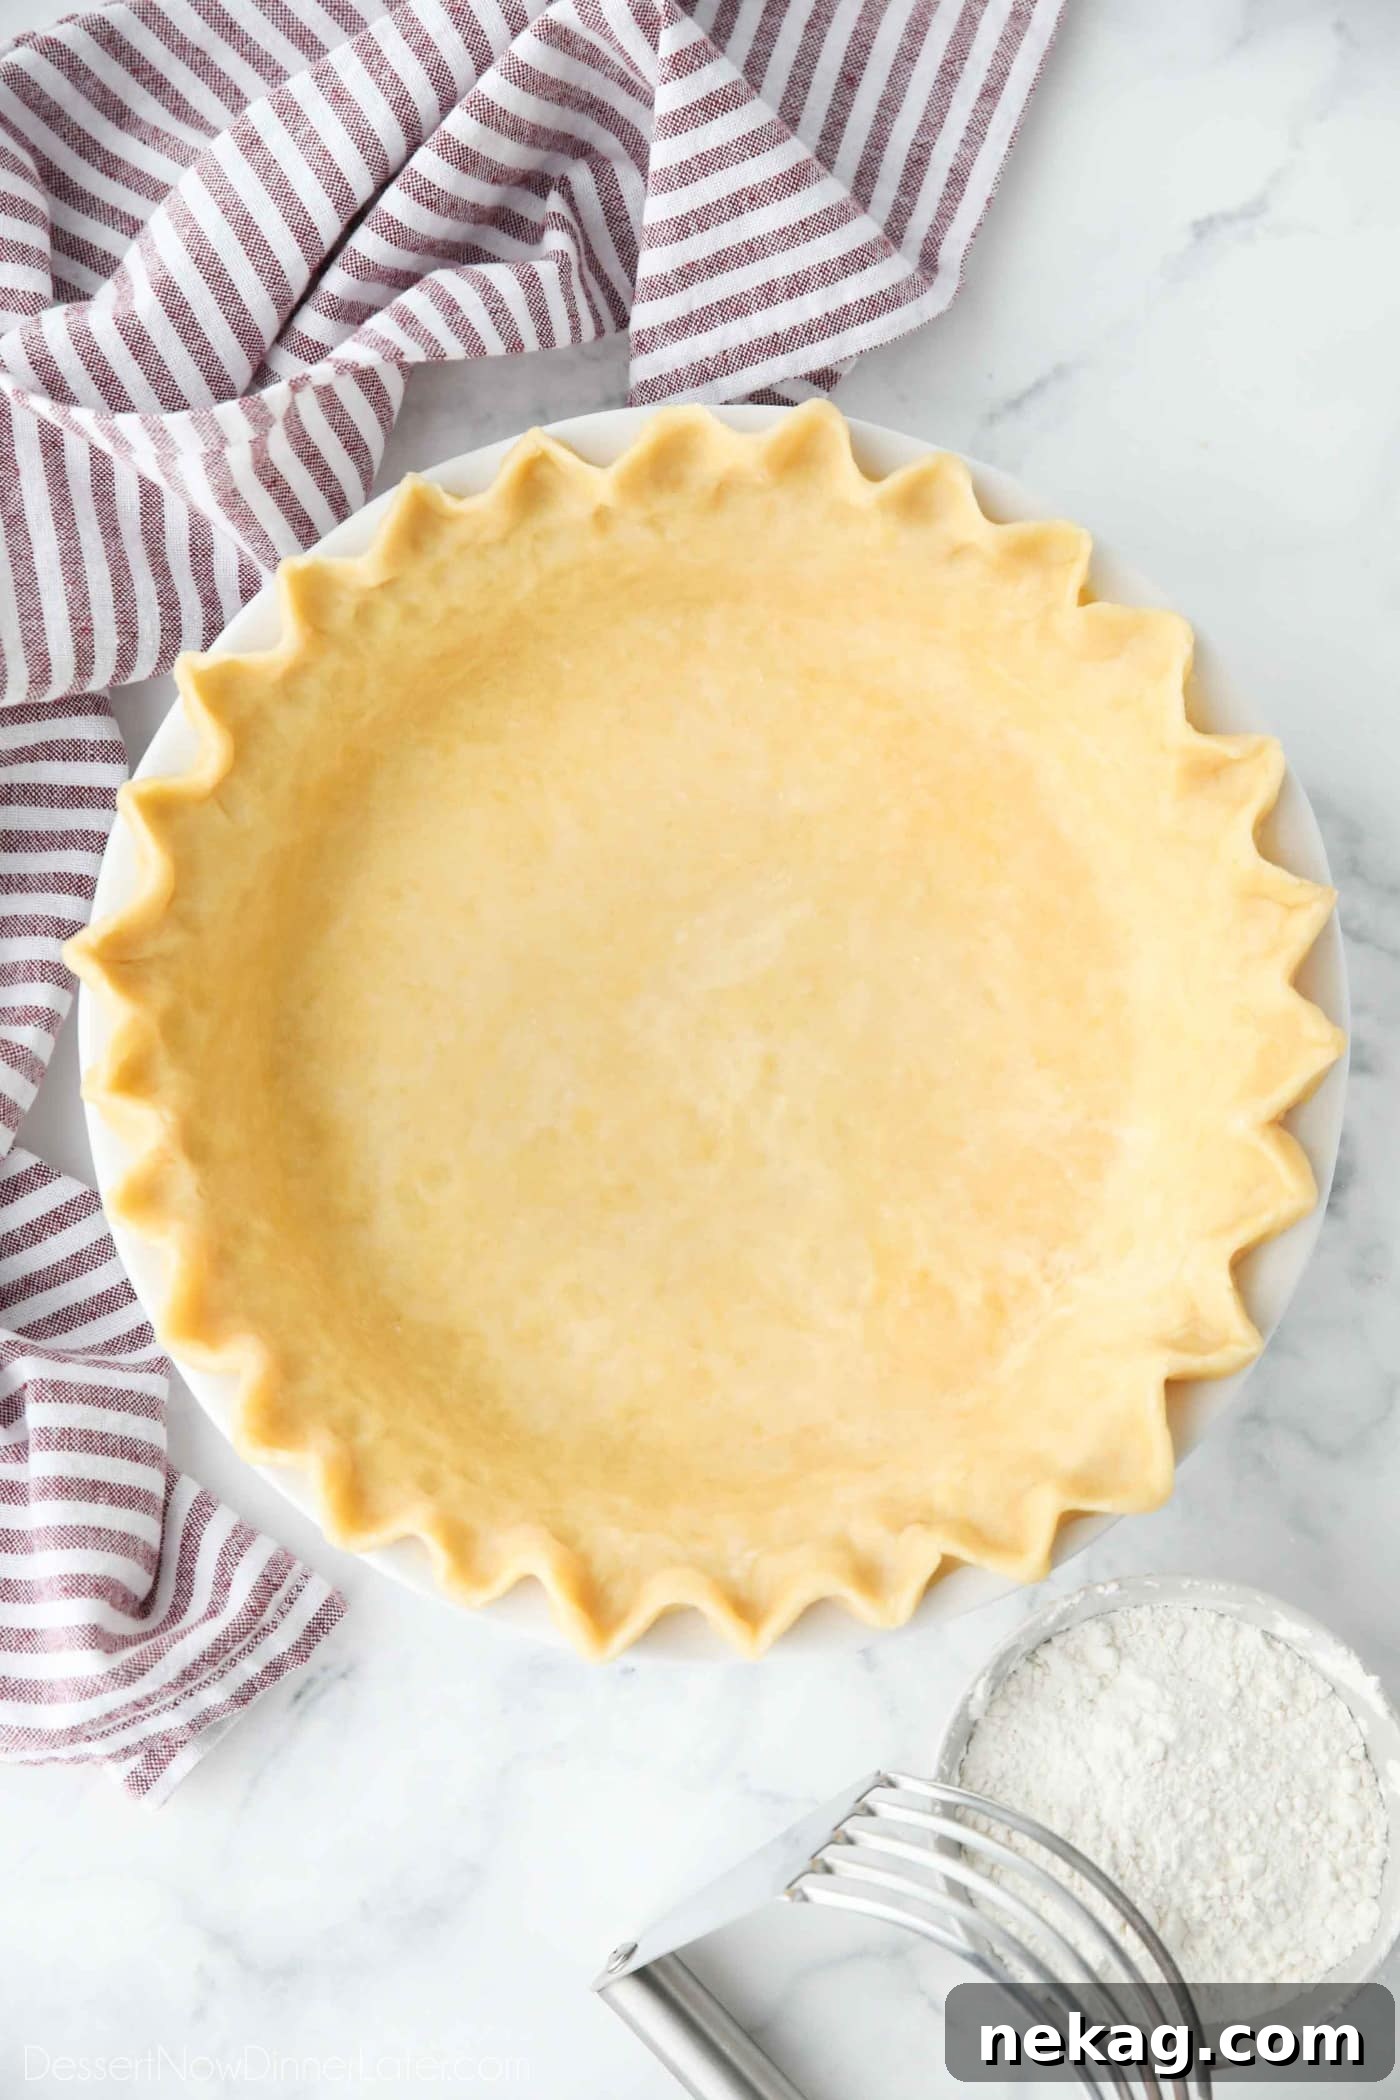
This Easy Pie Crust Recipe uses Crisco shortening, an egg, and vinegar to produce a reliable, flaky crust that holds its shape. Clear step-by-step photos show how simple it is to make.
*If you need a gluten-free option, my friend Brianne has a great Gluten Free Pie Crust.
Why You Should Make This Recipe
- Easy Pie Crust Recipe: With a few common ingredients and minimal tools you can make a beautiful, dependable crust suitable for holidays and everyday pies.
- Practically Foolproof: Using shortening makes the dough more forgiving than an all-butter crust. The egg adds pliability and richness, making the dough easier to roll and shape without shrinking or falling apart.
- Tender, Flaky Results: A splash of vinegar slows gluten development so the crust stays tender instead of tough. That gives you flaky layers rather than chewiness.
Easy Pie Crust Recipe
Many people avoid making pie crust, but this method is straightforward. You only need a bowl and your hands; a pastry blender or fork helps, but isn’t required.
This is a reliable pie crust that doesn’t shrink or break down easily, making more intricate designs and decorative edges achievable with less chilling time. While an all-butter crust may have a richer flavor, this shortening-based dough is much easier to handle and more resilient for beginners.
Ingredients You Will Need
*Full ingredient amounts and detailed instructions appear in the recipe card below.
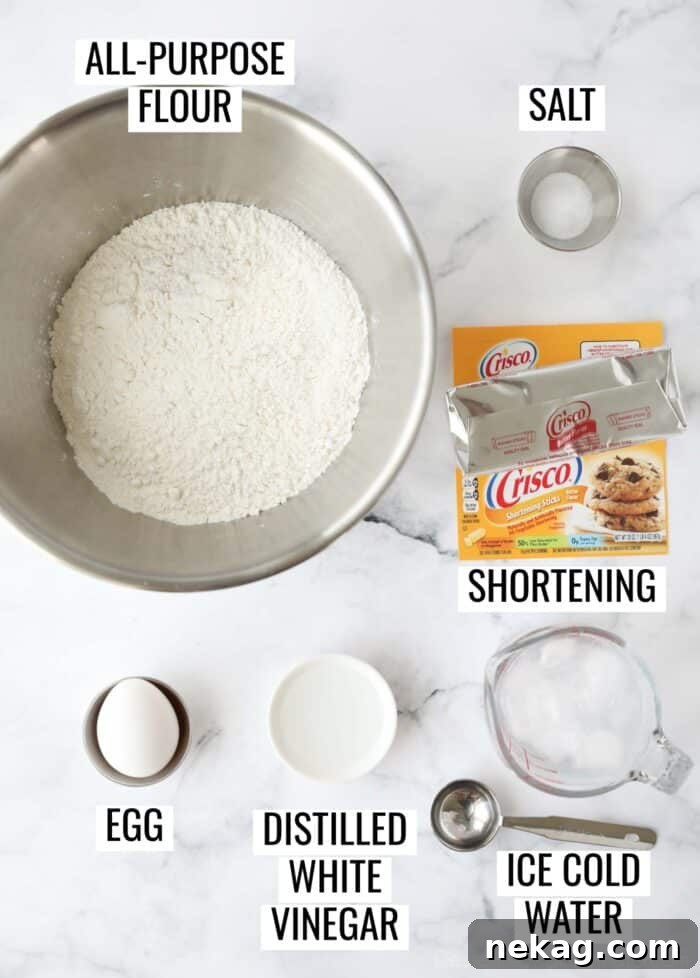
This crust uses six ingredients that each play a specific role:
- All-Purpose Flour – Builds the structure of the crust.
- Salt – Enhances flavor.
- Shortening – I recommend Crisco Butter Flavor for a more buttery taste while retaining shortening’s stability and slower melting properties.
- Egg – Adds richness and helps the dough bind and roll out smoothly.
- Distilled White Vinegar – Keeps the crust tender by limiting gluten development; it won’t affect flavor.
- Ice Cold Water – Keeps the fat from melting during mixing and rolling so you get flakier layers.
How to Make the Perfect Pie Crust
*Full ingredient amounts and instructions are in the recipe card below.
- In a large bowl, stir together the flour and salt.
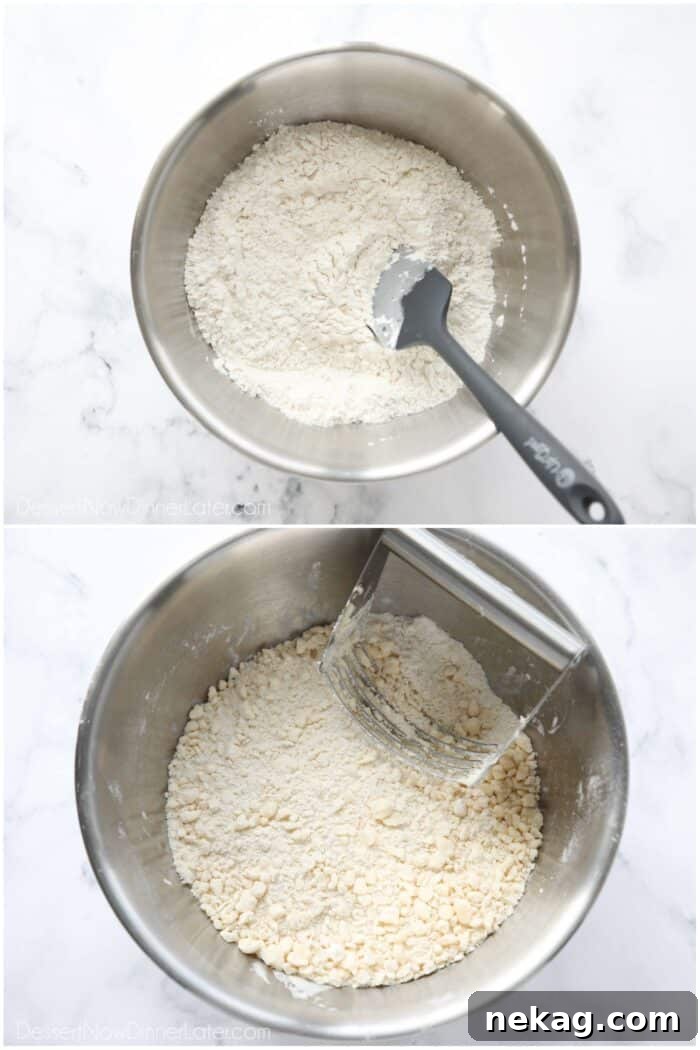
- Cut the shortening into the flour with a pastry blender or fork until the pieces resemble peas with some coarse crumbs. Avoid cutting the fat into fine crumbs; those pea-sized bits create pockets that produce flaky layers.
- Add the egg, vinegar, and 5 tablespoons of ice-cold water.
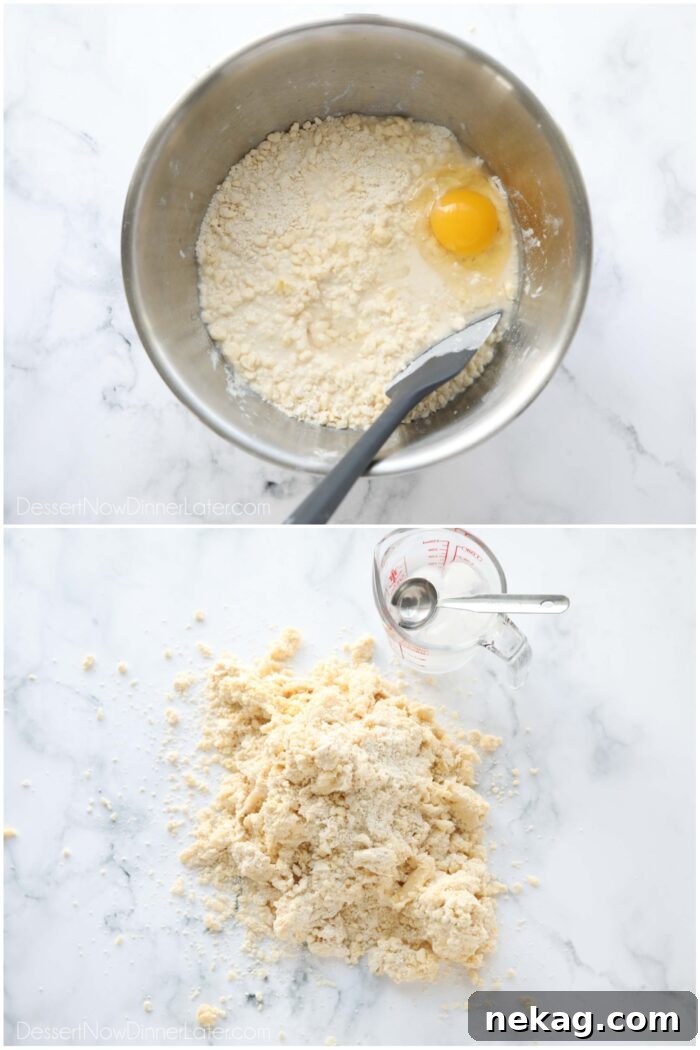
- Stir with a spatula, then turn the mixture onto a work surface and press the dough together with your hands.
- If needed, add extra ice-cold water 1 tablespoon at a time (usually 1–2 more) until the dough just holds together. Do not overwork the dough.
- Divide the dough in half. For deep-dish pies, make one half slightly larger.
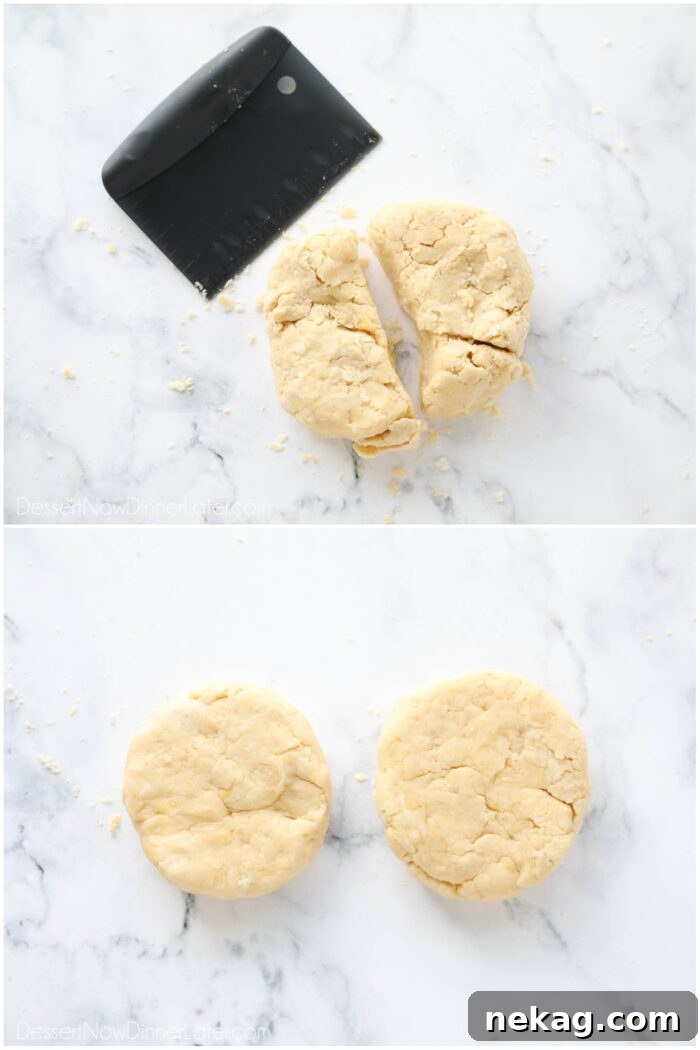
- Flatten each portion into a disk, wrap tightly in plastic, and refrigerate for 30 minutes before using.
Refrigerating Pie Crust
Chilling is important: it relaxes the gluten and allows the liquid to hydrate the flour, reducing cracks and tears. Cooling also firms the shortening so the dough behaves better when rolled.
If your kitchen is cool and you work fast, you can roll the dough immediately and flash-freeze the rolled crust for 10–15 minutes before baking. Keep the unused portion wrapped and cold while you work.
You can refrigerate the dough for up to 3 days; after that it should be baked or discarded.
Pro tip: If a dough disk has chilled more than an hour, let it sit 10 minutes at room temperature to take the chill off before rolling—this helps prevent cracking.
Freezing Pie Crust
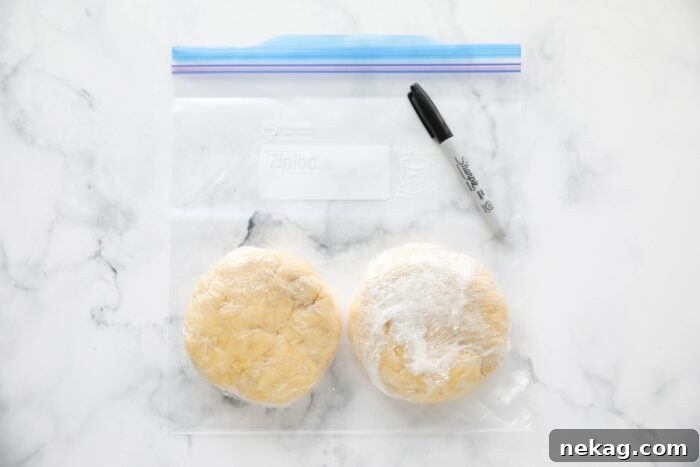
You can make the dough ahead and freeze it. Flatten into disks, double-wrap in plastic, and store in a freezer bag. Label with the date.
Freeze up to 3 months. Thaw overnight in the refrigerator before using.
How to Roll Pie Crust
After chilling, roll the dough as follows:
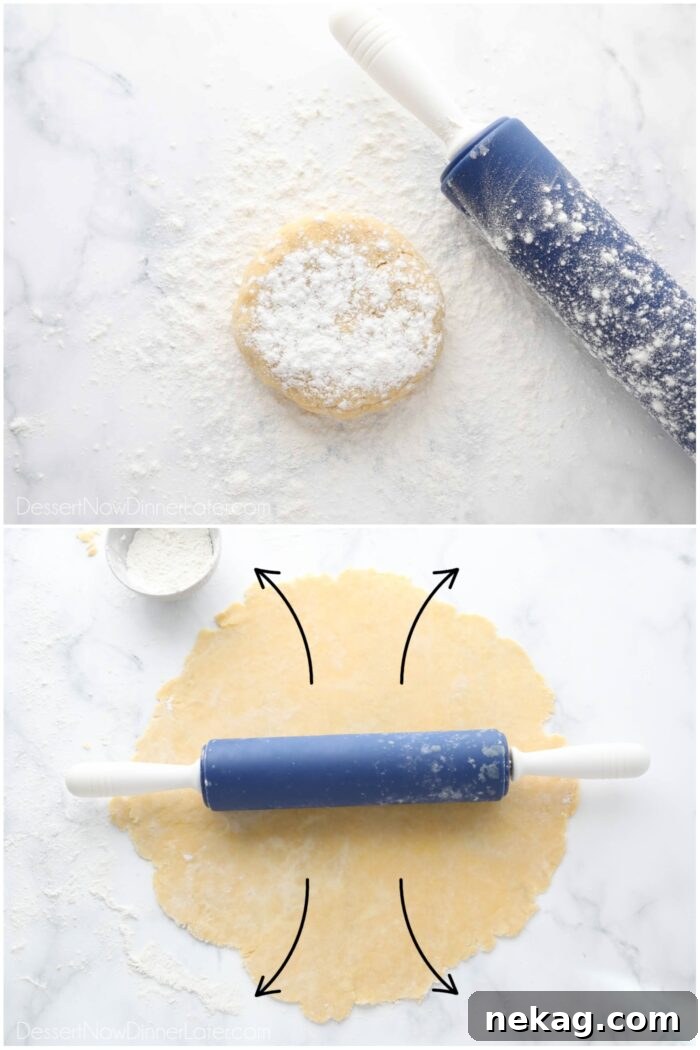
- Flour the work surface, rolling pin, and dough.
- Use your knuckles to ease the dough edges so they won’t crack as you roll.
- Roll from the center outward, rotating the dough frequently to prevent sticking. Add flour sparingly as needed.
- Roll until about 1/8-inch thick and roughly 14 inches in diameter. The dough should look marbled with ribbons of shortening.
How to Transfer and Use the Pie Crust
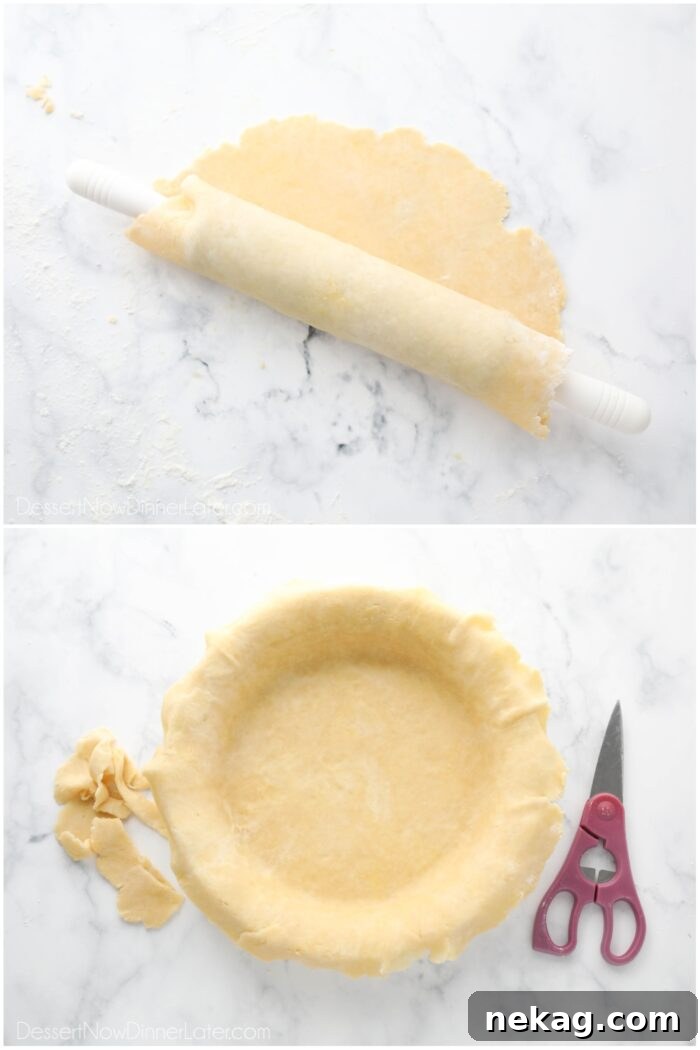
Transfer the rolled dough into the pie pan either by rolling it around the pin and unrolling it over the pan, or by folding the dough into quarters and unfolding it inside the pan. Press the dough gently into the bottom and sides—do not stretch it.
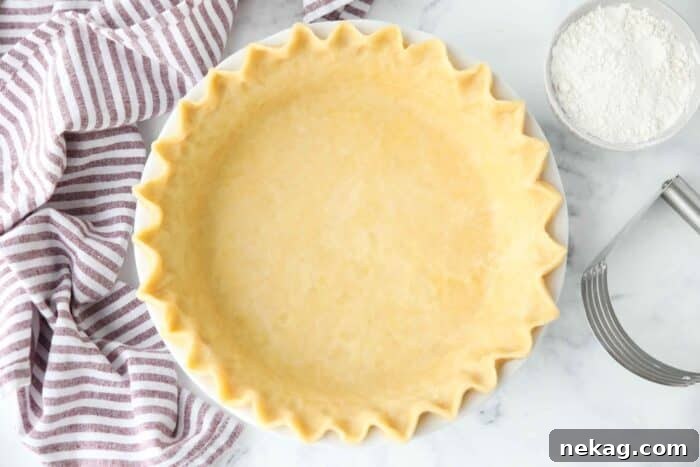
Shaping a Single Crust
For a single crust:
- Trim excess dough, leaving about a 1/2-inch overhang.
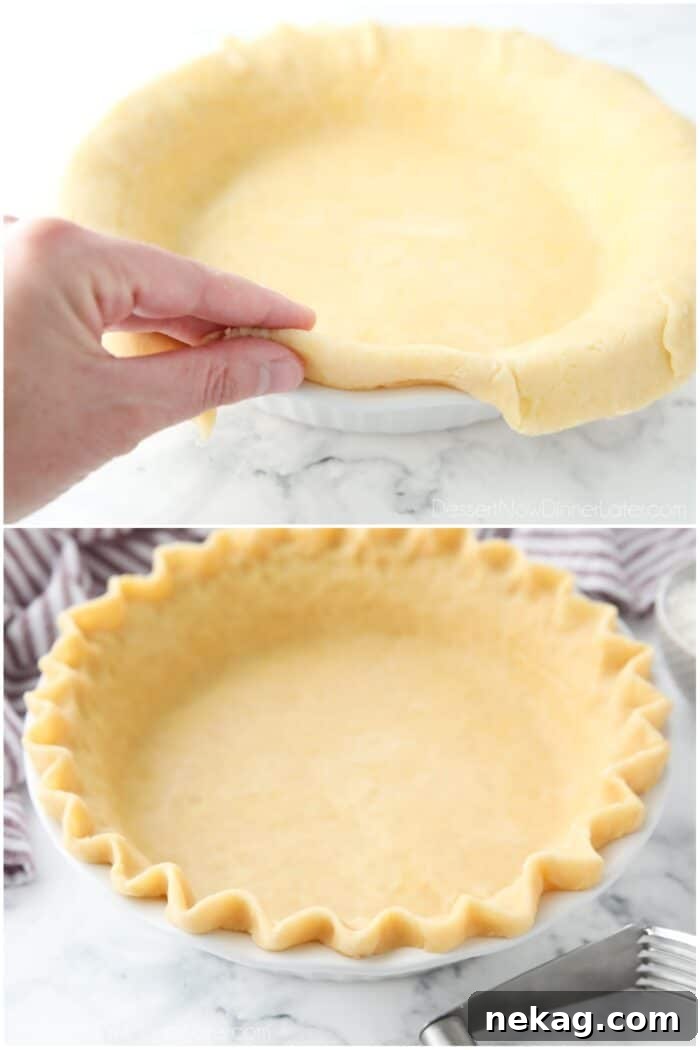
- Fold the overhang under and pinch to form a rim.
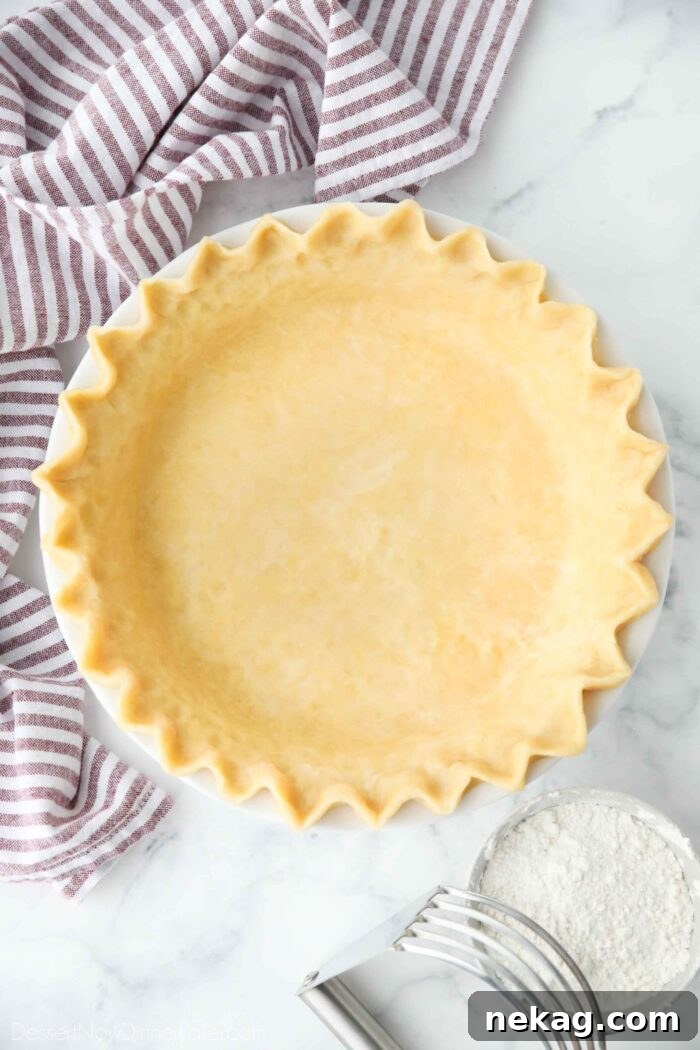
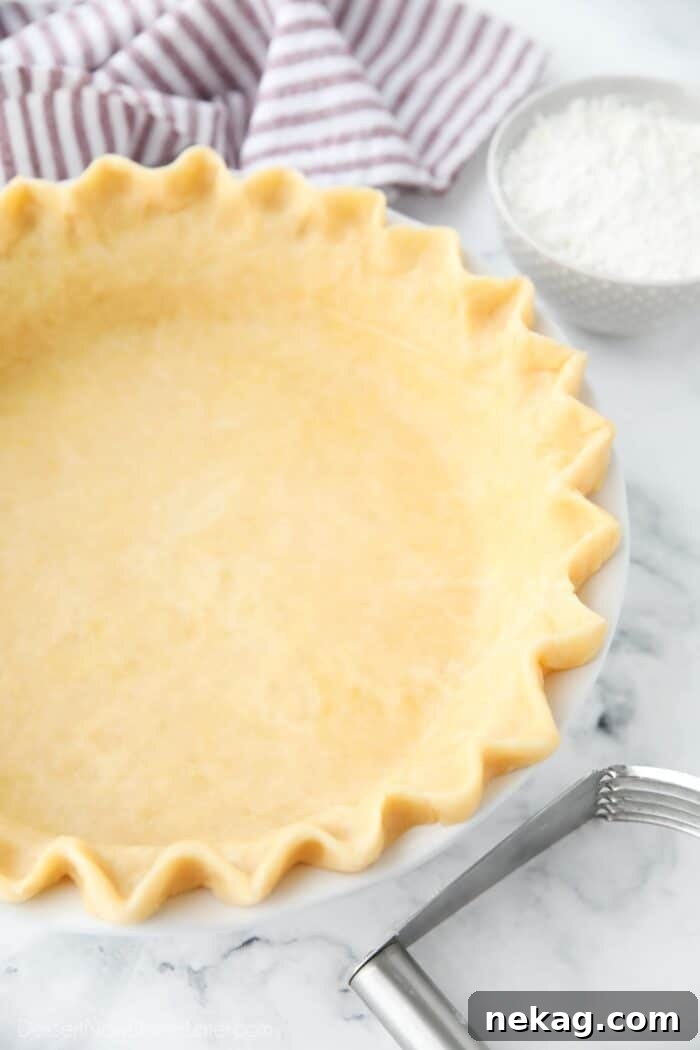
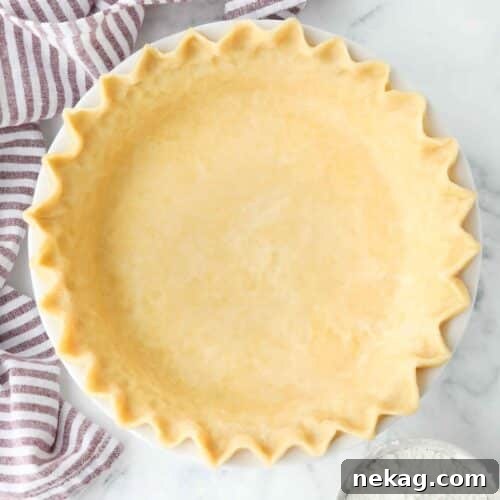
- Use thumb and forefinger to flute the edge into a wavy ruffle.
Blind Baking a Pie Crust
Blind bake a single crust for cream pies or fillings that require a fully baked shell. For pies like custard or quiche, you can par-bake to ensure the bottom is set before filling.
Shaping a Double Crust
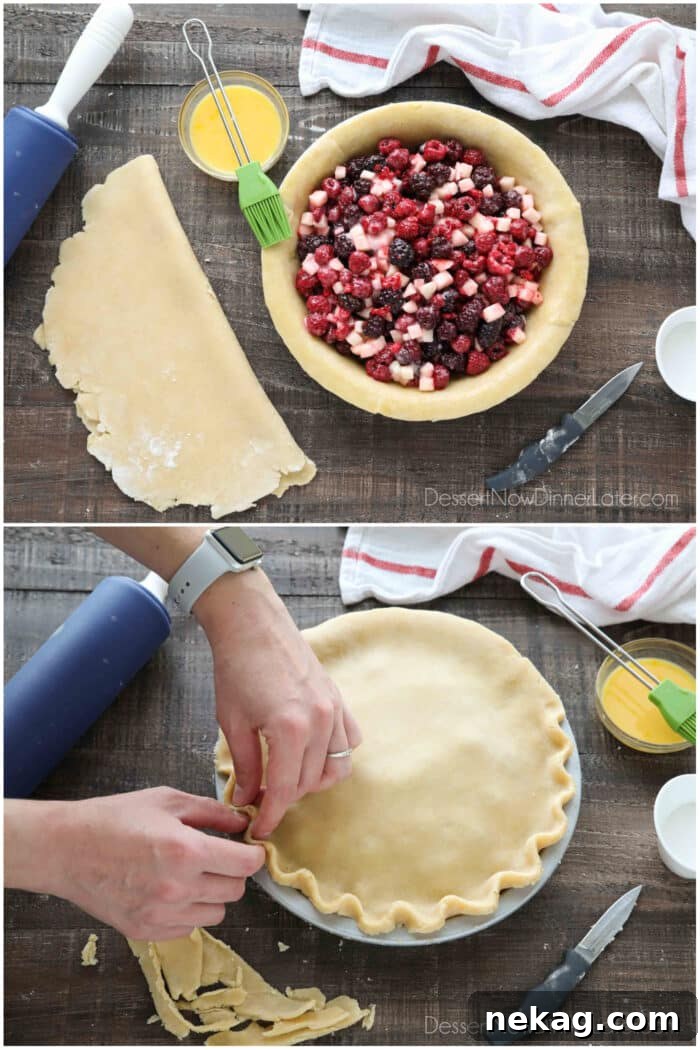
For double-crust pies, use both dough disks. Trim the bottom crust to the edge, add the filling, brush the edge with egg wash (egg + 1 tablespoon water), add the top crust, trim excess, press edges together and crimp.
Brush the top with egg wash and optionally sprinkle with sugar or cinnamon-sugar. Cut vents in the top crust and bake at 350°F until the filling bubbles and the crust is golden—typically about 1 hour or longer. If the crust browns too quickly, tent it with foil until the filling bubbles.
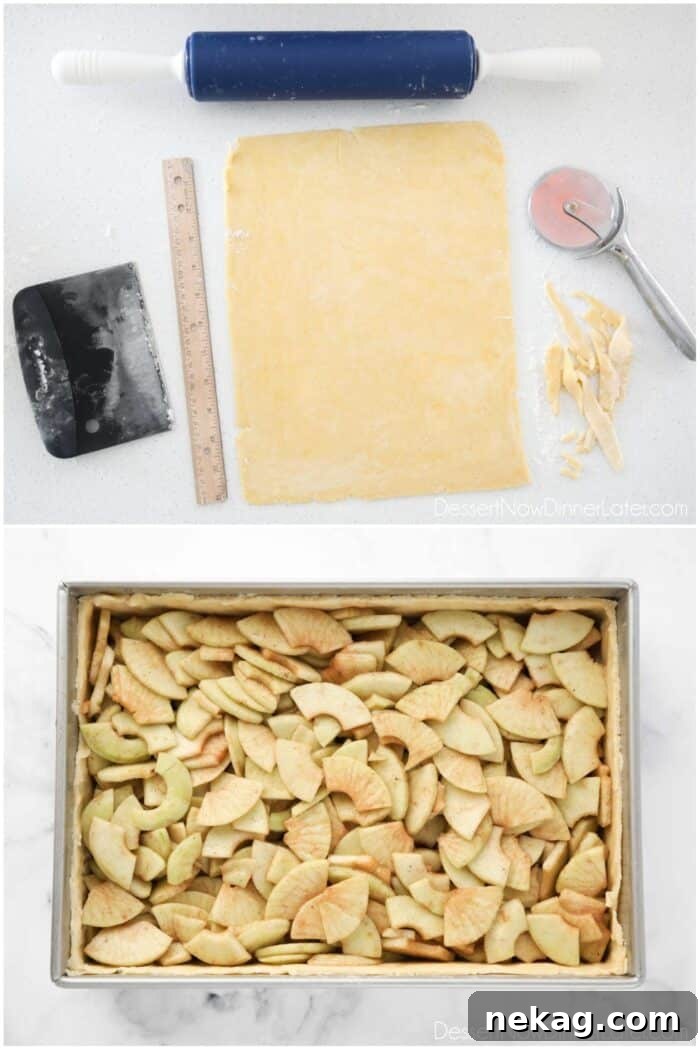
- Double-crust pies typically bake about 1 hour or longer until the filling bubbles through the vents and the crust is browned. Allow extra time as needed.
Lattice Crusts and More
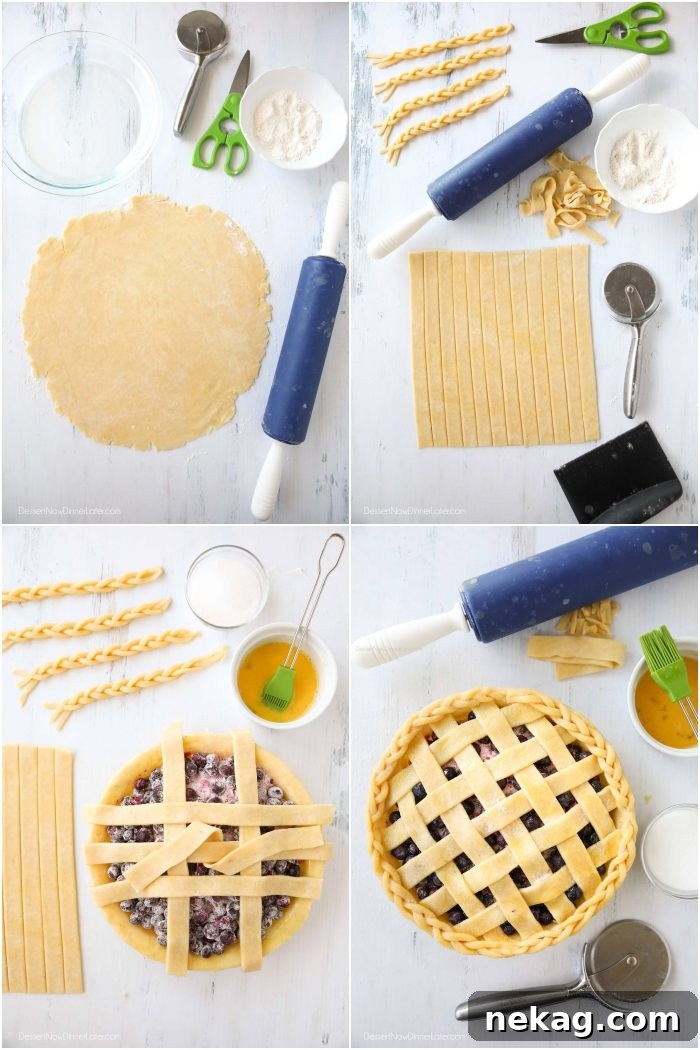
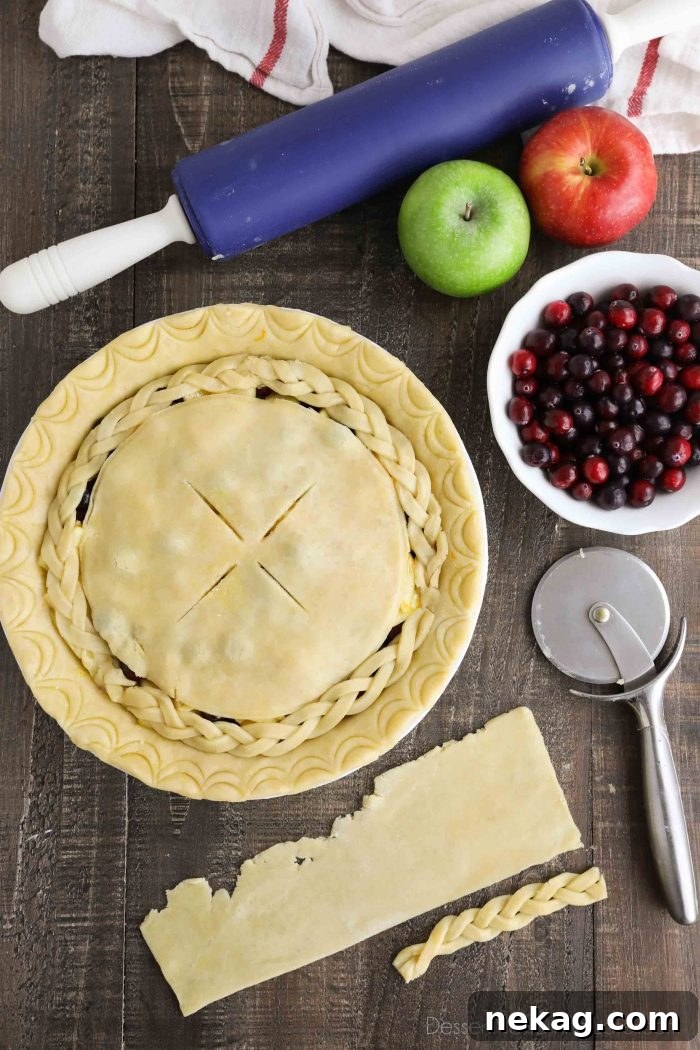
- Once you have this dough down, you can create lattices, braids, cut-outs, scallops, and other decorative tops. Treat the dough like play dough—have fun with shapes and designs.
If you make this recipe, please rate and review it in the comments below. Thanks!
Easy Pie Crust
Ingredients
- 3 cups all-purpose flour (360 g)
- 1 tsp salt
- 1 cup shortening (192 g), preferably Crisco butter flavored
- 1 large egg
- 1 Tbsp distilled white vinegar
- 5 Tbsp + ice cold water
Instructions
-
In a large bowl, stir together the flour and salt.
-
Cut the shortening into the flour with a pastry blender or fork until pea-sized pieces remain, with some coarse crumbs.
-
Add the egg, vinegar, and 5 tablespoons ice-cold water. Stir with a spatula, then turn the dough onto the countertop and press together.
-
If needed, add additional ice-cold water 1 tablespoon at a time until the dough just comes together. Do not overmix.
-
Divide the dough in half, flatten into disks, wrap tightly, and refrigerate for 30 minutes before rolling.
Notes
- Refrigerate: Store in the refrigerator up to 3 days. If chilled longer than an hour, let sit 10 minutes at room temperature before rolling to prevent cracking.
- Freeze: Double-wrap disks in plastic, place in a freezer bag, and freeze up to 3 months. Thaw overnight in the refrigerator.
- If you roll the crust immediately without chilling, keep the unused portion refrigerated and flash-freeze the rolled crust 10–15 minutes before baking.
- Baking double-crust pies: Cut vents in the top and bake at 350°F for at least 1 hour or until the filling bubbles and the crust is golden. If the crust browns too quickly, tent with foil until bubbling occurs. Typically allowance is 1 hour plus 10–15 minutes for the filling to bubble and the crust to finish baking.
Sharing this recipe with a link is appreciated. Content and photographs are copyright protected.
*Recipe adjusted from The Pioneer Woman. Originally published as Perfect Pie Crust on 11/11/2013. Post updated September 2024.