
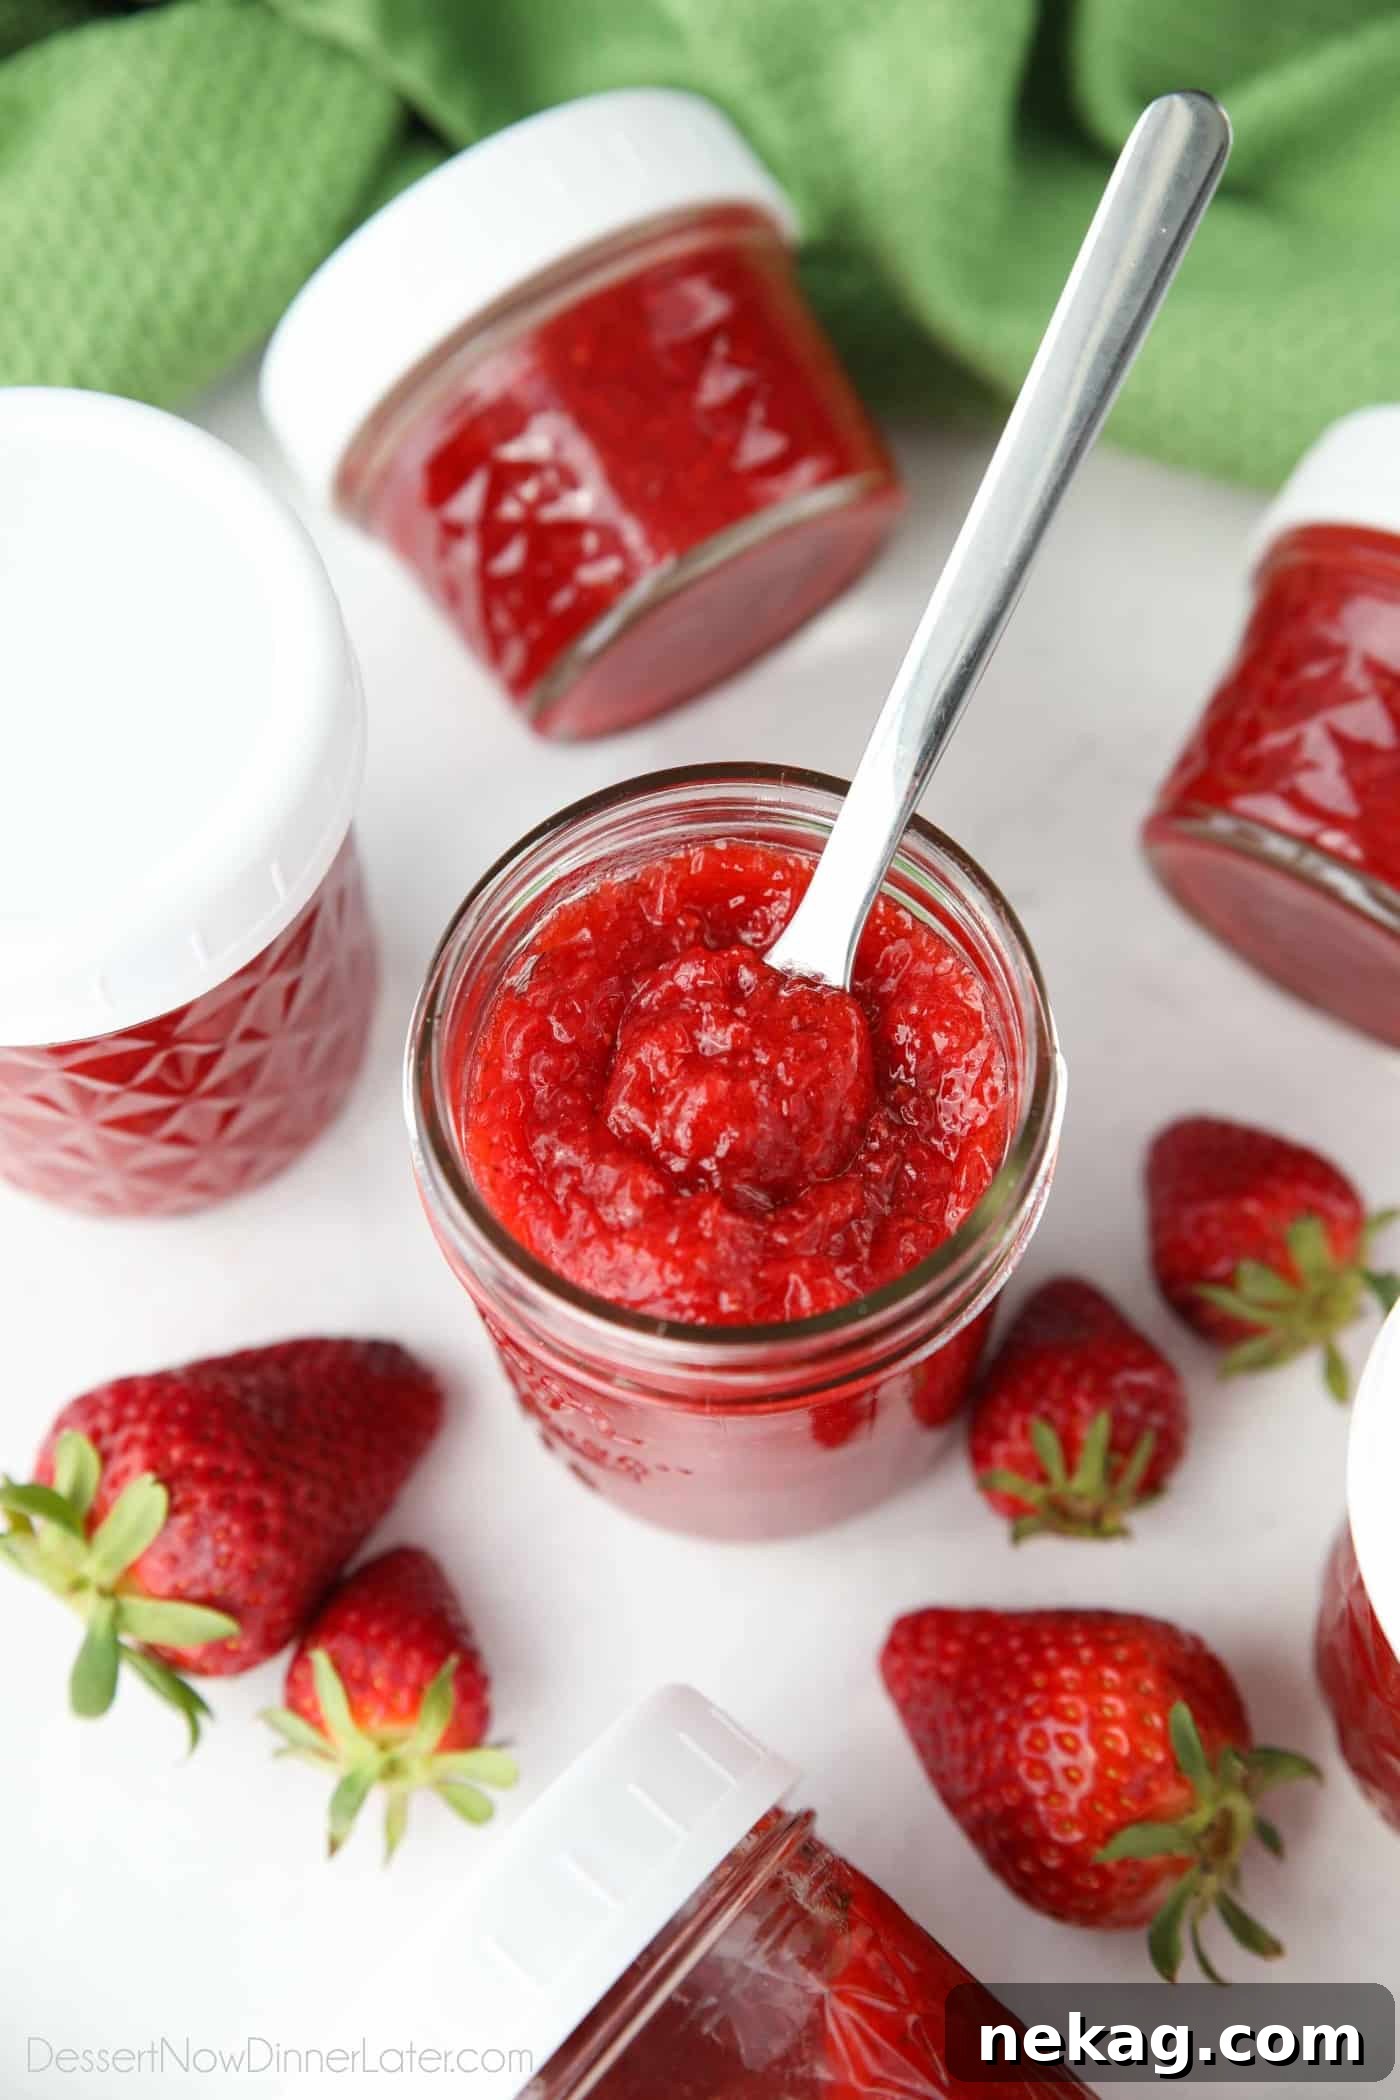
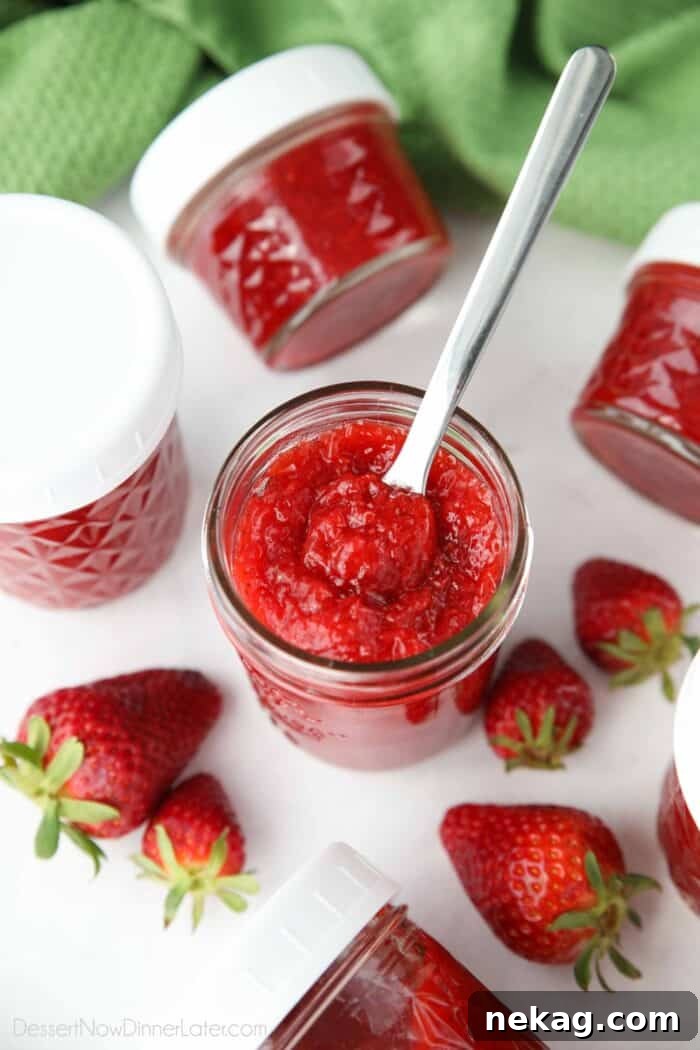
The fruity flavor of fresh strawberries shines in this low-sugar strawberry freezer jam, made simple in the microwave. Includes practical tips for getting jam to set.
I found an unbeatable sale on strawberries recently: $3.99 per flat. For reference, a flat is 8 pounds of strawberries, so I had plenty left over after the party I was hosting and decided to make freezer jam.
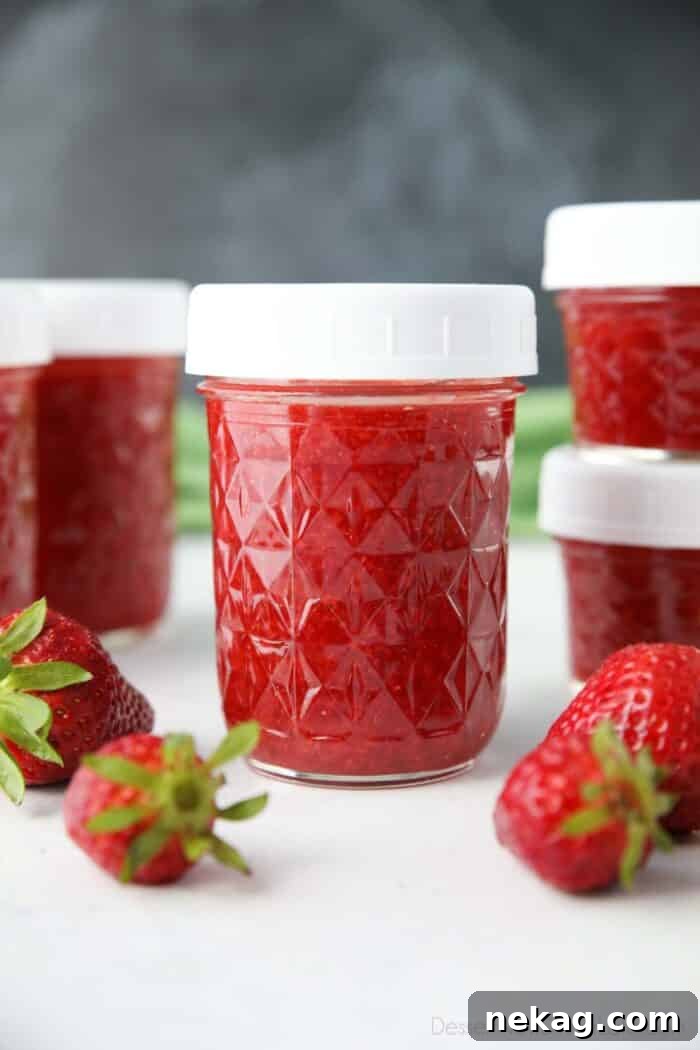
Low-Sugar Strawberry Freezer Jam
I reviewed several recipes and was surprised by how much sugar most of them use. I wanted a lower-sugar version, so I adapted a recipe and tested it with less sugar.
The first attempt didn’t set properly — the fruit separated from the liquid after I poured it into jars. Rather than blame the reduced sugar, I adjusted the pectin and reheated the mixture. Adding extra pectin and applying heat allowed the jam to gel and set beautifully.
The Science of Sugar and Pectin in Jam
Sugar pulls liquid from fruit in a process called maceration, but it isn’t the agent that makes jam thicken. Pectin is the key thickener. Fruits contain natural pectin, but riper fruit generally has less. Strawberries are naturally low in pectin compared with some other fruits.
Heat activates pectin and helps it form a gel. That’s why when my first batch separated I added more pectin and reheated the mixture — the extra pectin plus heat caused the mixture to gel properly.
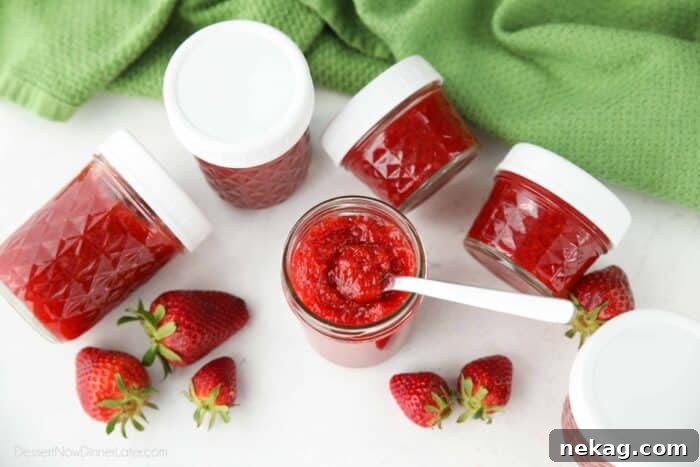
Tips and Tricks to Setting Jam
If your jam turns out runny, the fix is usually extra pectin (start with an additional tablespoon) and reheating the mixture to a boil. A few reliable points to keep in mind:
- Use low/no-sugar pectin designed for reduced-sugar preserves when cutting sugar.
- Acid such as lemon juice helps pectin release and form a stronger gel.
- Sugar attracts water, which can help pectin molecules bind more effectively, but sugar itself does not thicken jam.
Armed with that knowledge, you can adjust pectin and heat as needed to get consistent results.
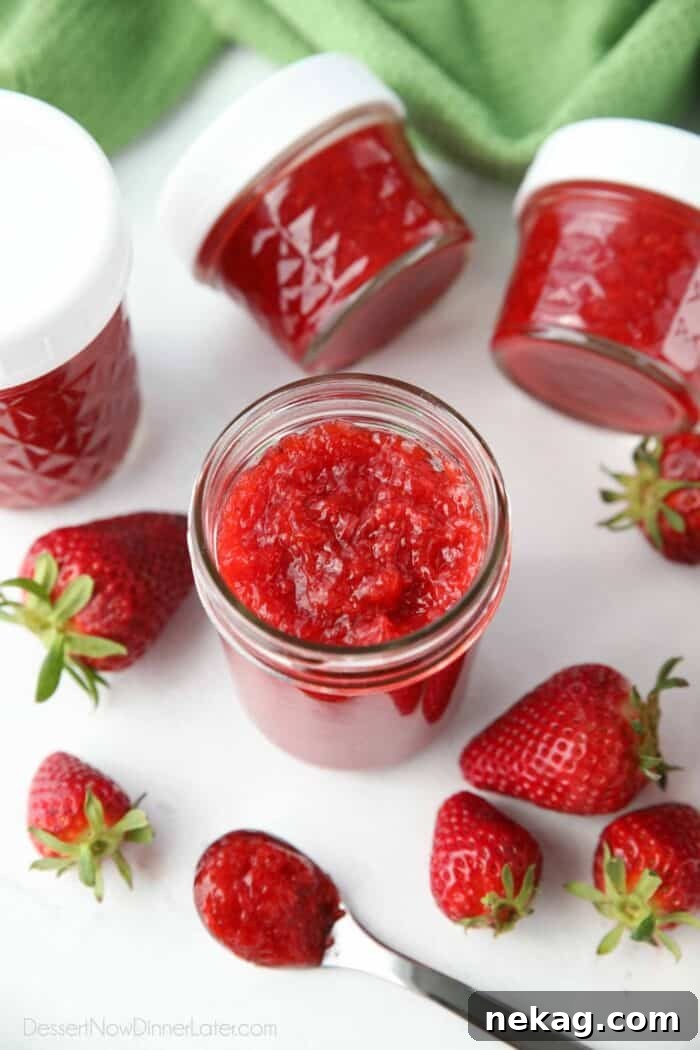
Ingredients for Low-Sugar Strawberry Freezer Jam
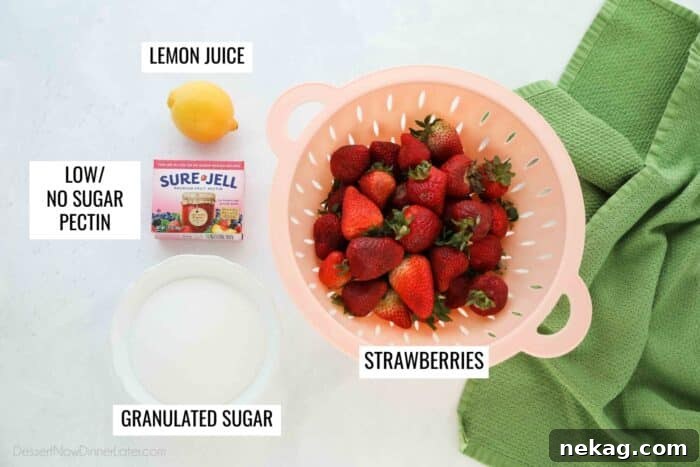
This recipe uses four main ingredients:
- Fresh strawberries
- Lemon juice
- Low/no-sugar pectin
- Granulated sugar
How to Make Strawberry Freezer Jam
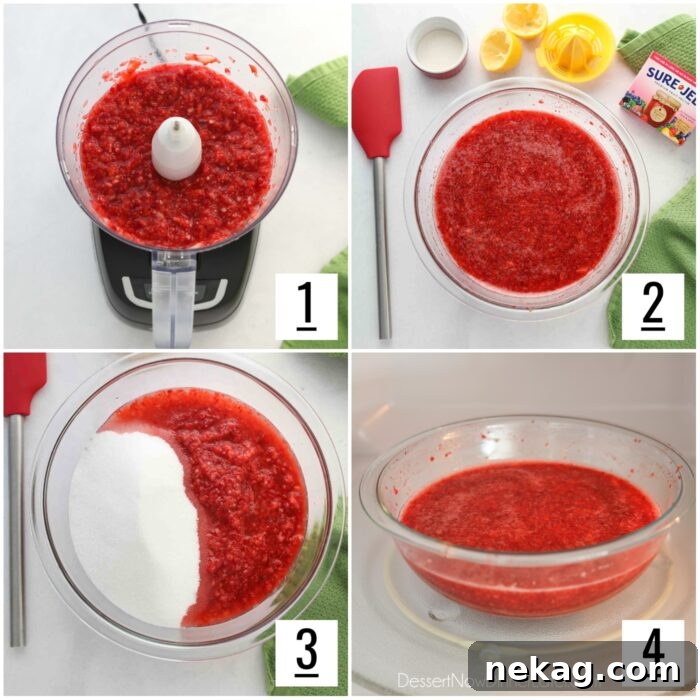
Basic method overview:
- Crush strawberries using a food processor, blender, or masher. Aim for chunky, not pureed, and measure 4 cups crushed.
- Stir in the lemon juice and pectin, then let the mixture sit at room temperature for 20 minutes to activate the pectin.
- Add the sugar and stir until mostly dissolved.
- Heat in the microwave on high for about 10 minutes, watching closely, until the mixture boils and becomes foamy.
How to Tell if Your Freezer Jam will Set
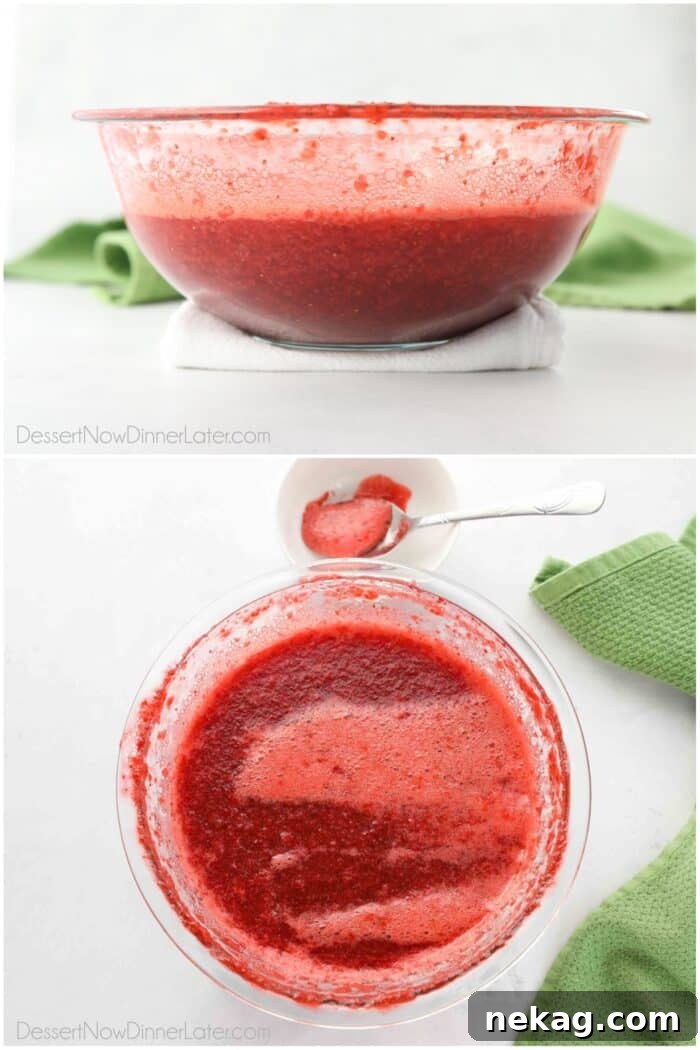
Cook your jam in a clear, microwave-safe bowl so you can observe the texture from the side. The jam should display a uniform mixture of fruit and liquid. If it separates — fruit floating on top with liquid settling below — return it to the bowl, add about 1 tablespoon of additional pectin, and bring it back to a boil.
Filling the Jars
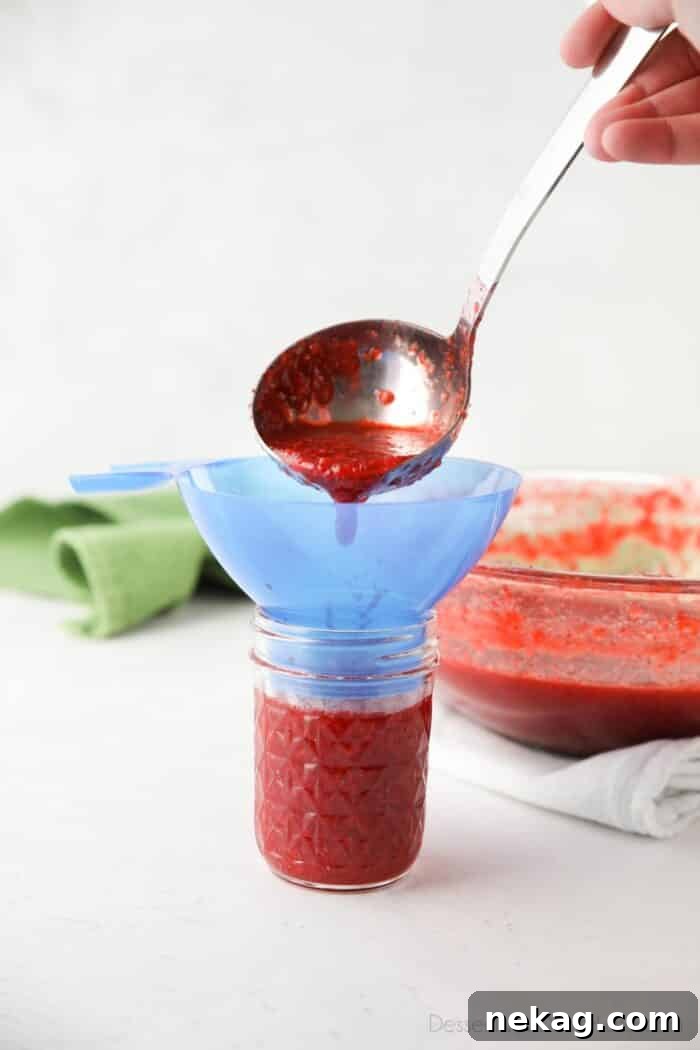
- Skim and discard any foam from the surface before filling jars.
- Use a funnel and ladle to fill clean containers, leaving 1/2-inch headspace for expansion.
- Seal immediately with lids and let jars cool at room temperature for 1–2 hours before transferring to the freezer.
Will this Recipe Work with Other Fruits?
Yes. Adjust the amount of pectin based on the natural pectin content of the fruit you use. Firmer, less-ripe fruits often need less added pectin, while low-pectin fruits like strawberries or ripe peaches may require more. I’ve tested this method with both strawberries and peaches with good results.
How to Store Freezer Jam
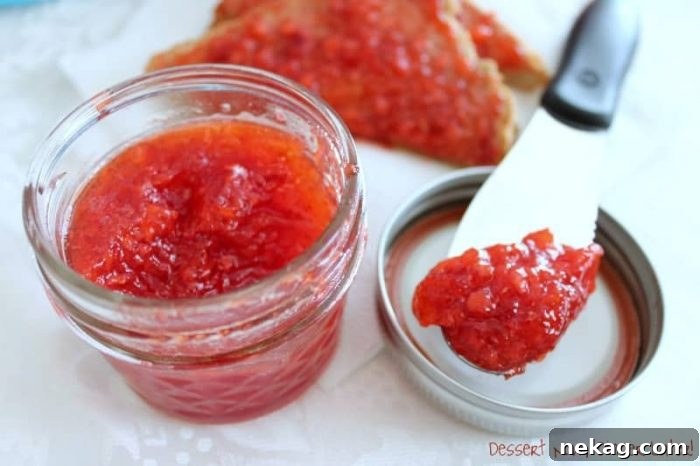
Store unopened freezer jam in the refrigerator for up to 3 weeks or in the freezer for up to 1 year. Use freezer-safe containers and label jars with the date.
Common container options include:
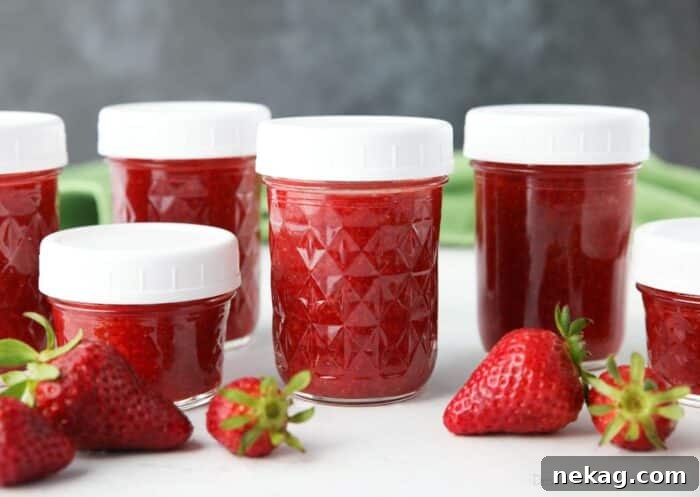
- Glass mason jars (half-pint/8 oz jars are convenient).
- Plastic lids or screw-on plastic lids that seal well for storing in the freezer.
- Food-safe plastic freezer containers if you prefer not to freeze glass.
Tip: write the date on a piece of tape attached to the lid so you know when the jam was made.
More Strawberry Recipes
If you have lots of berries to use, try other strawberry desserts such as crisps, cream pies, cheesecake-stuffed strawberries, bars, or layered delights to make the most of the season.
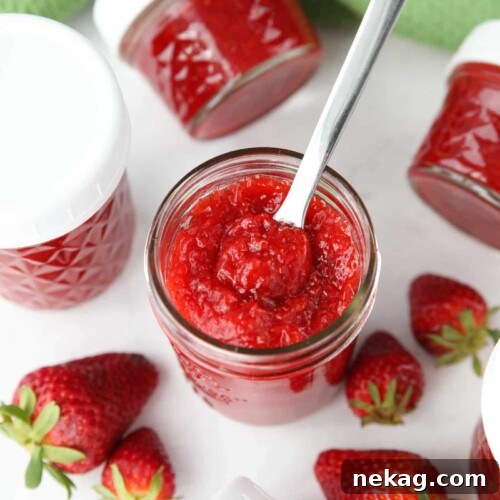
Low-Sugar Strawberry Freezer Jam
Ingredients
- 4 cups crushed strawberries (about 2 lbs)
- 2 Tablespoons lemon juice
- 3 to 4 Tablespoons Ball Low or No Sugar Needed Pectin (about 1 box Sure-Jell Less or No Sugar Needed equivalent)
- 1 ½ cups granulated sugar (300 g)
Equipment
- Microwave-safe 10–14 cup mixing bowl
- Food chopper, food processor, or potato masher
- Ladle and canning funnel
- Freezer-safe jars or containers
Instructions
- Wash, hull, and crush strawberries in a large (10–14 cup) microwaveable bowl until you have 4 cups crushed. Leave the fruit slightly chunky rather than pureed. Add lemon juice and pectin, mix well, and let sit at room temperature for 20 minutes.
- Stir in the sugar until mostly dissolved. Heat in the microwave on high for about 10 minutes, watching so it doesn’t boil over, until the mixture is boiling and foamy. Remove and stir once more. The mixture may still seem thin at this stage.
- Skim off and discard foam. Pour jam into clean freezer containers leaving ½-inch headspace. After pouring, the jam should look consistently chunky throughout the jar. If fruit rises to the top and liquid separates below, return the fruit to the bowl, add 1 additional tablespoon of pectin, and heat again until boiling and foamy.
- Seal jars immediately with lids and let them cool at room temperature for 1–2 hours before placing in the freezer.
Notes
- If you can’t find low/no-sugar pectin, substitute 6–8 tablespoons Ball Classic Pectin.
- Storage: Refrigerate up to 3 weeks or freeze up to 1 year.
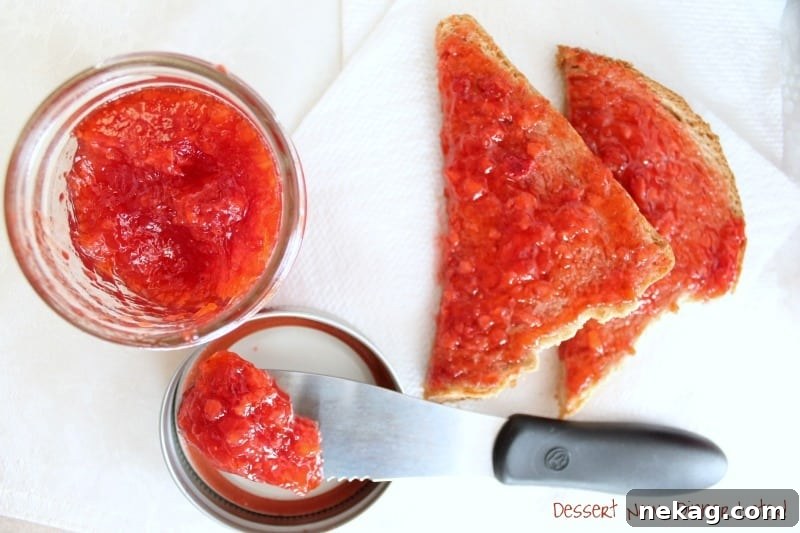
- Using freezer jam: Thaw in the refrigerator and use like store-bought jam. This recipe is not processed in a hot water bath, so freezing is for preservation.
Nutrition
Disclaimer: Nutritional values are estimates calculated with a third-party tool.
Sharing this recipe with a link is appreciated. Content and photographs are copyright protected.
Did you make this?
Leave a rating below and follow for more ideas on social platforms if you like the recipe.
*Originally published 5/7/13. Photos updated March 2022.